Db1 switch on and setup, The db1 user interface, Preset 1 volume trim 0db – Bowers & Wilkins DB1 User Manual
Page 8: Preset 1 movies volume trim 0db
8
ENGLISH
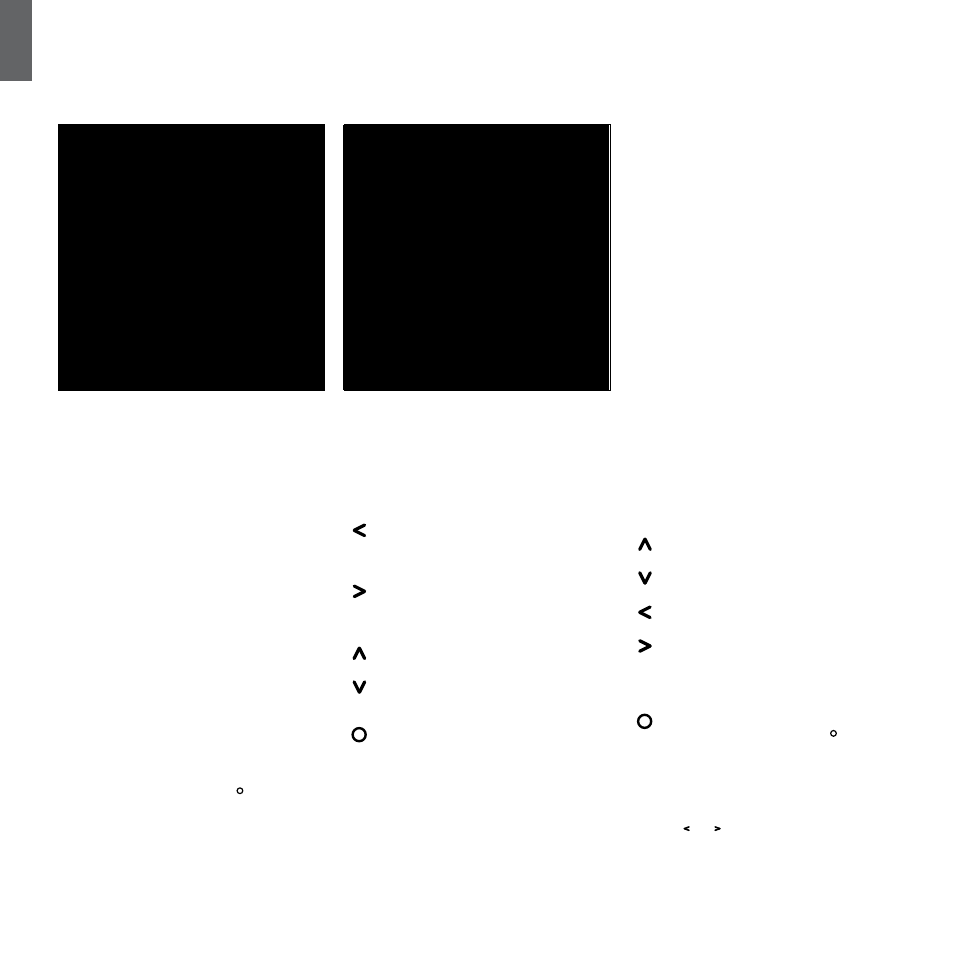
In the screen shot above, the name 'Movies' has been
added to Preset 1. You can add a name of up to 10
characters to any or all of the 5 Presets, but only using
the SubApp™ PC program.
In normal operational mode the DB1 front panel
buttons behave as follows:
Accesses first the manual Preset
selection screen and subsequently
toggles between that and the Volume
Trim adjustment screen.
Accesses first the Volume Trim
adjustment screen and subsequently
toggles between that and the manual
Preset selection screen.
Increases Volume Trim or selects next
Preset on the appropriate screen.
Decreases Volume Trim or selects
previous Preset on the appropriate
screen.
Press and hold to enter the DB1
setup mode.
In setup mode, the DB1 front panel user interface is
based on navigation around hierarchical menus and
the selection of options. The selected menu item is
indicated by a coloured outline, which is normally blue.
A red outline indicates that a Preset parameter
has been adjusted but not saved.
The five navigation buttons behave as follows:
Selects the next menu item up or increases a
parameter setting.
Selects the next menu item down or
decreases a parameter setting.
Returns to the previous menu screen without
saving changes.
Advances to the next menu screen if the
outline has a signpost shape, indicating a
subsequent menu screen. The current setting
of the parameter is also shown within the
outline.
Saves changes and returns to the previous
menu. Pressing and holding the button
at any time will enter or exit the DB1 Setup
Mode.
The DB1 Graphic Equaliser menus, found within the
Preset setup routine, have a slightly different format
to the other interface menus. In this graphic equaliser
screen the and buttons select the band centre
frequency and the up and down arrow buttons adjust
the level of the selected frequency.
6.1. The DB1 User Interface
6. DB1 Switch On and Setup
This Section of the manual covers setup and control of
the DB1 using its front panel buttons and display. Use
of the SubApp™ PC application is described in the
program’s internal help file.
Once the DB1 is positioned in the listening room
and connected to power and signal cables it can be
switched on from its standby button. When switched
on, the DB1 standby indicator changes from red to
blue, the last preset used will be recalled and the
screen illustrated above will be displayed.
Out of the box, the display screen will show that Preset
1 is selected and that the Volume Trim is set at 0dB.
The Volume Trim function has a range of +/-6dB and is
intended to provide occasional on-the-fly adjustment
and does not affect the volume setting stored within
any preset. If the DB1 is switched to standby and on
again, the Volume Trim is reset to 0dB.
When the DB1 setup is complete and it is returned
to normal operational mode, the Volume Trim can
be adjusted and Preset selected as described in
section 6.1.
The DB1 will almost certainly require some setup
changes in order to operate correctly in your system
and to be tuned to your personal preference. To enter
DB1 setup mode press and hold the button.
Preset 1
Volume Trim
0dB
Preset 1
Movies
Volume Trim
0dB