Dakota Ultrasonics DFX-8 plus MANUAL1 User Manual
Page 49

DFX-8 Series Ultrasonic Flaw Detectors
45
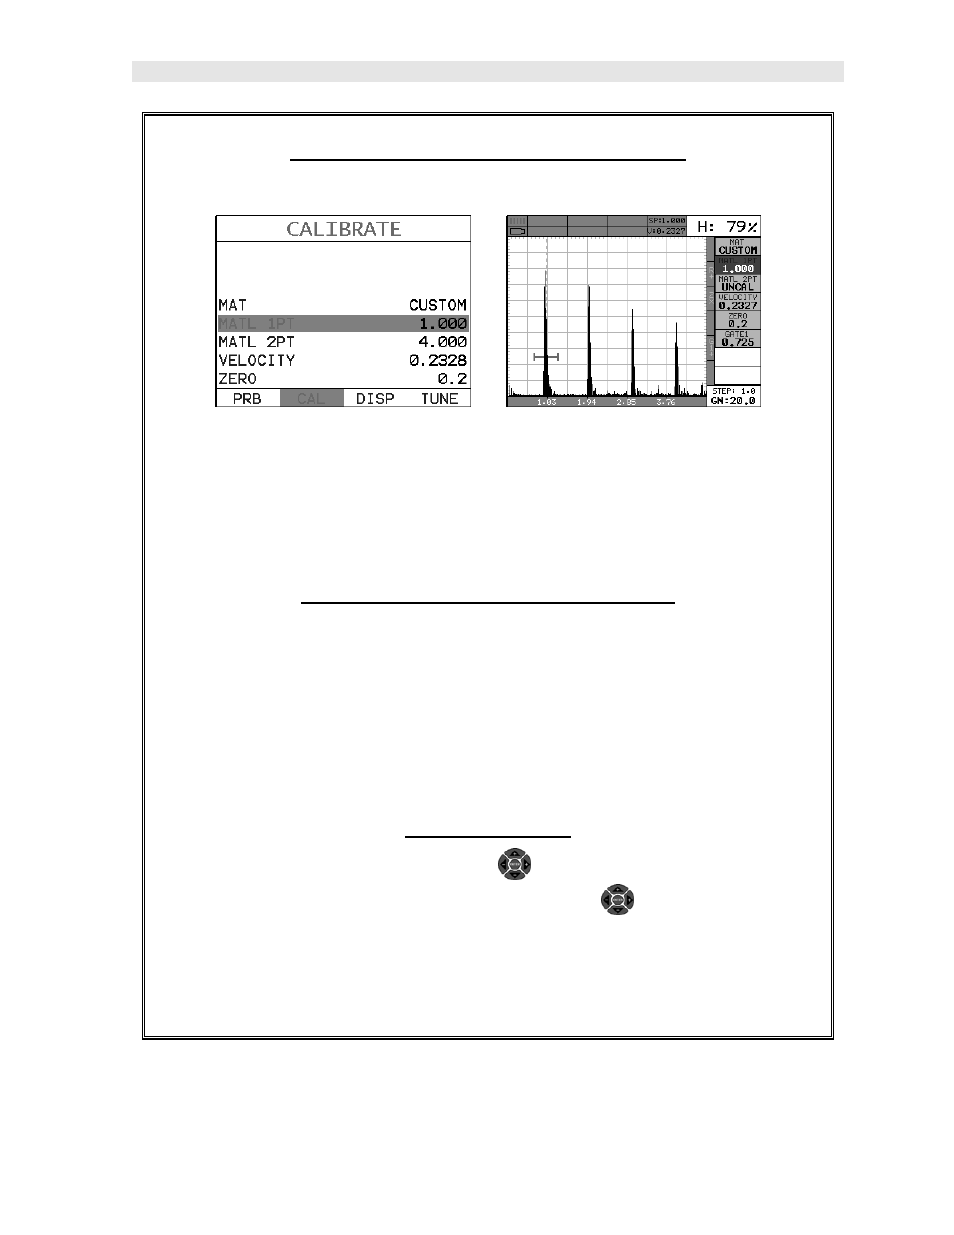
Two Point Calibration – Straight Beam
Note: Calibration standards representing the minimum and maximum
thickness of the overall inspection range intended are required. They must also
be of the same material type as the intended application. For our example,
we’ll be using a 1 and 4 inch standard for calibration.
Coupling to the 1” Cal Standard (1
st
Point)
Apply a drop of couplant on the transducer and place the transducer in steady
contact with the 1” calibration standard. Be sure that the reading is stable and
the repeatability indicator, in the top left corner of the display, is fully lit and
stable. Also, be sure there is sufficient signal amplitude in order to avoid ‘peak
jumping’ or missing the first cycle.
Adjusting the Gate
1) Using the left button wheel, press the
LEFT and RIGHT arrow keys to
scroll through the 9 individual Hot Menus, and the
UP and DOWN arrow
keys to scroll through the Hot Menu items, until the GATE1 cell is
highlighted. Alternatively, the MEAS & ESC keys can be used to scroll
through the Hot Menu items.
