Converting files, Select the wave format file, Enter the file’s name – Panasonic -eng User Manual
Page 38: Click
38
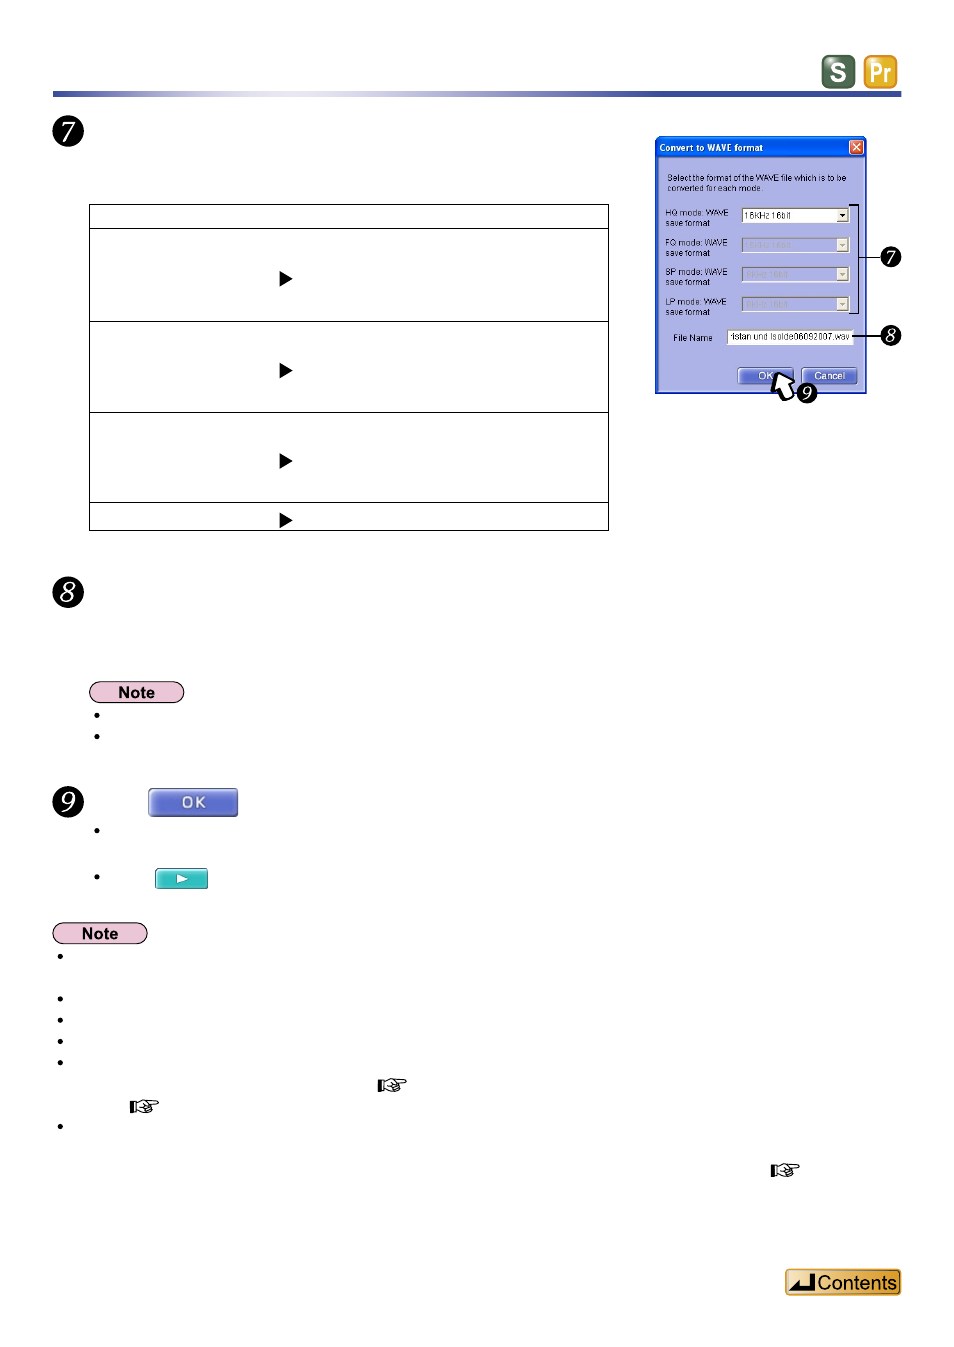
Select the WAVE format file.
Select the WAVE format that corresponds to the recording
mode.
VM1
Conversion
WAVE
“HQ” mode
(stereo)
“HQ” mode
(monaural)
8 kHz/16 bit, 11 kHz/16 bit,
16 kHz/16 bit, or 22 kHz/16 bit
“FQ” mode
(stereo)
“FQ” mode
(monaural)
8 kHz/16 bit, 11 kHz/16 bit,
16 kHz/16 bit or 22 kHz/16 bit
“SP” mode
(stereo)
“SP” mode
(monaural)
8 kHz/16 bit or 11 kHz/16 bit
“LP” mode
8 kHz/16 bit
Enter the file’s name.
The file name initially allocated to VM1 files converted to WAVE is :
[Number]+[Title in “Side A”]+[Date and Time].wav
The symbols “\/:*?<>|” are automatically converted to “_”.
The above name automatically changes when converting multiple sound files at the same time.
Click
The “WAV conversion window” will display WAVE sound files that have been converted
(transferred).
Click
, to play and confirm the files.
You may be unable to complete the conversion even if the status bar shows there is enough available space, as
the system needs to make space for management files and additional temporary space for converting files.
Specify a folder other than an “SD_VOICE” folder when converting to WAVE.
You cannot select an IC recorder to transfer (save) WAVE file.
You cannot change the play speed when playing WAVE file.
VM1 files cannot be converted to WAVE files without sufficient free space on the hard disk. In this case, either
specify a hard disk with more free space (
“Temporary Area Settings”, page 94) or reduce the size by dividing
When using a FAT16 file system, you cannot work with WAVE files larger than 2.1 GB because of file system
limitations. Before converting a VM1 file recorded in a long recording session to a WAVE file, divide the file to
Converting files