Generating location history reports 123, Generating location history reports – Vaisala viewLinc-4.1-M211518 User Manual
Page 131
Generating Historical Data Reports
viewLinc 4.1 Administrator Guide
123
d
Repeat these steps for each location you want to in-
clude on the report. All selected locations appear in
the Selected region.
6
On the Page Layout tab define your report display
options:
a
Page Header and/or Page Footer options: choose the
pages on which you want a header or footer displayed.
To define the header or footer, enter text in the Left,
Center or Right fields.
b
Choose the type of paper you want to print on and the
orientation.
c
You can also choose a customized icon in the left
header section by clicking “Upload” or select from a list
of provided icons by clicking the Image File dropdown.
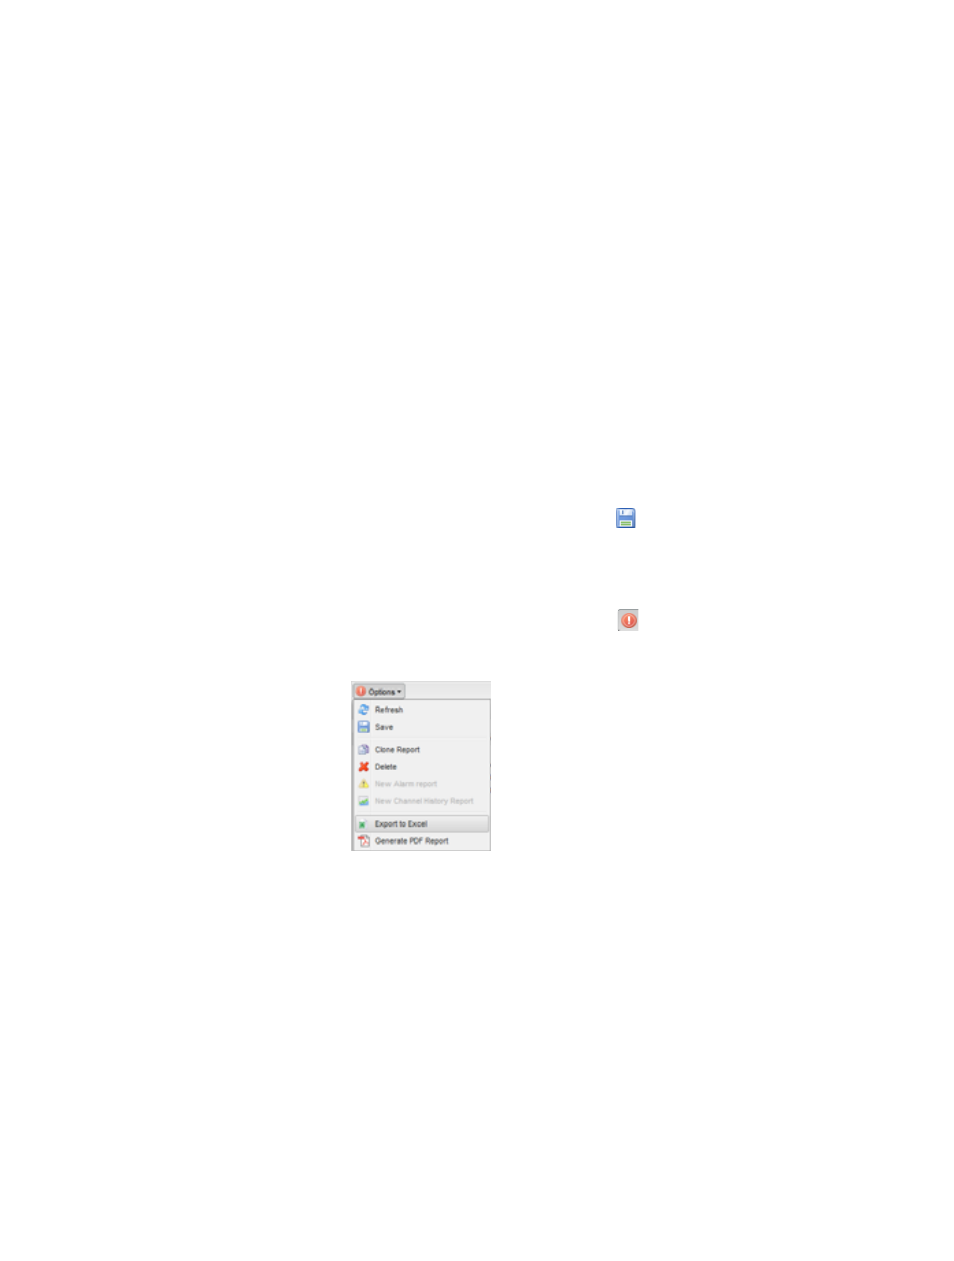
7
From the reports window, select
Save
.
8
To manually generate the report, choose either
Export to
Excel
(which will generate a .tsv format file) or
Generate
PDF Report
(which generates an Adobe format .pdf file)
from the options dropdown. The
exclamation point
icon indicates when you have made changes that need
to be saved.
Generating Location History Reports
To generate a Location History report:
Note:
viewLinc does not provide a default Location
History report. Instead, the first time you gener-
ate a Location History report, the report is auto-
matically saved.
1
Select
Options | Reports
. In the Report Definitions tree,
select the report you want to generate from the Locations