Deactivating/reactivating a group, Creating a new user – Vaisala viewLinc-4.1-M211518 User Manual
Page 115
Chapter 6: Permissions
106
©
2012 Vaisala Canada Inc
6
Expand the Members view by clicking Members then
click the
Add User
button.
7
Select the users to be included in this group by clicking
all required checkboxes, then click OK. The members of
the selected groups and their group rights should now
appear under the Member section in the accordion view.
Note:
The Add Groups functionality is available only for
users with ‘Manage System’ rights. Admin (or a
user with ‘Manage System’ rights) can create
groups defining their global access rights for the
application.
Deactivating/Reactivating a Group
1
Select
Options | System Configuration | Groups
.
2
Select the group you wish to deactivate/reactivate.
3
Select the
Options
dropdown box in the Groups window
and select
Deactivate Group
.
4
If the group needs be reactivated, the
Options | Show
Deactivated Groups
checkbox must first be checked.
Follow the same process as above but select
Reactivate Group
as the final step.
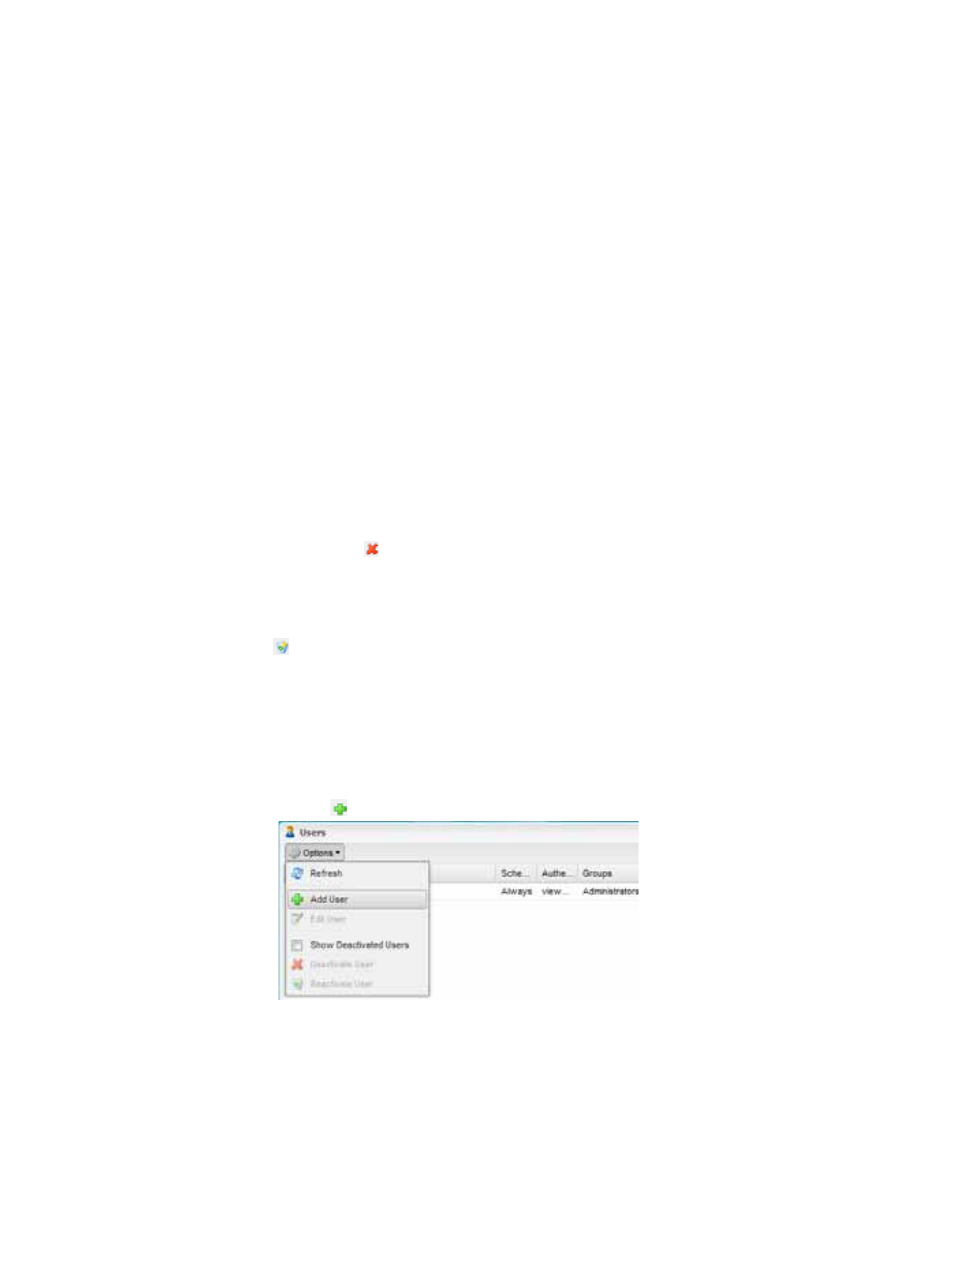
Creating a New User
1
Click the Options button and Select
System Configuration
| Users
.
2
Click on the Options drop box in the Groups window and
Select
Add User
.
3
Complete the Login Name and Email fields with the
appropriate information. Click the
Schedule
dropdown
box for pre-set contact schedules. See “About Contact