Usb hardware installation – DAVIS WeatherLink Getting Started Guide: Vantage Stations User Manual
Page 7
5
USB Hardware Installation
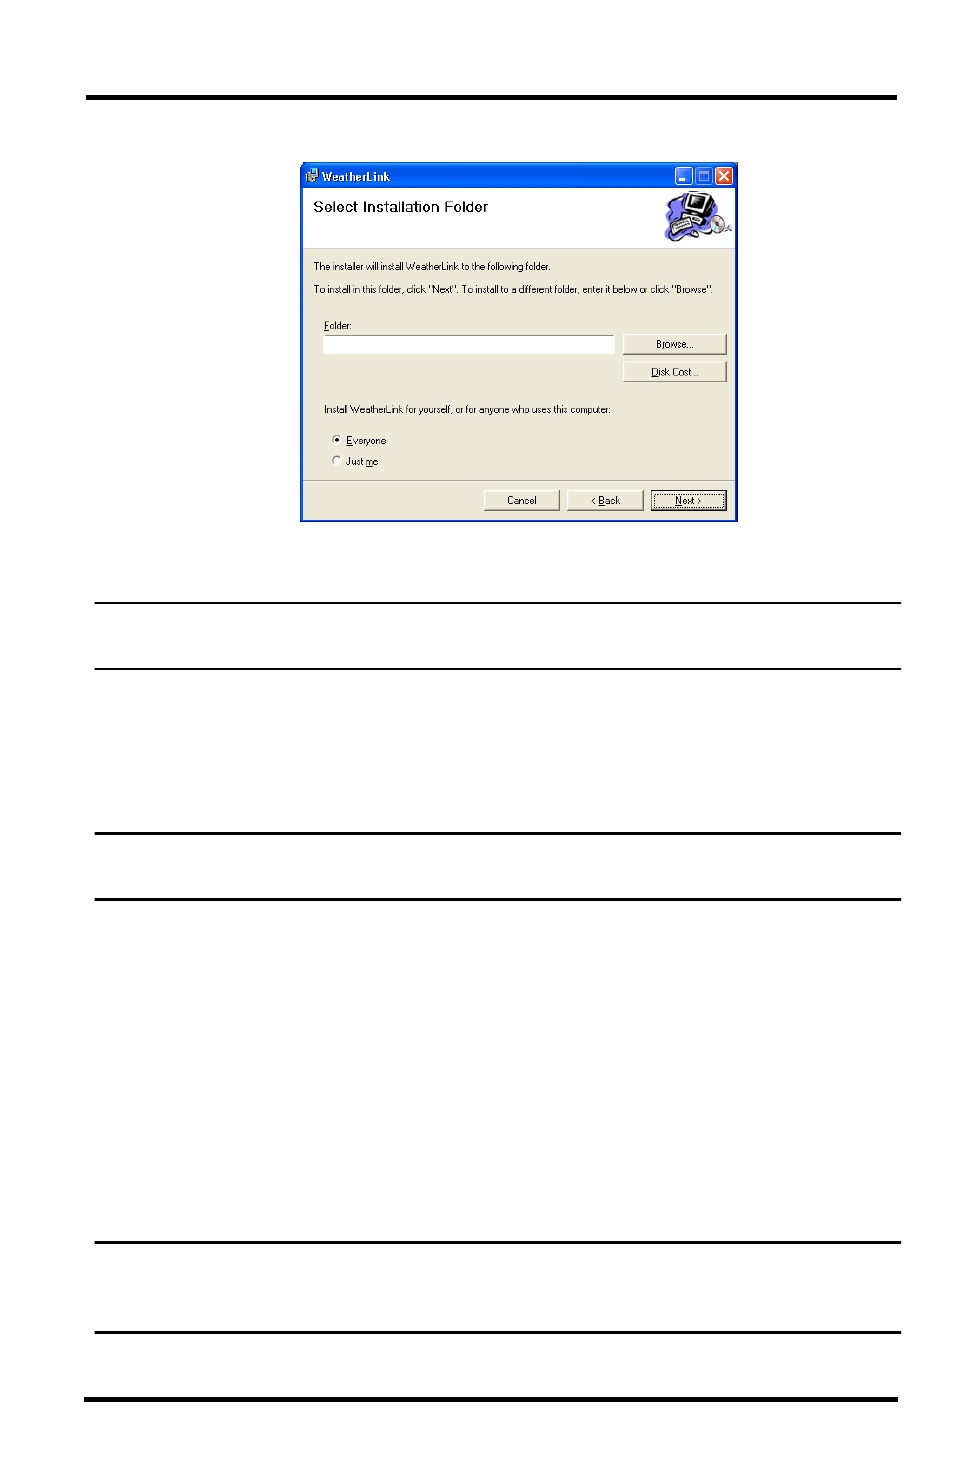
3. Review the license agreement, click I agree and click Next. The Choose
Destination Location dialog box displays.
4. Select the default location to install WeatherLink or find another location by
clicking Browse.
Note: If you are upgrading your software from a previous version, click Browse to search for
the directory or folder of the previous version of WeatherLink.
5. Click Next once you have selected a location. The Confirm Installation dia-
log box displays.
6. Click Next to start the installation. The Installing WeatherLink dialog box
displays the installation progress. The Installation Successful dialog box
displays once the software installation has been completed.
Note: During the installation process, the USBXPress Device Driver and the Bridge Driver, two
drivers required for USB connections are installed automatically.
7. Click OK. WeatherLink has been installed successfully.
USB Hardware Installation
Complete the local USB hardware installation by using the instructions below:
1. Locate the console or Weather Envoy that will receive the WeatherLink USB
connection.
2. For consoles only: Enter the console’s Setup Mode by pressing and holding
DONE, then pressing the down arrow (-). Entering Setup Mode ensures
that the station is not writing any data and saves the current daily weather
information to memory.
3. Remove the battery cover, the batteries, and AC-power adapter, if present.
Note: Failure to remove power to the console or Envoy before installing the data logger may
cause damage to the data logger or console. Plugging or unplugging the data logger
while power is applied can lock up or damage the data logger.
&?:HDWKHU/LQN?