Replace a printhead, D (see, Replace a – HP Latex 360 Printer User Manual
Page 135: Ds. see
Front panel recommends reseating or replacing a printhead
1.
Remove the printhead and check that it is free from physical damage and from ink stains on the
electrical connections.
2.
If necessary, clean the electrical connections between the printhead and the carriage. See
electrical connections on a printhead on page 136
3.
Reinsert the printhead into the carriage and check the front panel message.
4.
If the problem persists, insert a new printhead.
Replace a printhead
Remove a printhead
1.
On the printer's front panel, press
(360) or the printheads icon (310/330), then Replace
printheads.
2.
The carriage moves to the removal position.
CAUTION:
If the carriage remains in the removal position for more than 3 minutes without inserting or
removing any printheads, it will attempt to return back to its home position to the right.
CAUTION:
Observe precautions when handling printheads because they are ESD-sensitive devices.
Avoid touching pins, leads, or circuitry.
3.
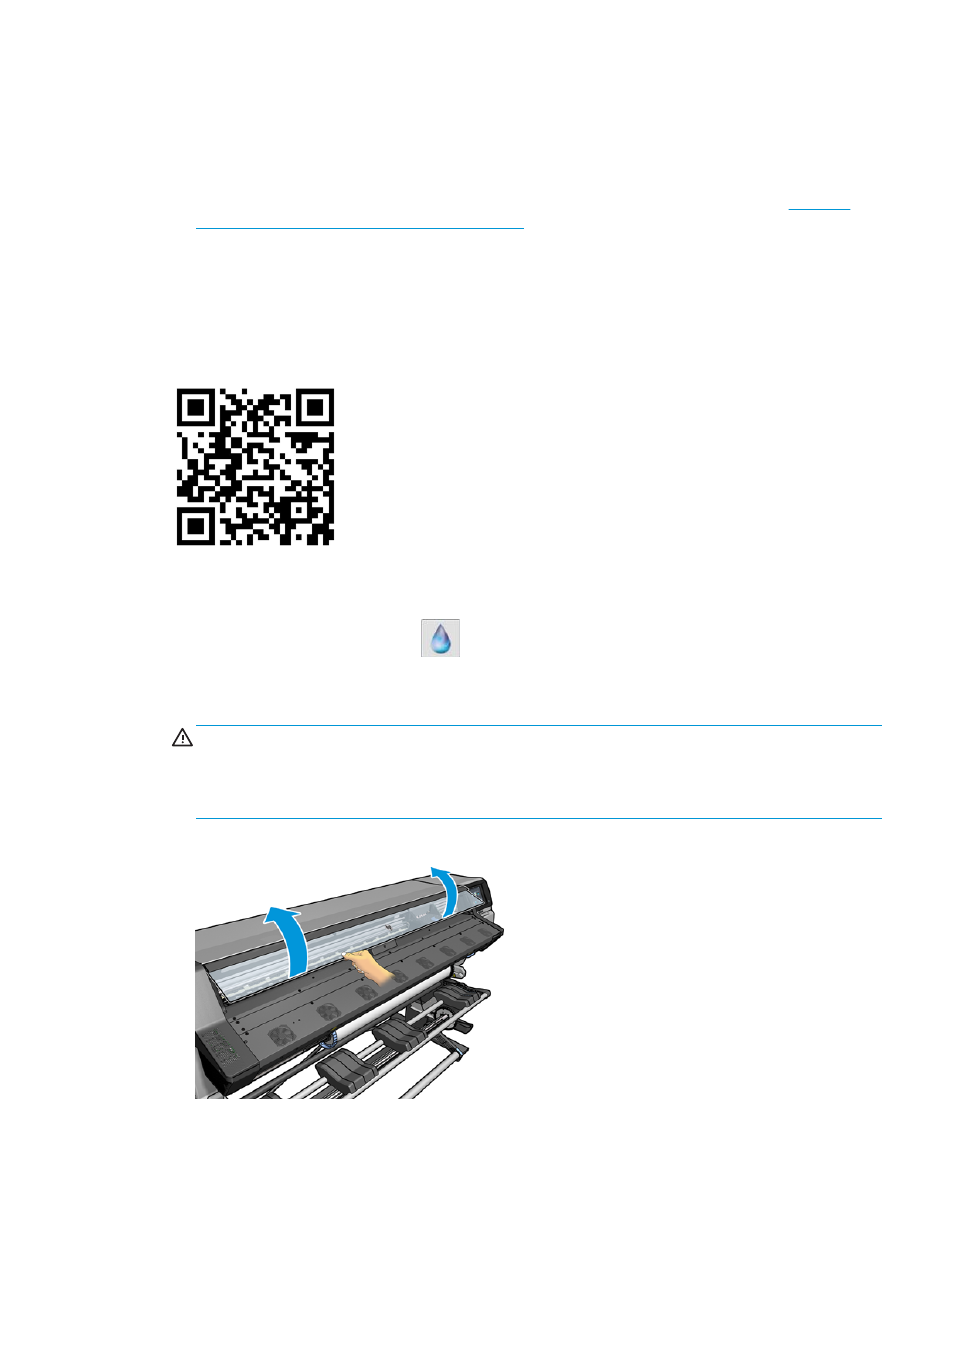
When the carriage has stopped moving, the front panel prompts you to open the printer window.
ENWW
Front panel recommends reseating or replacing a printhead 129