Canon PowerShot G1 X Mark II User Manual
Page 74
74
Before Use
Basic Guide
Advanced Guide
Camera Basics
Auto Mode / Hybrid
Auto Mode
Other Shooting
Modes
P Mode
Tv, Av, M, C1, and
C2 Mode
Playback Mode
Wi-Fi Functions
Setting Menu
Accessories
Appendix
Index
Shooting Interval, Playback Speed, and Estimated Playback Time (for One-Hour
Movies)
Interval between Shots
Frame Rate
Playback Time
15 sec.
16 sec.
15 sec.
8 sec.
30 sec.
8 sec.
30 sec.
4 sec.
1 min.
4 sec.
1 min.
2 sec.
•
If the camera runs out of battery power or memory card space, shooting
stops and a movie created from the images up to that point is saved.
•
Optical zoom is set to maximum wide angle and cannot be adjusted.
•
A shooting interval of [1 min.] is not available with these effects:
[
], [
], [
], or [
].
•
Note that sound is not recorded.
•
There will be a delay before you can shoot again, as the camera processes
the images.
•
To save each shot collected before the movie is created, choose MENU > [
4]
tab > [Save
Stills] > [On]. Note that these individual images are managed
as a single group, and during playback, only the first image is displayed. To
indicate that the image is part of a group, [
] is displayed in the upper left
of the screen. If you erase a grouped image (
are also erased. Be careful when erasing images.
•
Try setting [Night Display] to [On] (
•
Try switching to manual focus mode (
) to more accurately specify the
focal position before shooting.
•
You can also choose the shooting mode by choosing [
] in steps 1 – 2 of
“Specific Scenes” (
] to access the setting screen,
touching [
], and then touching the same option or [
].
Still Images
Movies
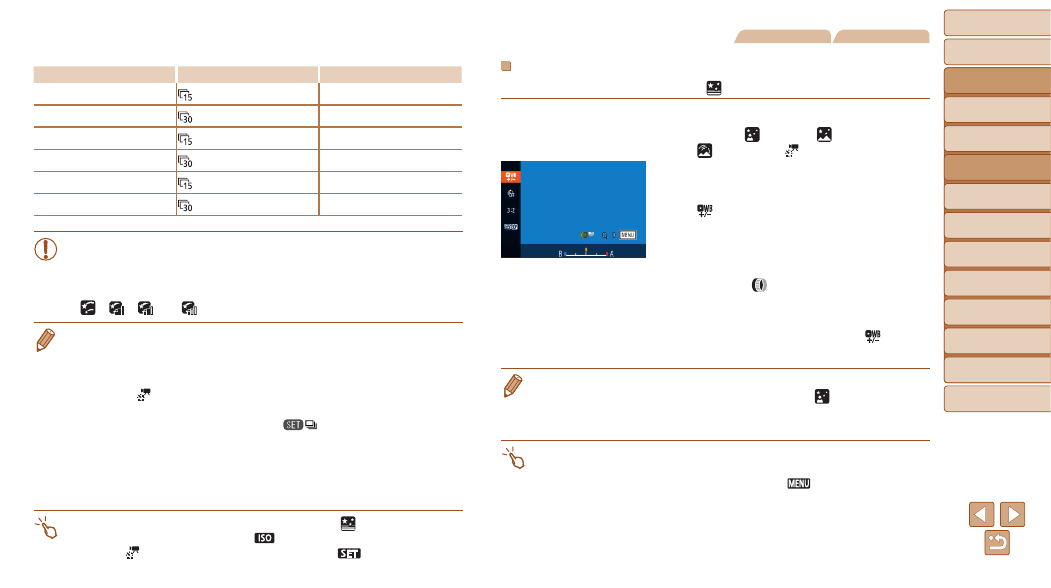
Adjusting Colors
Colors can be manually adjusted in [
] mode.
1
Choose a shooting mode.
z
z
Choose [
] (
), [
),
[
] (
).
2
Choose color adjustment.
z
z
Press the <
m> button, and then choose
[
] in the menu (
).
3
Adjust the setting.
z
z
Turn the <
> ring or press the <
q>
buttons to adjust the correction level for B
and A, and then press the <
m> button.
z
z
Once the setting is complete, [
] is
displayed.
•
B represents blue and A, amber.
•
Skin tones remain the same when you adjust colors in [
] mode.
•
Advanced settings can be accessed by pressing the <
n> button when the
screen in step 2 is displayed (
).
•
You can also choose the correction level by touching or dragging the bar in
step 2.
•
Advanced settings can be accessed by touching [
] when the screen in
step 2 is displayed.