Canon PowerShot G1 X Mark II User Manual
Page 203
203
Before Use
Basic Guide
Advanced Guide
Camera Basics
Auto Mode / Hybrid
Auto Mode
Other Shooting
Modes
P Mode
Tv, Av, M, C1, and
C2 Mode
Playback Mode
Wi-Fi Functions
Setting Menu
Accessories
Appendix
Index
•
Specifying [Index] will prevent you from choosing [On] for both [Date] and [File
No.] at the same time.
•
Index printing is not available on some Canon-brand PictBridge-compatible
printers (sold separately).
•
The date is printed in a format matching setting details in [Date/Time] on the
[
3] tab (
Still Images
Setting Up Printing for Individual Images
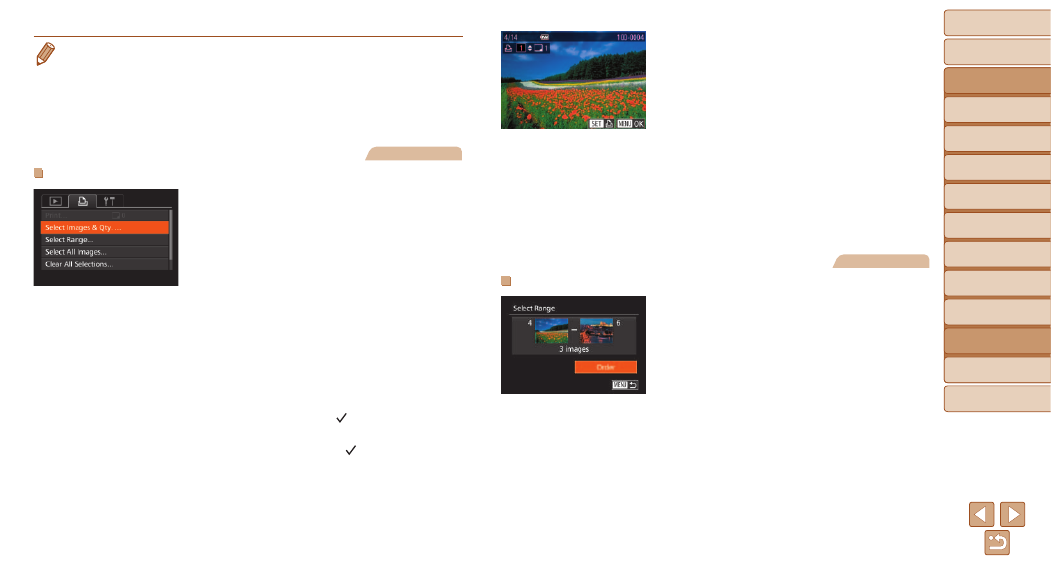
1
Choose [Select Images & Qty.].
z
z
Press the <
n> button, choose
[Select Images & Qty.] on the [
2] tab,
and then press the <
m> button.
2
Choose an image.
z
z
Press the <
q>
<
7> dial to choose an image, and then
press the <
m> button.
z
z
You can now specify the number of
copies.
z
z
If you specify index printing for the image,
it is labeled with a [
] icon. To cancel
index printing for the image, press the
<
m> button again. [ ] is no longer
displayed.
3
Specify the number of prints.
z
z
Press the <
o>
buttons or turn the
<
7> dial to specify the number of prints
(up to 99).
z
z
To set up printing for other images and
specify the number of prints, repeat steps
2 – 3.
z
z
Printing quantity cannot be specified for
index prints. You can only choose which
images to print, by following step 2.
z
z
When finished, press the <
n> button
to return to the menu screen.
Still Images
Setting Up Printing for a Range of Images
z
z
Following step 1 in “Setting Up Printing
for Individual Images” (
[Select Range] and press the <
m>
button.
z
z
Follow steps 2 – 3 in “Selecting a Range”
(
z
z
Press the <
o>
buttons to choose
[Order], and then press the <
m> button.