Helpful shooting features, Changing movie image quality, Using the dual axis electronic level – Canon PowerShot G1 X Mark II User Manual
Page 52
52
Before Use
Basic Guide
Advanced Guide
Camera Basics
Auto Mode / Hybrid
Auto Mode
Other Shooting
Modes
P Mode
Tv, Av, M, C1, and
C2 Mode
Playback Mode
Wi-Fi Functions
Setting Menu
Accessories
Appendix
Index
Movies
Changing Movie Image Quality
3 image quality settings are available. For guidelines on the maximum
movie length at each level of image quality that will fit on a memory card,
see “Recording Time per Memory Card” (
z
z
Press the <
m> button, choose [
]
in the menu, and choose the desired
option (
).
z
z
To restore the original setting, repeat this
process but choose [
].
Image
Quality
Resolution
Frame Rate
Details
1920 x 1080
30 fps
For shooting in Full HD
1280 x 720
30 fps
For shooting in HD
640 x 480
30 fps
For shooting in standard definition
•
Black bars (displayed on the top and bottom in [
] and [
] modes
and on the left and right in [
] mode) indicate image areas not recorded.
Helpful Shooting Features
Still Images
Movies
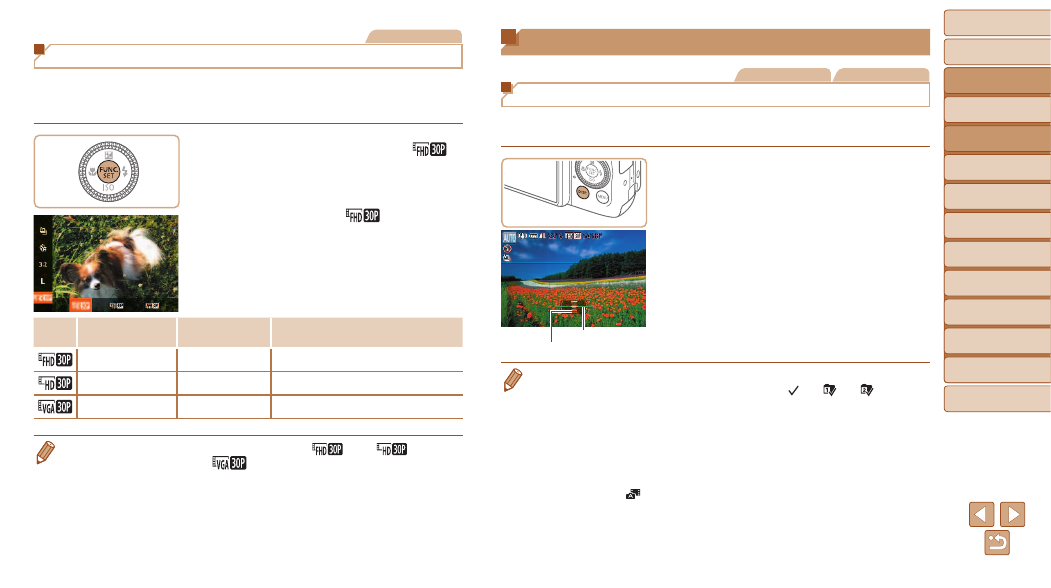
Using the Dual Axis Electronic Level
An electronic level can be displayed as a guideline to ensure the camera is
level from front to back and left to right.
1
Display the electronic level.
z
z
Press the <
l> button several times
to display the electronic level.
2
Straighten the camera.
z
z
If the camera is tilted, move it so that the
red line changes to green.
•
If the electronic level is not displayed in step 1, press the <
n> button, and
on the [
4] tab, choose [Custom Display]. Add a [ ] to [ ] or [ ] to choose
the electronic level.
•
The electronic level is not displayed during movie recording.
•
If you hold the camera vertically, the orientation of the electronic level will be
updated automatically to match the camera orientation.
•
Calibrate the electronic level if it seems ineffective in helping you level the
camera (
).
•
Not available in [
] mode.
Back or Forward
Left or Right