Registering other web services – Canon PowerShot G1 X Mark II User Manual
Page 144
144
Before Use
Basic Guide
Advanced Guide
Camera Basics
Auto Mode / Hybrid
Auto Mode
Other Shooting
Modes
P Mode
Tv, Av, M, C1, and
C2 Mode
Playback Mode
Wi-Fi Functions
Setting Menu
Accessories
Appendix
Index
10
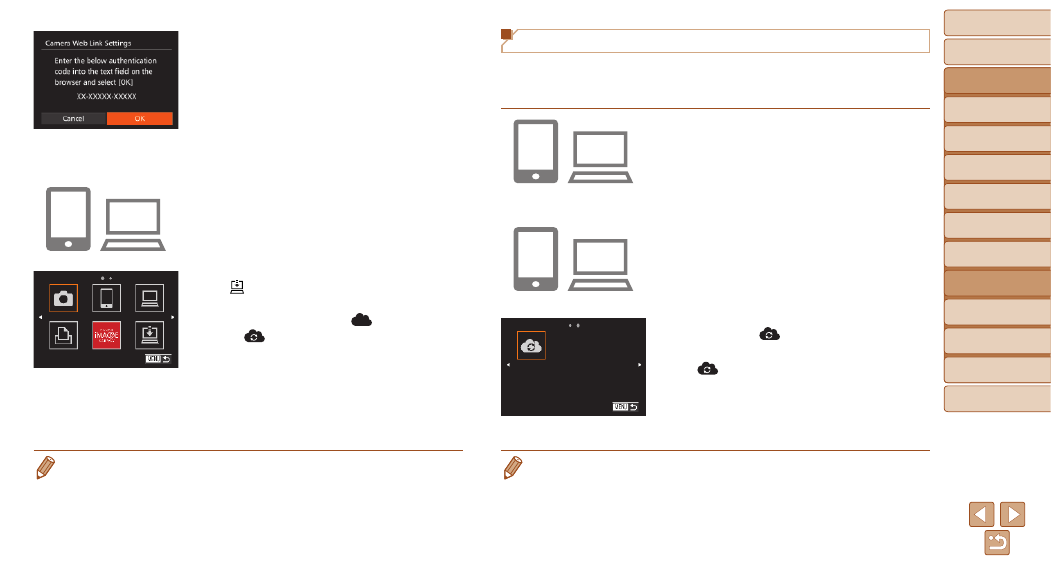
Check the confirmation
numbers and complete the
setup process.
z
z
Make sure the confirmation number on
the camera matches the number on the
smartphone or computer.
z
z
Press the <
q>
<
7> dial to choose [OK], and then press
the <
m> button.
z
z
Complete the setup process on the
smartphone or computer.
z
z
[
GATEWAY are now added as
destinations, and the [
] icon changes
to [
].
z
z
A message is displayed on the
smartphone or computer to indicate that
this process is finished. To add other
Web services, follow the procedure in
“Registering Other Web Services” from
step 2 (
).
•
You can connect to WPS-compatible access points by choosing [WPS
Connection] in step 6. For details, see steps 5 – 7 in “Connecting to WPS-
Compatible Access Points” (
Registering Other Web Services
You can also add Web services besides CANON iMAGE GATEWAY to the
camera. Note that CANON iMAGE GATEWAY must be registered on the
camera first (
1
Access the Web service
settings screen.
z
z
Follow step 1 in “Registering CANON
iMAGE GATEWAY” (
to CANON iMAGE GATEWAY, and then
access the Web service settings screen.
2
Configure the Web service you
want to use.
z
z
Follow the instructions displayed on the
smartphone or computer to set up the
Web service.
3
Choose [
].
z
z
Access the Wi-Fi menu (
), choose
[
] (either press the <
o>
buttons or turn the <
7> dial), and then
press the <
m> button.
z
z
The Web service settings are now
updated.
•
If any configured settings change, follow these steps again to update the
camera settings.