Step 4 saving the edited programmed stitch, Step 5 quitting programmable stitch creator, Step 4 – Brother PE-DESIGN Ver.432 User Manual
Page 57: Step 5, Saving the edited programmed stitch, Quitting programmable stitch creator
48
Step 4
Saving the Edited Programmed Stitch
In order to apply your edited stitch pattern to a region in Layout & Editing or Design Center, you must first
save it as a
pas
file. To do this, proceed as follows.
1
Click
File
on the menu bar, then click
Save
on the submenu.
You can also click on the button of the Toolbar shown below:
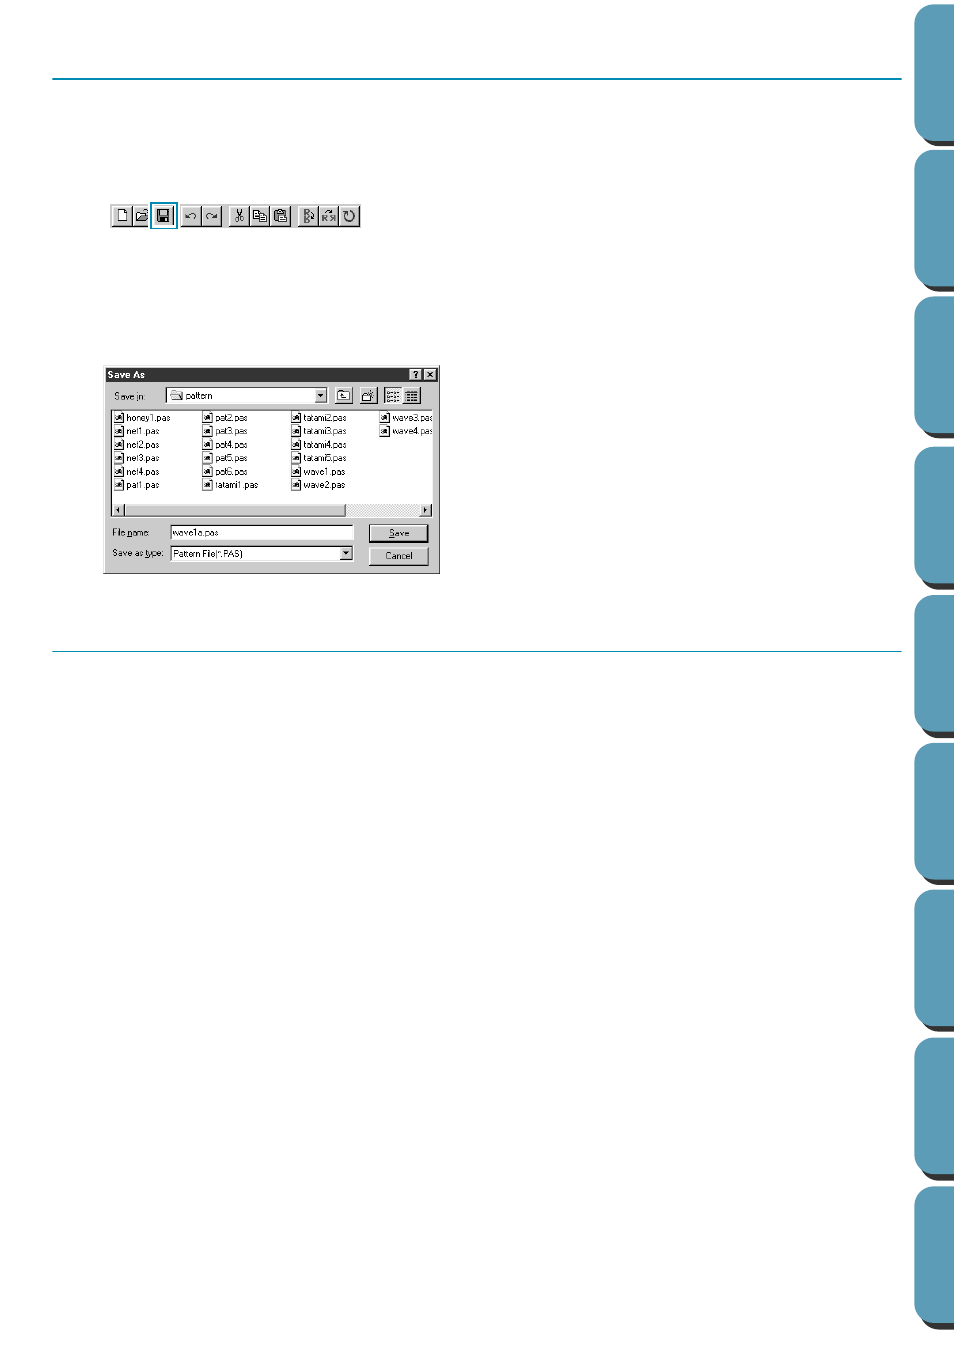
Since the
pas
files that come with your program are “Read Only” files and cannot be overwritten,
the
Save as
dialog opens.
2
Type in a file name and select another target folder if you want to save your own stitch pattern files
separately.
Step 5
Quitting Programmable Stitch Creator
Now that you have created a stitch pattern, you may close this application as you will no longer need it for
this exercise.
1
Click
File
on the menu bar, then click
Exit
on the submenu.
If you have saved your file as recommended in the previous step, the application will close immedi-
ately. If you have changed anything after the last time you saved the file, you will be asked whether
you want to save the file. Click
Yes
, then proceed as explained in the previous step.
◆
Select the drive, the folder and type the
file name.
◆
Click
Save
to save.
◆
Click
Cancel
to exit.