In-Situ Aqua TROLL 100 and 200 Operators Manual User Manual
Page 50
Page 50
Aqua
TROLL Operator’s Manual
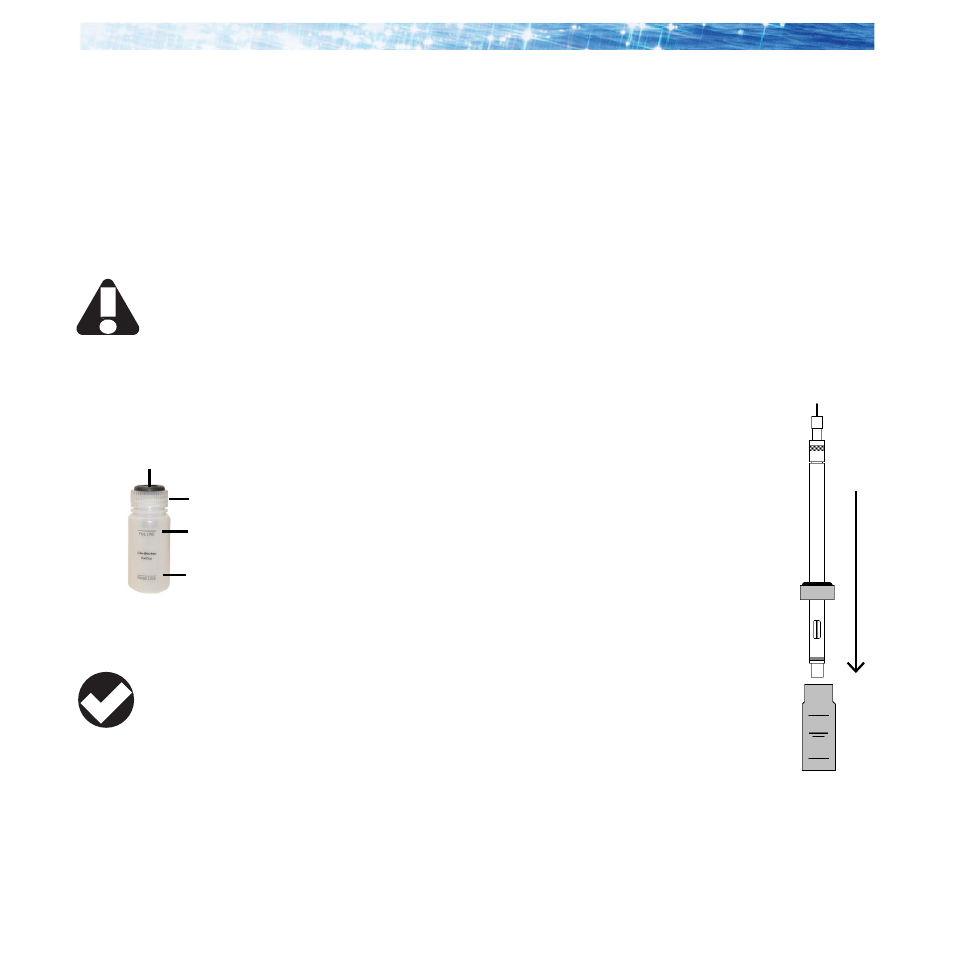
A Eliminate water and rinse
1. Remove the nose cone (Aqua TROLL 200 only). Water trapped
here can dilute the calibration solution. Air bubbles may also
come from this area.
2. If the device is wet from previous use, dry the body and shake
to clear any liquid inside the conductivity sensor.
3. Before opening the solution bottle, invert it a few times to
redistribute any water condensation.
4. Remove the Cal Cup cap and fill the cup to the “Rinse” line
with calibration solution.
5. Insert the Aqua TROLL through the grommet in the cap.
6. Attach the cap to the Cal Cup. The Aqua TROLL
should rest on or near the bottom.
7. Shake vigorously to rinse the sensing cell.
8. Loosen the cap, remove the Aqua TROLL. There is no
need to pull it out of the cap. Discard the solution.
9. For best results, rinse again using the same
procedure.
B Equalize temperature
1. Fill the Cal Cup to the “Fill” line with calibration
solution.
2. Install the Aqua TROLL and tighten the cap.
3. Invert multiple times for at least 30 seconds—
longer if the probe and solution are at different
temperatures.
Section 5: Conductivity
When the nose
cone is removed,
the pressure sensor
diaphragm is exposed. Do not
touch the the pressure sensor
membrane.
Cal Cup
Grommet
Fill
Rinse
Cap
TIP: A second
rinse is important if
the Cal Cup and the
Aqua TROLL were not clean and
dry at the start of this process.