7 starting fieldmate, Starting fieldmate -6 – Yokogawa AXFA14G/C User Manual
Page 13
IM 01E20F12-01E
3-6
3. GETTING STARTED
3.7 Starting FieldMate
The following section describes how to run DTM with
FieldMate R1.03.
For the detailed information on FieldMate, see its
User’s manual.
IMPORTANT
• Before running the program, log-in to Windows
as an Administrator or as a user with adminis-
trative authority.
• When comm. DTM is connected to the PROFI-
BUS network with class 1 master running, set
the same busparameters of class 1 master.
• The FieldMate R1.03 has the DTM for AXF
Profibus PA as its standard package. Hence, it
is recommended to use the R1.03 with AXF.
If the AXF connects to the FieldMate R1.02, the
DTM for AXF is necessary to download from
the following web-site and combine to the
FieldMate R1.02 by DTM Setup tool at first.
http://downloads.yokogawa-europe.com/
Start FieldMate
Start FieldMate as followings:
Click [Start]
→ [All Programs] → [YOKOGAWA
FieldMate]
→ [FieldMate]
Select [PROFIBUS] and then click [OK] in the Login
Window.
The FieldMate starts to communicate, and the follow-
ing window is appeared when this action was finished.
Figure 3.7.1 FieldMate R1.03
New Device Maintenance Info
Click [Action]
→ [Register Device Maintenance Info].
The new device maintenance information is registered
when this work was finished.
Figure 3.7.2 Register Device Maintenance Info
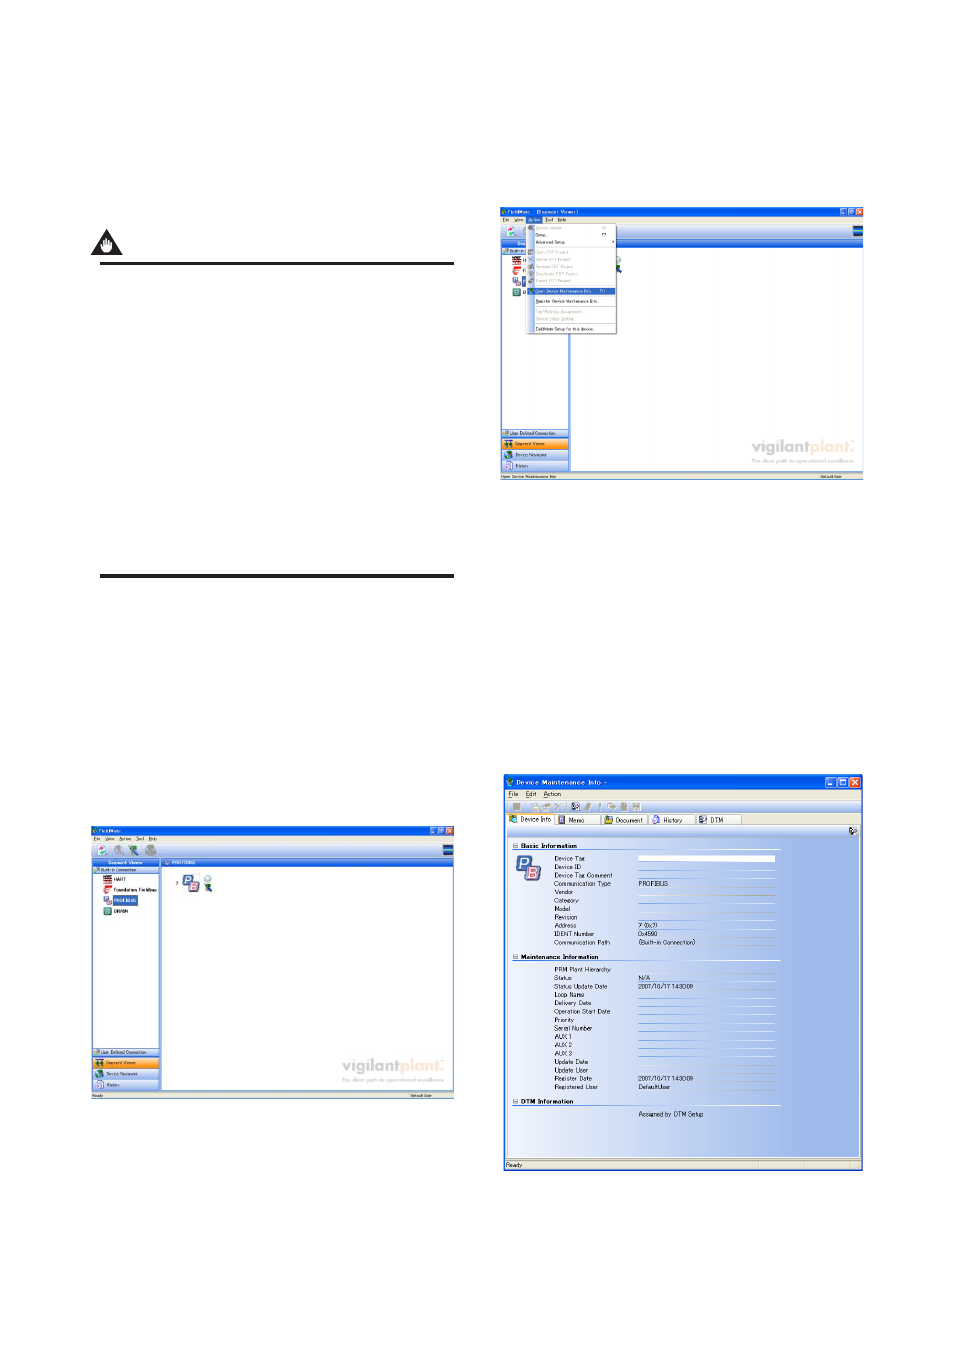
Next, click [Action]
→ [Open Device Maintenance
Info]. The FieldMate confirms the device to open, then,
select the adequate AXF on this menu, and click [OK].
The FieldMate shows the [Device Maintenance Info
window] for AXF as shown in Figure 3.7.3 next. Set
the adequate parameters if necessary depending on
changing parameters against factory default values.
Close the window after saving if parameters on this
menu were changed ([File]
→ [Save]).
Figure 3.7.3 Device Maintenance Info