Lap pad calibration & set-up, Multi-point calibration – Liquid Controls LCR Setup & Operation User Manual
Page 24
24
Lap Pad Calibration & Set-up
Multi-point calibration allows a flowmeter to be used over a wide range of flow rates without experiencing a loss in
measurement accuracy dueA to the shape of the meter curve (usually at low flow rates).
After determining the inaccuracy
of the meter at a variety of flow rates and inputting that information into the LCR multi-point calibration table, accuracy
corrections are then continuously made by the LCR based on the measured flow rate.
There are two ways to obtain the
information necessary to load the multi-point calibration table:
1. Manufacturer's data supplied with the meter can be entered directly.
2. The meter can be field calibrated by proving at various flow rates.
1. MANUFACTURER'S DATA TECHNIQUE
Step 1:
Go to Screen 7 of PRODUCT CALIBRATION. From the manufacturer's data sheet showing the accuracy
at various flow rates, enter into PT^1 the flow RATE and the delivery %ERROR corresponding to the
maximum flow rate of the meter.
Step 2:
Select up to nine additional points from the manufacturer's data sheet to characterize the remainder of
the meter's accuracy curve and enter this data into PT^2, PT^3, etc., respectively, in descending order
by rate. (While it is not necessary to enter the selected points in a specific order, it is desirable to do so
because the LCR will re-sort the data and arrange it in descending order by rate when it is APPLIED.)
To enter negative %ERROR values, first enter the number, then press the "*" key to display the "-" sign.
Errors that can occur during multi-point table data entry include:
DUPLICATE FLOW RATE ERROR
The same flow rate value was entered twice.
RANGE ERROR
A %ERROR outside the ±3.0% limit was entered.
POINT SELECTION TIPS:
•
Because the LCR uses a piece-wise linear interpolation method of correction, it is desirable to use
more data points along segments of the accuracy curve that have the greatest curvature (typically
in the low flow rate region).
•
Where the meter curve already approximates a straight line (in the high flow rate region), use
fewer of the available points.
Step 3:
Set the LINEAR^ field to APPLIED and enter it. This puts the linearizing algorithm into ef fect. If the
error message ADJACENT POINTS OUT OF 0.25% RANGE is displayed, APPLIED will not t ake
effect and the points will need to be reselected to ensure that no two points adjacent to each other are
more than 0.25% apart in %ERROR.
Step 4:
Field prove the meter at the normal high flow rate of the system. Adjust the PULSES/UNIT in Screen 3
of the PRODUCT CALIBRATION menu by entering the actual PROVER QTY (see Page 19) to obtain
accuracy within tolerance limits.
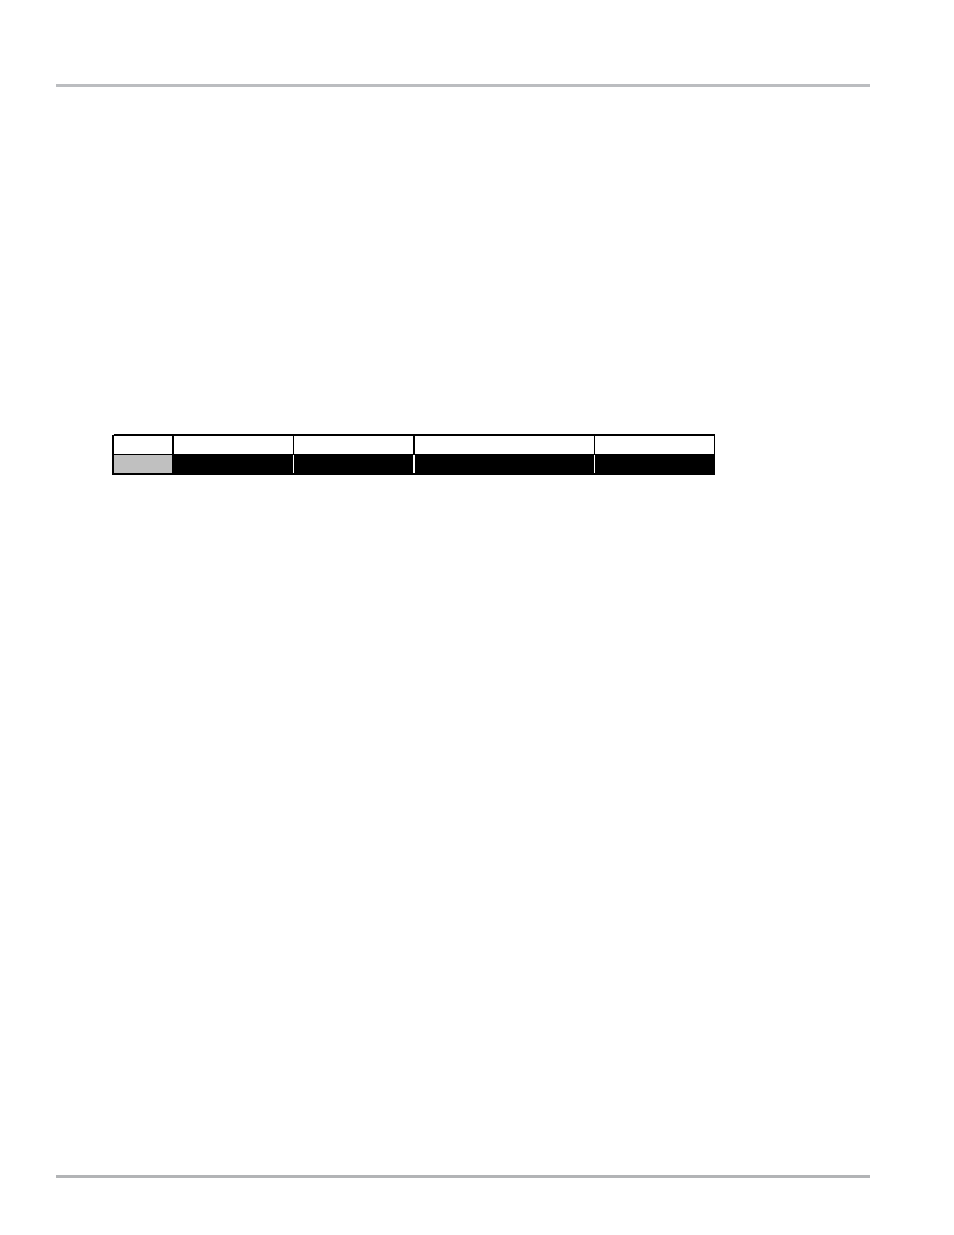
MULTI-POINT CALIBRATION
PT^
1
0.00
GALLONS
PER MINUTE
0.000
Product Calibration - Screen 7
RATE
UNITS^
RATE BASE^
%ERROR