Uploading files, Adding a directory, Other file management activities – Extron Electronics MKP 2000 User Manual
Page 38: Html operation, cont’d, Using the file management page
MKP 2000 Remote Control Panel • HTML Operation
MKP 2000 Remote Control Panel • HTML Operation
HTML Operation, cont’d
5-16
If the MKP has not been assigned an IP address, enter the
factory default address: 192.168.254.253.
12
.
Press Enter on your keyboard. The System Status Web
page is displayed.
13
.
Perform the Firmware Upgrade procedure, beginning with
step 5 (page 5-13).
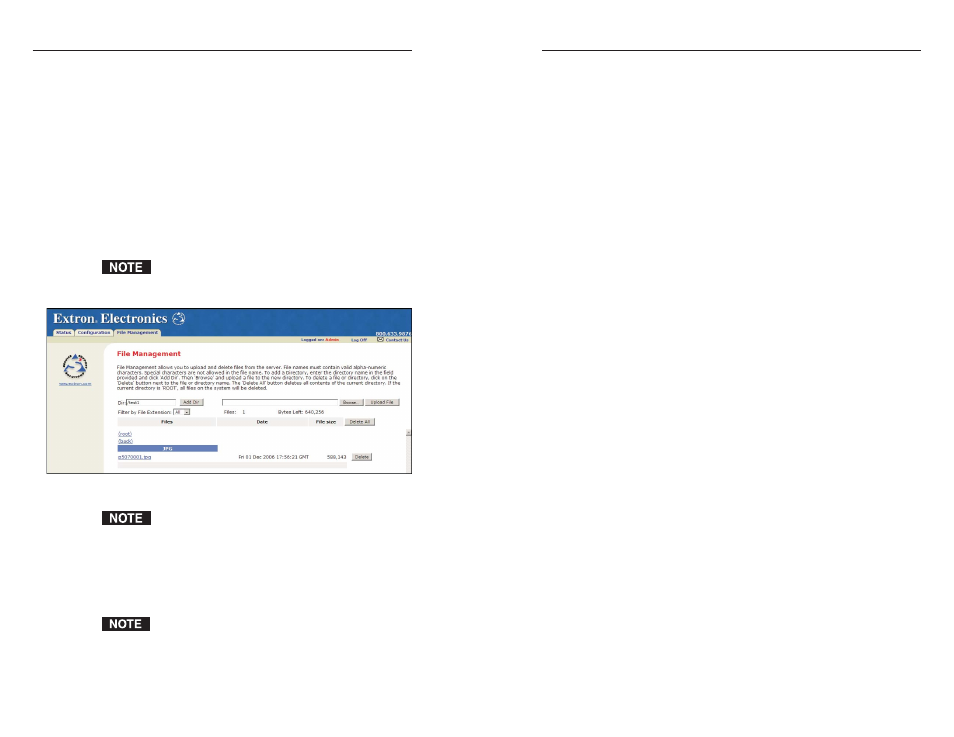
Using the File Management Page
The File Management page (figure 5-9) lets you upload files to
the MKP 2000 from your computer or network, and to delete
files from the unit. You can also upload personalized Web pages
or event files to the MKP via this screen. To display the File
Management page, select the File Management tab.
If you want one of the pages that you create and upload
to be the default startup page, name that file
“index.html.”
Figure 5-9 — File Management page
The files listed in figure 5-9 are shown as examples only
and may not be present on your MKP 2000.
Uploading files
Files to be uploaded to the MKP 2000 must contain only valid
alphanumeric characters and underscores. No spaces or special
characters (symbols) are allowed.
Using any of the following characters results in an
invalid name:
{space} + ~ @ = [ ] { } < > ’ “ ; : | \ and ?.
To upload files from the server, follow these steps:
1
.
Click the Browse button to the right of the file name field.
2
.
Browse to locate the file that you want to upload, and
open it. The file’s name and directory path are displayed
in the file name field on the File Management screen.
3
.
Click the Upload File button. The selected file name
appears in the Files column on the File Management
screen. (Files are listed separately under headings of their
extensions.)
Adding a directory
To add a directory or folder to the MKP’s file system, follow
these steps:
1
.
Enter the directory name in the Dir: field, following the
slash (/).
2
.
Click the Add Dir button.
3
.
With the directory name displayed, perform the
Uploading files procedure described in the previous
section to add a file to the directory. The directory name
appears at the top of the Files column, preceded by a slash.
To add more files to the directory, click the directory name to
open it, then use the uploading files procedure. To exit the
directory, click (root).
Other file management activities
You can also perform the following tasks on the File
Management screen:
Opening a file
— Click on the name of the file in the Files
column.
Deleting a file
— Click the Delete button at the right end of the
line that contains the name of the file you want to remove.
Deleting all files
— Click the Delete All button.
Selecting a file
— From the Select menu, select a file name, or
select All to select all uploaded files.
5-17