Bell & Gossett S14334B Technologic 5500 Series Variable Primary Pump and Valve Controller User Manual
Page 20
20
4.3.8
Password Setup
From the System Setup Menu, shown in section 4.3,
press F3/INFO/8 and ENTER to get to the Password
Setup screen shown below.
Enable Password To:
Setup Menu ? (Y/N)
Set Point ? (Y/N)
Ok ? (Y/N)
To return to the System Setup Menu, shown in sec
-
tion 4.3, press YES/7 and ENTER. To edit the fields,
press NO/0 and ENTER. See Table 18 for a descrip-
tion of the Password Setup variables.
If either of the above are set to YES the screen, shown
below, prompts the user to define the password.
ENTER NEW PASSWORD
>_______________<
Enter a password from 0-999999. Record it here or
somewhere else!
After entering a password the Verify Password screen
requires the user to confirm the password. If the con-
firmed number does not agree with the first number,
the Enter New Password screen is repeated to allow
the user to get both input screens to agree.
VERIFY THE PASSWORD
>_______________<
4.3.9
I/O Setup
From the System Setup Menu, shown in section 4.3,
press F4/9 and ENTER to get to the I/O Setup Menu
shown below.
I/O Setup
Select: #
1 = DI
4 = AO
2 = DO
3 = AI
0 = EXIT
Note
: The total available number of I/O to be con-
figured is dependent on the system setup. Complete
all previous setup screens, specifically sensors, prior
to completing the following.
4.3.9.1
DI
From the I/O Setup Menu, shown in section 4.3.9, press
PROCESS VARIABLE/1 and ENTER to get to the DI
screen shown below.
Opt. DI #
Avail: #
Code: #
Delay: #s
Exit: ? (Y/N)
To return to the I/O Setup Menu, shown in section
4.3.9, press YES/7 and ENTER. To edit the fields,
press NO/0 and ENTER. See Table 19 on next page
for a description of the DI variables.
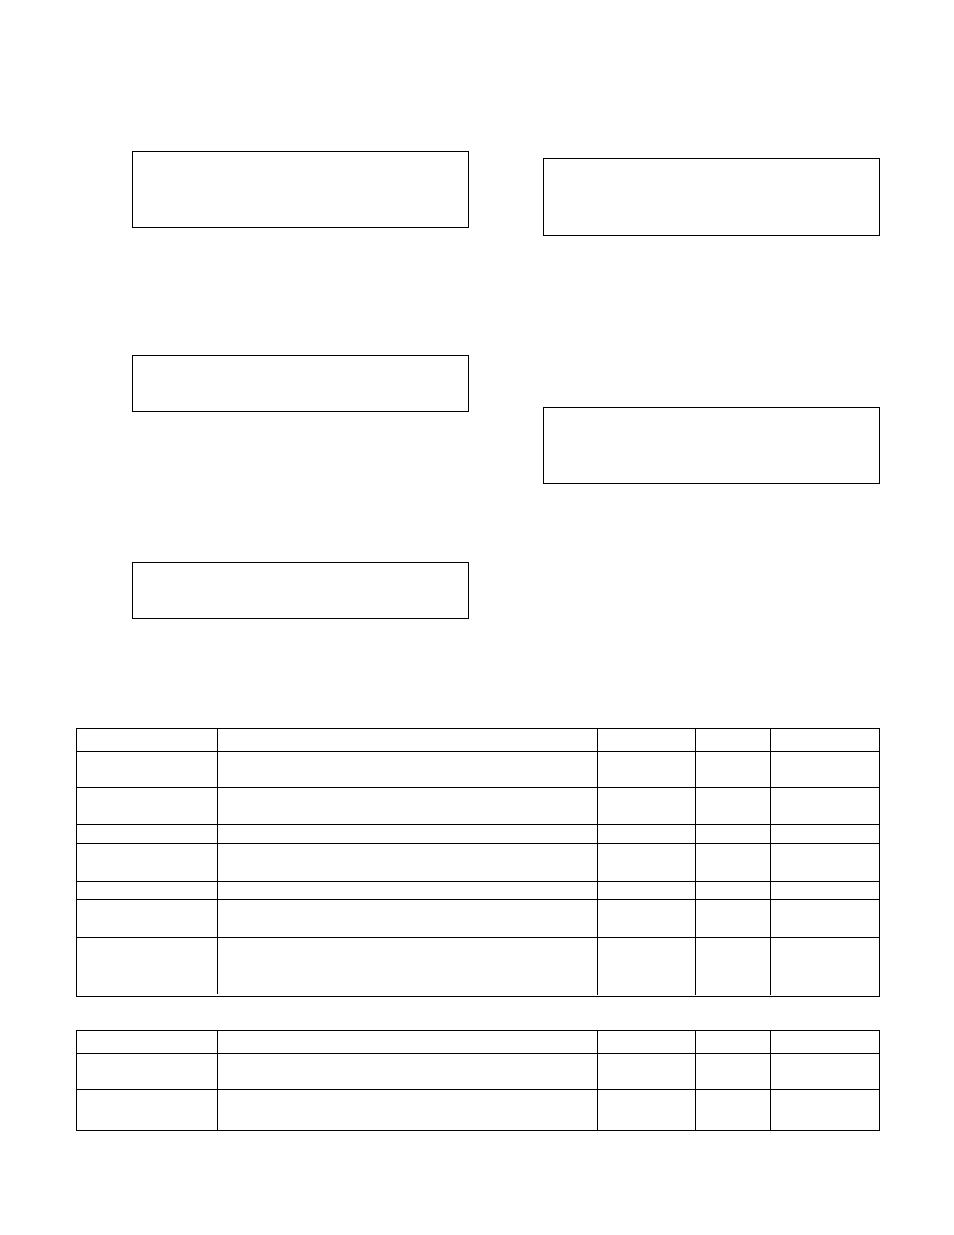
Variable
Description
Default Value
Range
Field Value
Setup Menu
Enter YES for password protection of the entire setup
N
Y or N
menu
Set Point
Enter YES for password protection of the entire set point
N
Y or N
menu
Table 18: Password Variables
Variable
Description
Default Value
Range
Field Value
MM
Current month (two digits), example: Jan. should be
created as 01
DD
Current date (two digits), example: the 6th should be
entered as 06
YYYY
Current year using all 4 digits
HH
Hours (24 hour format), example: 9:00 p.m. should be
entered as 21
MM
Minutes (two digits)
Display
Enter YES to display the time in the 24 hour format.
N
Y or N
24 Hr Fmt
Enter NO to display the time in AM/PM format
Daylite
Enter YES for automatic setback during daylight
N
Y or N
Saving TM
saving time. Enter NO to disable the automatic setback
during daylight saving time.
Table 17: Date/Time Variables