Removing a rectifier, Replacement procedures, continued – GE Industrial Solutions GPS 4848_100 Users Guide (dual rectifier shelf) User Manual
Page 78
Galaxy Power System 4848/100 with Dual Rectifier Shelf
11 - 6 Maintenance and Replacement
Issue 5 September 2011
Replacement Procedures, continued
Removing a
Rectifier
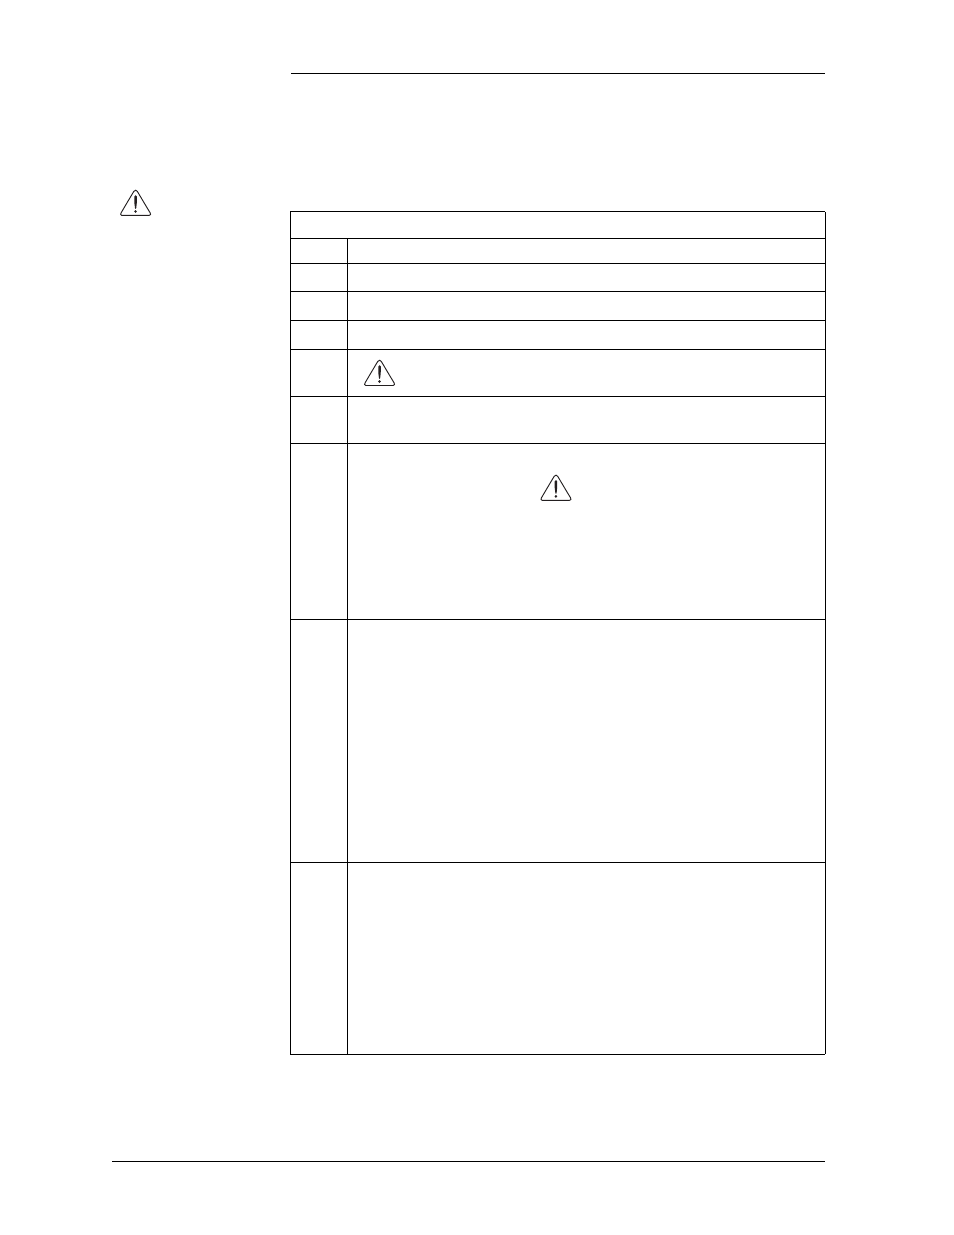
Removing a Rectifier
Step
Action
1
Set power switch to STBY.
2
Turn OFF ac circuit breakers.
3
Turn OFF output circuit breaker on rectifier.
4
Wait 5 minutes to allow capacitors to discharge.
5
Using a 5mm Allen-head “T” wrench, slowly turn the locking
screw counterclockwise to release the rectifier from the shelf.
6
Slowly slide rectifier from shelf.
Caution
Rectifier is heavy (37 pounds).
Do not rest rectifier on faceplate or rear chassis; damage to
faceplate and/or rear busbars will occur, rendering the unit
unusable.
7
If the rectifier is not going to be replaced immediately, retire the
active CMA (Communications Fail - Minor) against that
rectifier ID by using the following path on the Configuration
menu on the front display of the plant controller:
Menu -> CONFIG -> RECT MNGR (Basic Controller)
or
Menu -> CONFIG -> RECT MNGR -> RECT OPER (Intel
Controller)
Move to the Field RMOVE RECT and use the (+) key to input
the Rectifier ID of the removed rectifier. Press Enter to clear the
alarm.
8
If the removal of the rectifier results in a vacant rectifier
position below or beside the top installed rectifier in this
cabinet, it must be replaced immediately or the vacated position
must be occupied by a Rectifier Shelf Cover or Air Dam.
Rectifier Shelf Cover Covers both left and right rectifier
(848680211)
positions
Air Dam
Covers the left or right rectifier
(
CC848809178
)
position