Destination zone – EVS Xedio Dispatcher Version 4.35 - October 2013 User Manual User Manual
Page 95
Part Name
Description
3.
Export
Information
zone
This area provides information on the progress of the export
process.
See section "Export Information Zone" below.
4.
Start and
Cancel
buttons
The Start button starts the export process for the selected
storyboard or clip.
The Cancel button cancels the export process. Already finalized
exports will not be canceled.
Destination Zone
Exporting to a File
To export a storyboard or a clip to a file that can be read by an external system, complete
the following fields before clicking the Start button.
Field
Description
Label
Name you give to the exported storyboard/clip (mandatory).
Folder
Destination folder where you want to export the storyboard/clip to.
Transcoding
Codec
Codec profile, which will determine the final format of the
storyboard/clip in the destination folder.
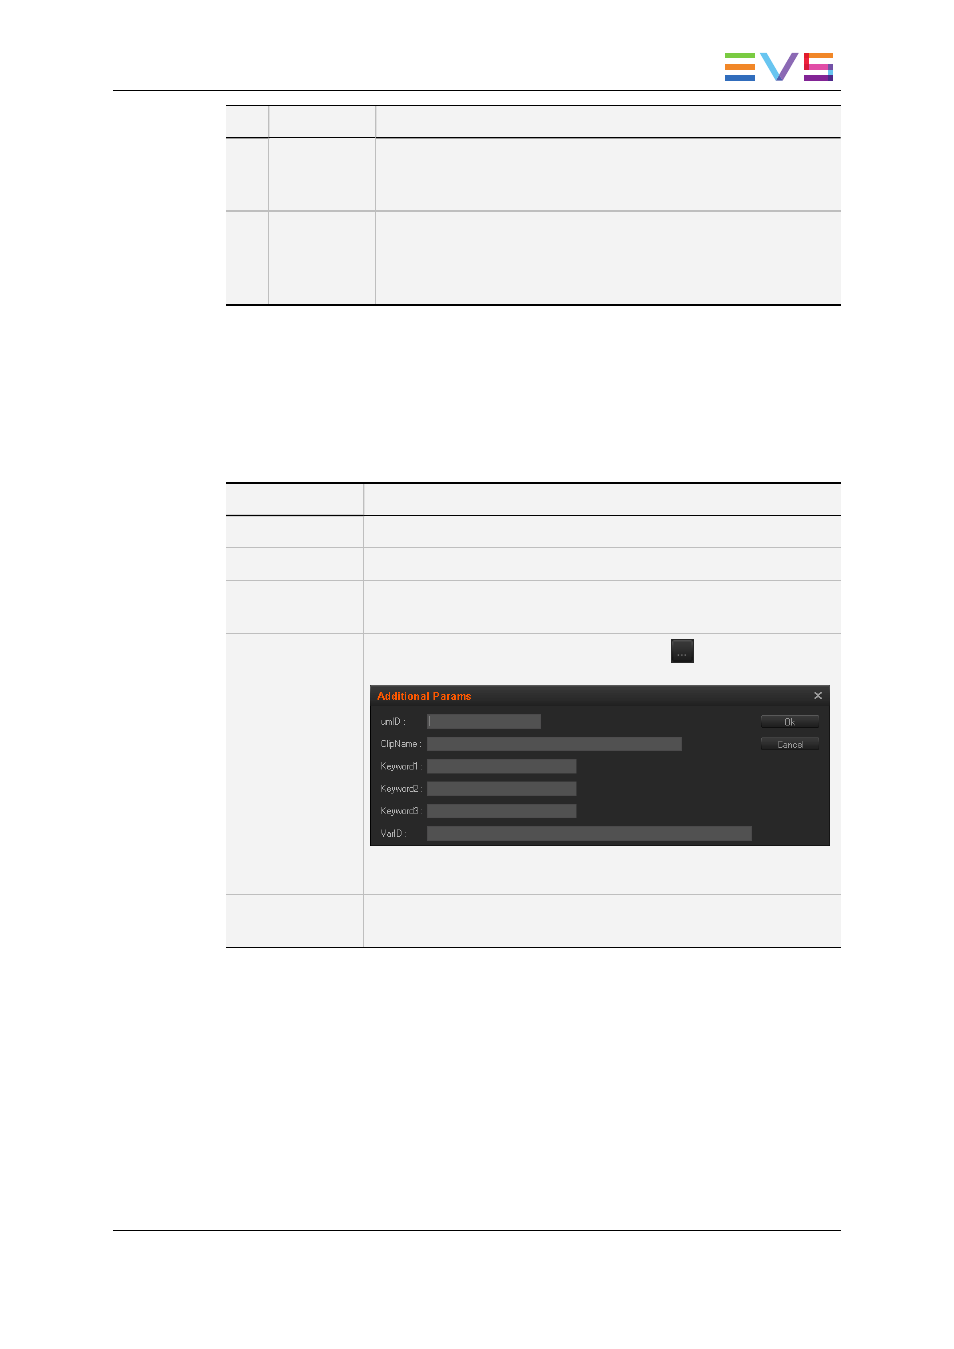
Additional
Parameters
This window can be reached by clicking the
button in the
Transcoding Codec zone.
This allows you to specify parameters for the new file, such as
name, keywords, UmID or VarID.
Rendering from
Low-res
When selected, the edit is rendered from the low-res file. This can
save some time.
Exporting to Device
To export an storyboard/clip to an external device, such as a XDCAM disk, a SxS card or
a P2 card,
•
select the device type: XDCAM, SxS or P2.
•
complete the fields described in the table below
•
click on the Start button.
USER MANUAL Xedio Dispatcher 4.35
4. User Interface
85