How to add source clips to the storyboard, How to replace a clip in the storyboard, How to modify the storyboard clip boundaries – EVS Xedio Dispatcher Version 4.35 - October 2013 User Manual User Manual
Page 117
8.2.
How to Add Source Clips to the
Storyboard
To add a source clip to the storyboard, proceed as follows:
1. Select the source clip from the Thumbnail view or from the List view of the workspace
2. Drag it at the requested place in the Storyboard area.
To add several source clips at a time, you can select them thanks to the usual
commands, as detailed in section "Selecting Techniques" on page 55.
Clips are then added in chronological order.
8.3.
How to Replace a Clip in the
Storyboard
To replace a clip in the storyboard by a source clip or a sub-clip, press the CTRL key while
dragging the source clip or the sub-clip to the storyboard.
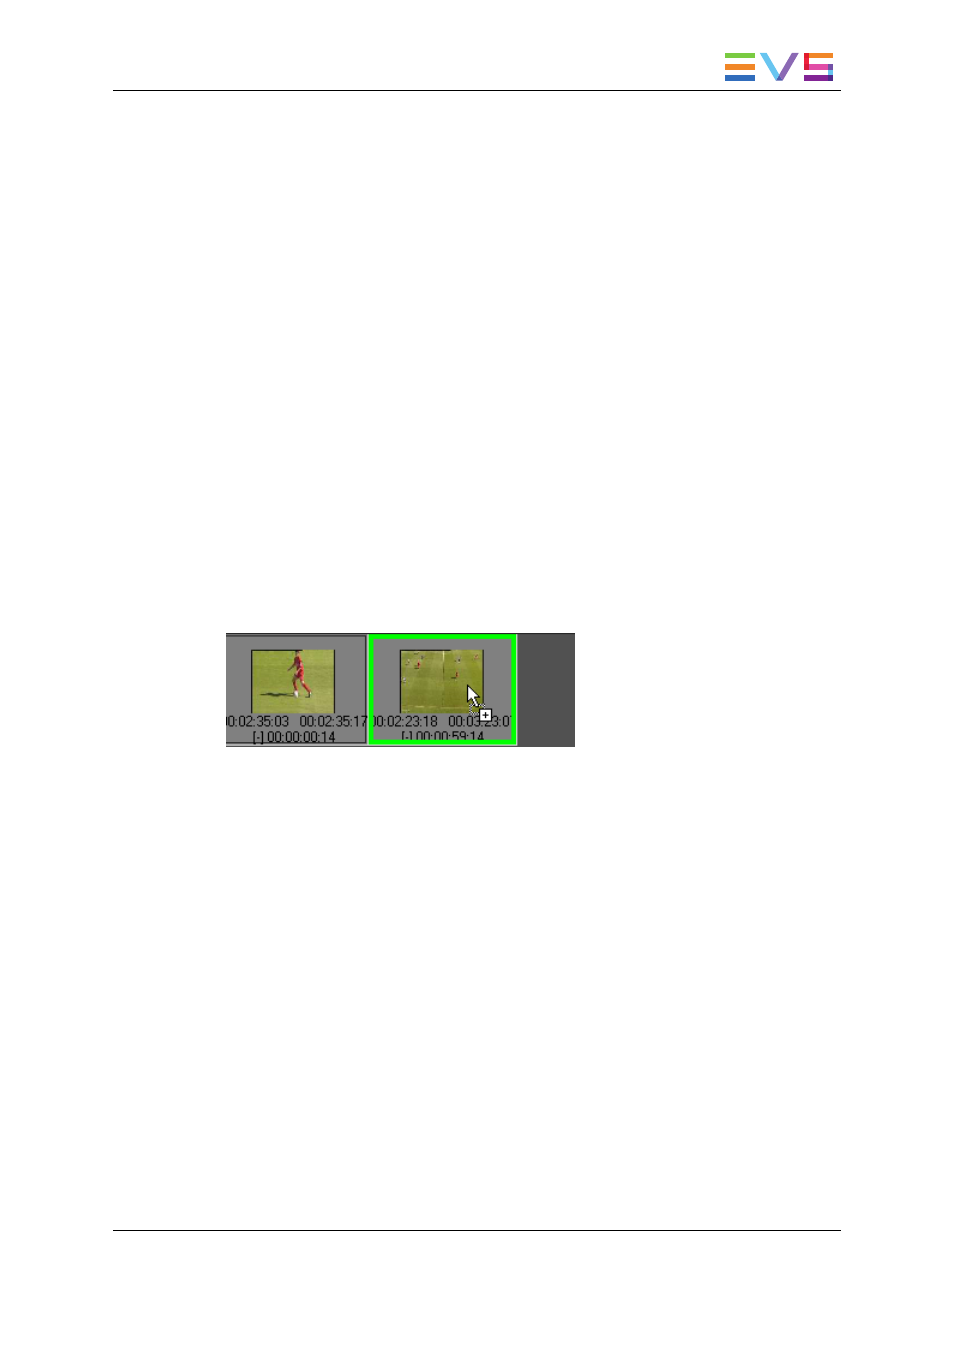
The storyboard element that is going to be replaced is surrounded by a green line:
8.4.
How to Modify the Storyboard Clip
Boundaries
You cannot edit the boundaries of a storyboard clip. You will have to replace the
storyboard clip.
To modify the boundaries of a storyboard clip, proceed as follows:
1. In the open storyboard, double-click the storyboard clip you want to replace.
This loads the source clip of the storyboard clip on the Clip Player.
The displayed clip boundaries are the ones of the storyboard clip.
2. Modify the mark IN and/or mark OUT points to prepare the new sub-clip.
3. Drag the new sub-clip to the storyboard and drop it after the clip to be deleted.
4. Right-click the clip to be deleted from the storyboard and select Delete Selected Edit
Clip from the contextual menu.
USER MANUAL Xedio Dispatcher 4.35
8. Adding Clips or Sub-Clips to the Storyboard
107