Adding a log to a clip and associating metadata – EVS Xedio Dispatcher Version 4.35 - October 2013 User Manual User Manual
Page 120
9.3.
Adding a Log to a Clip and
Associating Metadata
Preliminary Steps
You first need to load a clip and position the nowline at the specific timecode:
1. Load the source clip in the Clip Player or the storyboard clip in the Storyboard Player.
See sections "Loading a Source Clip on the Clip Player" on page 104 and "Checking
the Storyboard" on page 114.
2. Position the nowline on the frame where you want to add a log in one of the following
ways:
◦
Using the transport buttons
◦
Dragging the nowline to the requested frame
◦
Typing the requested TC in the nowline TC field (in Clip Player only) and pressing
ENTER.
Adding a Log without Metadata
1. Place the nowline at the requested position on the media
2. Click the Add Log button
.
The log is added on the media as a white transparent triangle on the media bar.
Adding a Log with Metadata
A log can be added with one or a combination of the following metadata: interest level, free
text, and keywords.
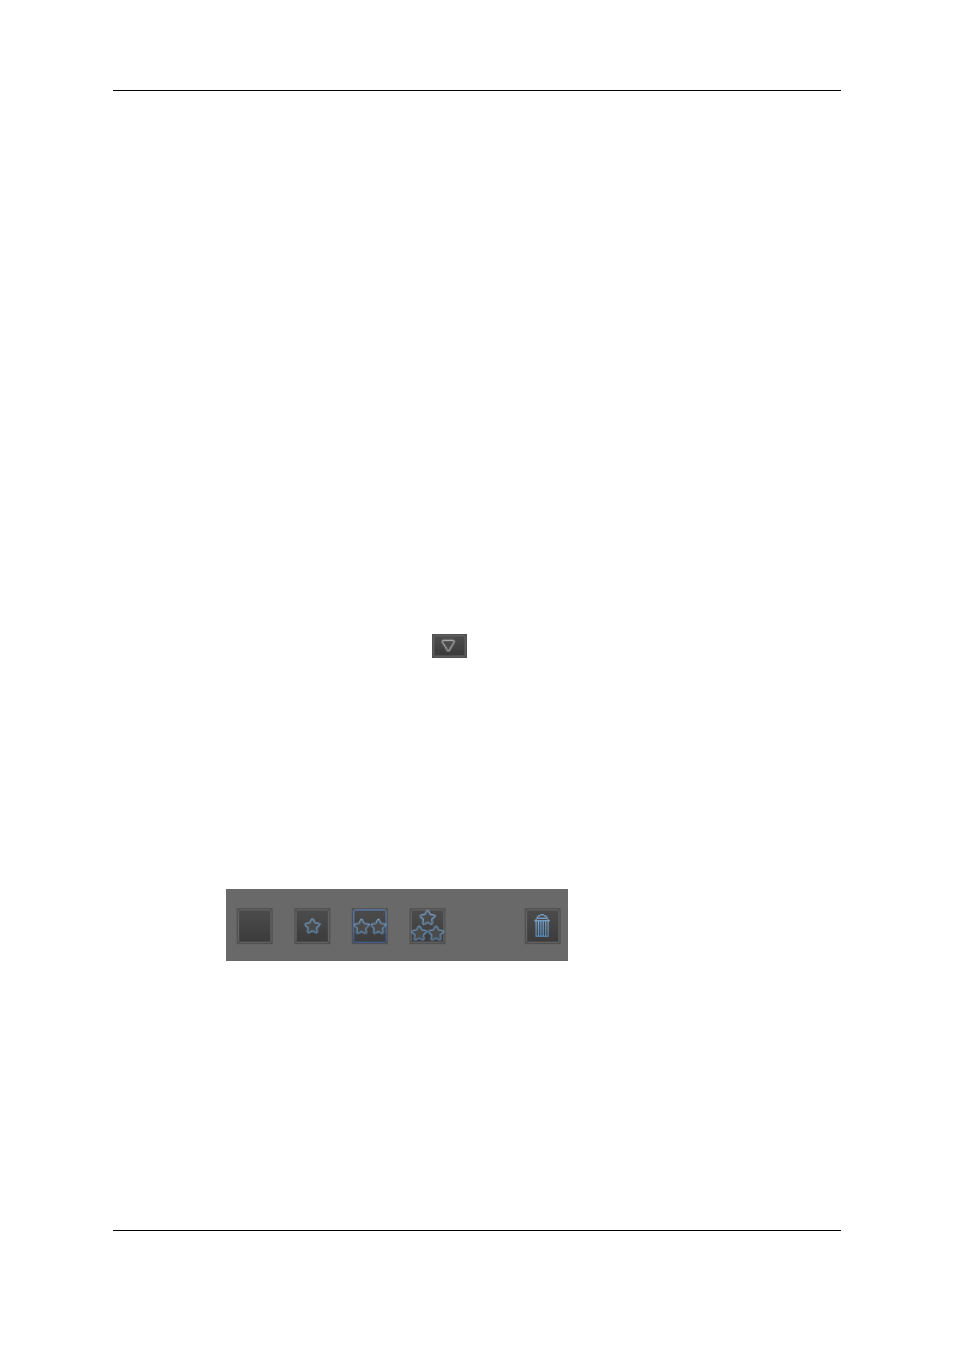
How to Add a Log with an Interest Level
In the Logger tab of the Tools area, click the requested Interest Level button (from no star
to three stars) to assign a level to the log
A colored triangle is displayed on the media bar.
How to Add a Log with Free Text
In the Logger tab of the Tools area, enter some text in the free text field to add free text to
the log
110
9. Adding Logs to a Clip
EVS Broadcast Equipment SA
Issue 4.35.B - October 2013