Adding clips or sub-clips to the storyboard, Adding sub-clips to the storyboard – EVS Xedio Dispatcher Version 4.35 - October 2013 User Manual User Manual
Page 116
8.
Adding Clips or Sub-Clips to the
Storyboard
8.1.
How to Create a Sub-Clip and Add it
to the Storyboard
To create a sub-clip and add it to the storyboard, proceed as follows:
1. Ensure the requested storyboard is open in the Storyboard area. See section "How to
Create an Empty Storyboard" on page 87.
2. Open the requested source clip in the Clip Player view. See section "Selecting
3. Add a mark IN point in one of the following ways:
◦
button
.
◦
Type the requested TC in the TC Mark IN field and press ENTER.
4. Add a mark OUT point in one of the following ways:
◦
OUT button
.
◦
Type the requested TC in the TC Mark OUT field and press ENTER.
5. Enter a name in the Clip Name field, if requested.
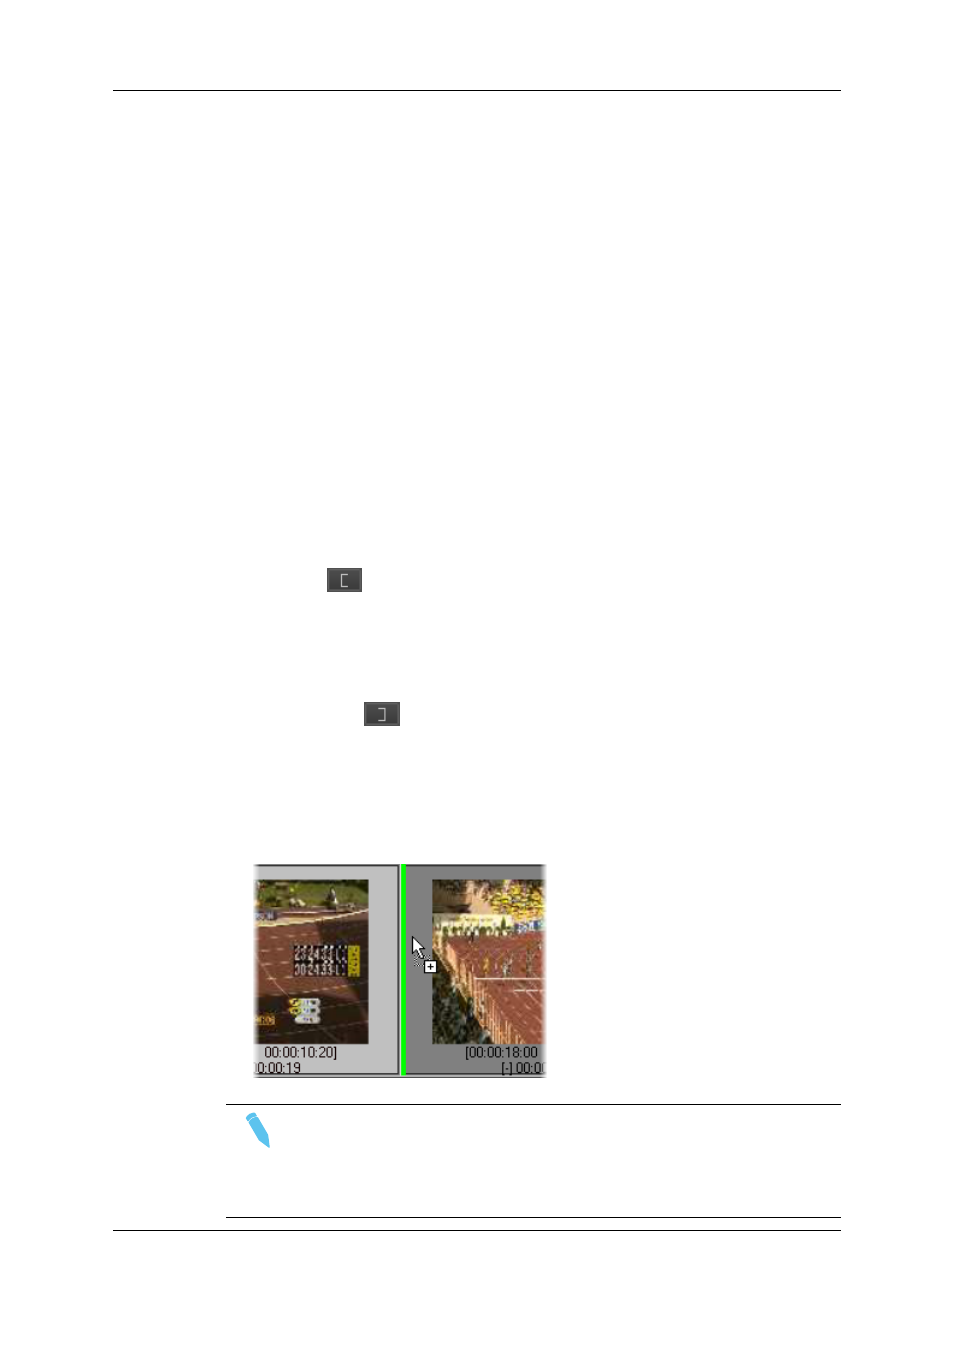
6. Drag the sub-clip to the open storyboard and drop it either at the end of the storyboard,
or between two storyboard clips. The position where the clip will be dropped when you
release the mouse is shown with a vertical green bar:
Note
You cannot modify a storyboard clip once it is included in a storyboard. If you
want to change the boundaries of the storyboard clip, you need to, add a new
one with the requested boundaries and delete the storyboard clip. See section
"How to Modify the Storyboard Clip Boundaries" on page 107.
106
8. Adding Clips or Sub-Clips to the Storyboard
EVS Broadcast Equipment SA
Issue 4.35.B - October 2013