Formatting the image disk – Xerox CX240 User Manual
Page 257
Formatting the Image Disk
247
5.
Click
Import
.
The file is processed, printed, and sent to the Storage window.
Formatting the Image Disk
Perform the following procedure when suggested as a recovery action.
1.
Close all software programs and wait for them to shut down
completely.
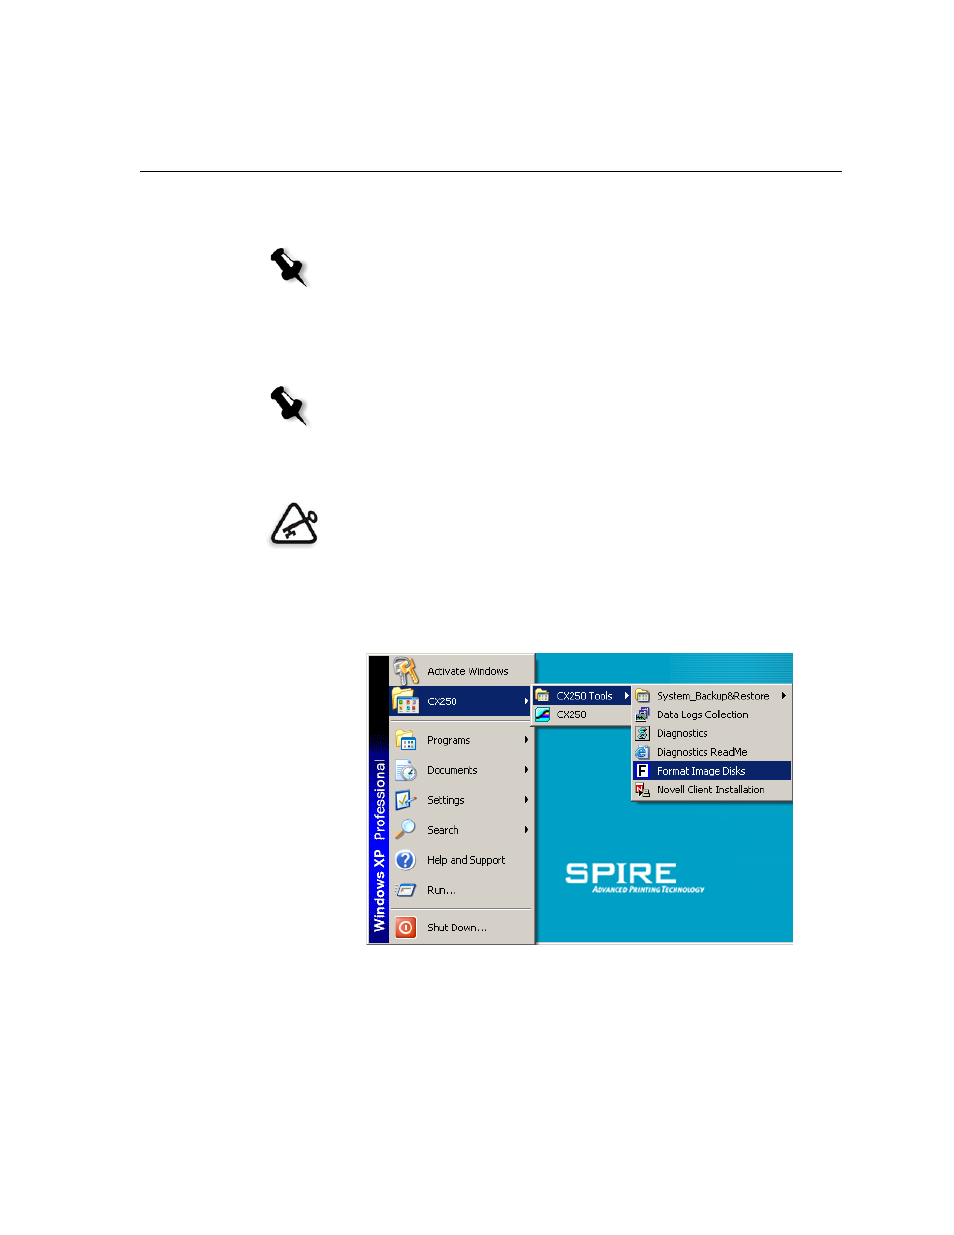
2.
Select
Start > CX250 > CX250 Tools > Format Image Disks
.
Note: If the job is not printed or is waiting in the Print queue, check that the
finishing device is set properly in the Job Parameters window, Finisher tab.
Note: To format an image disk on the CX250 configuration, you must be
connected to a client PC, Mac client, or portable workstation via the Remote
Desktop Connection. See Working from the Remote Desktop Application on
page 16.
Important: Formatting erases all data stored in the Storage folder. It is
recommended that either an ONSA or your system administrator back up the
customer’s data, if possible, to an external device or network.