Xerox CX240 User Manual
Page 120
110
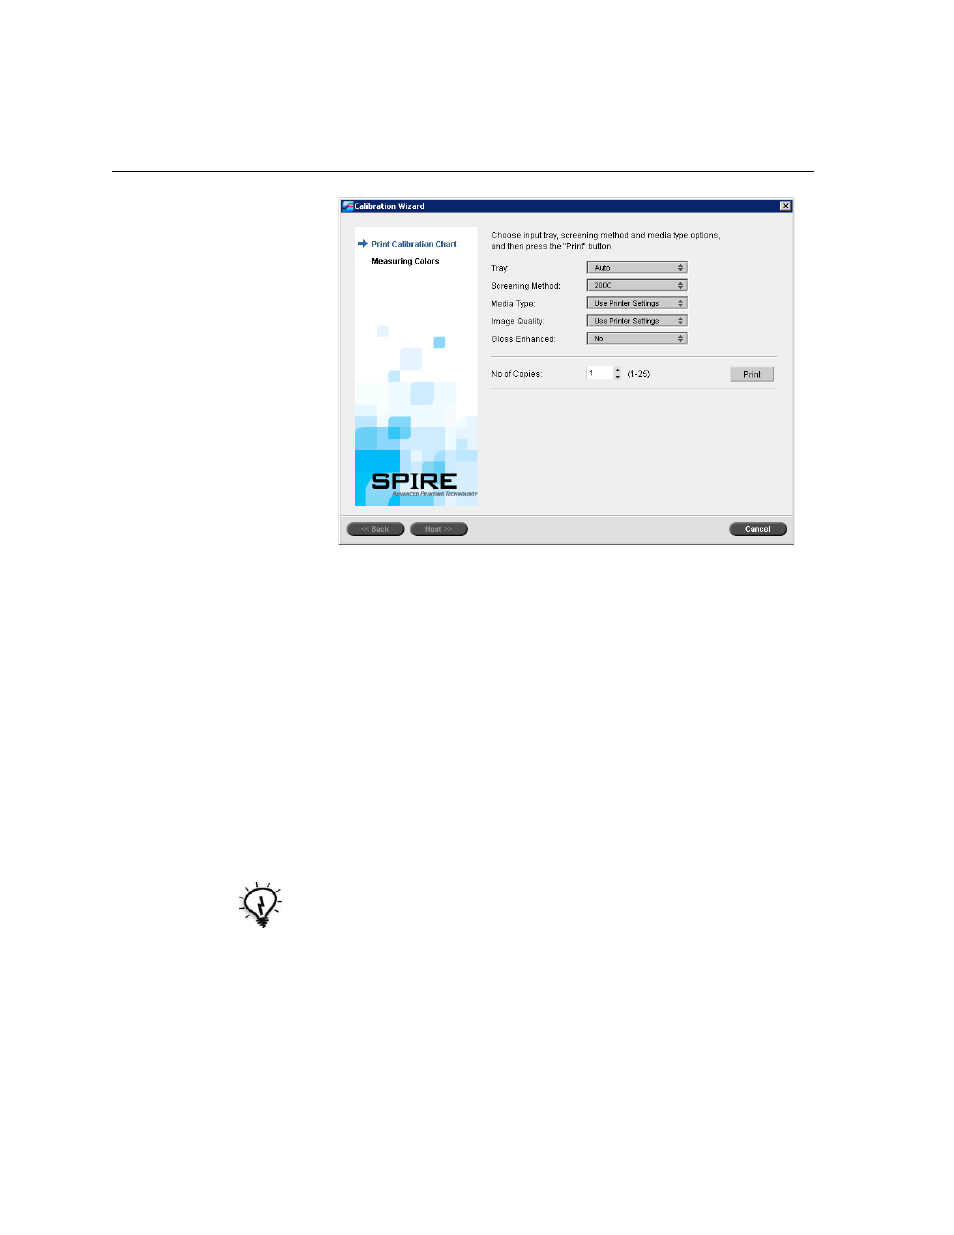
Chapter 7– Color Workflow
3.
In the
Tray
list, select the desired tray. The default is
Tray 1
. You can
print the calibration chart on any paper size that is equal to or larger
than A4 or Letter.
4.
In the
Screening Method
list, select the screening method.
5.
In the
Media Type
list, select the media type that you are using for the
print job. The default setting is
Use Printer Settings
. When this option
is selected, your job is printed on the media type that is defined on the
Xerox DocuColor 240/250 printer-copier.
6.
In the
Image Quality
list, select the image quality type.
7.
Select the
Gloss Mode
check box if you want to calibrate for glossy
printing.
8.
In the
Number of copies
box, enter the number of copies you want to
print.
9.
Click
.
The calibration chart prints.
10.
Click
Next
.
Tip: It is recommended that you print at least 10 copies of the calibration
chart, and then use one of the last copies printed.