Template – Xerox CX240 User Manual
Page 203
Setting Parameters in the Job Parameters Window
193
3.
In the
Tray
list, select the required tray. If you select
Auto
, any tray
with the specific paper size will be used.
4.
In the
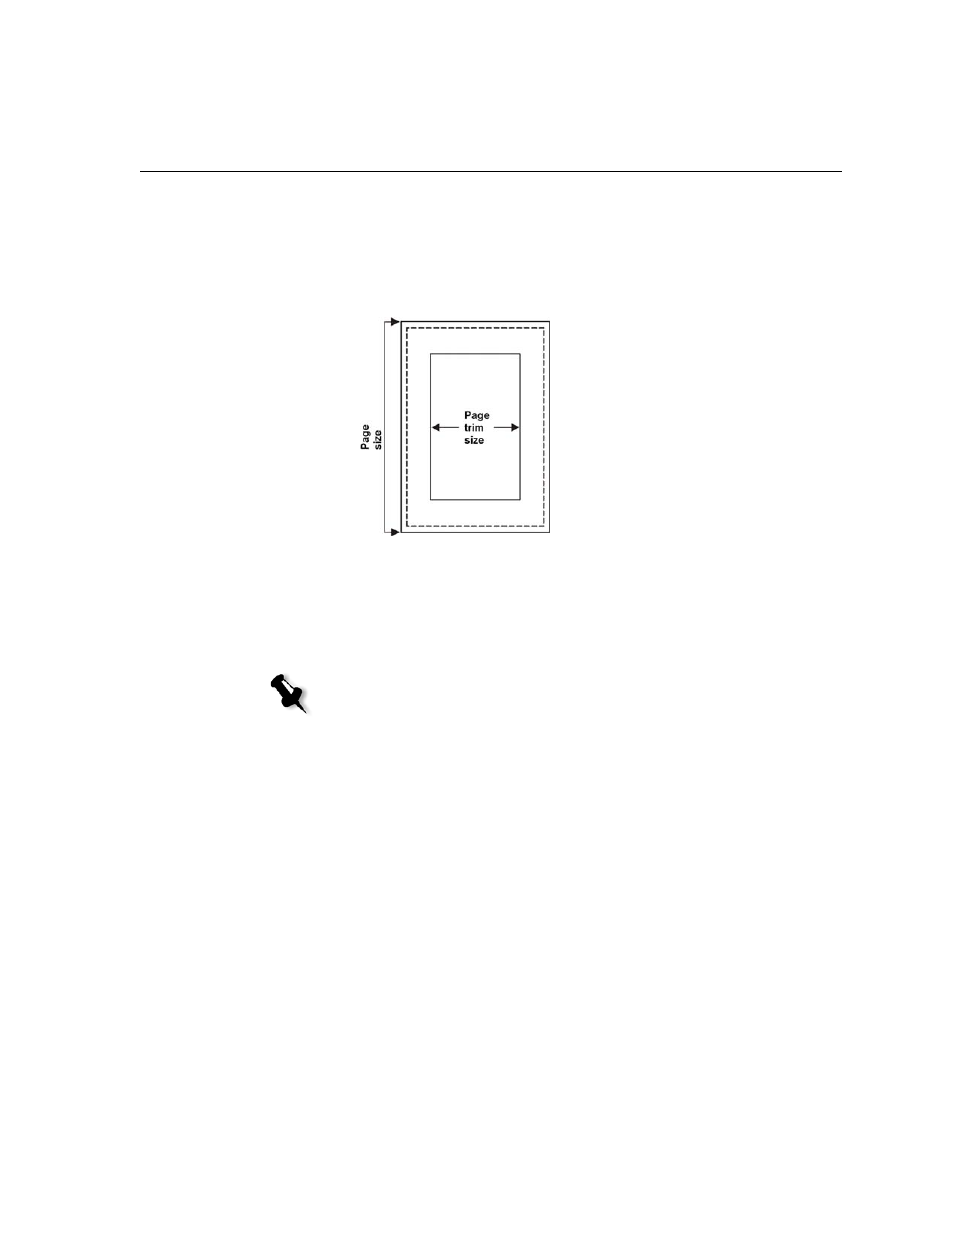
Trim Size
list, select the desired trim size.
Trim size
is the size of
the finished, trimmed document. You can adjust your page size by
adjusting the trim size.
•
If you select
Custom
, define a custom trim size and type the
desired height in the
H
box, and the desired width in the
W
box.
•
Select
Portrait
or
Landscape
. If the wrong orientation is specified
an unsuitable template might be selected and the job might be
cropped as a result.
Template
1.
If you have the Pro configuration, in the
Category
area, select one of
the following options:
•
System
: to choose a predefined Spire CX250 color server
imposition template.
•
User-defined
: to choose a user defined Spire CX250 color server
imposition template.
2.
In the
Template
list, select an available template.
3.
In the
Columns
list, select the number of pages to place horizontally.
The rows and columns indicate how the pages will be placed on the
sheet.
Note: If you set the trim size to be smaller than the page size set in the DTP
application, some of the data is cropped. Setting a larger trim size results in a
larger border on the printed page.