Editing gradation tables – Xerox CX240 User Manual
Page 143
Color Tools
133
Editing Gradation Tables
When you open the Gradation Tool window, the default gradation table,
DefaultTable
, is selected in the Gradation Table list, and is displayed in the
graph. This table serves as a baseline and consists of a 45° gradation curve,
with Brightness and Contrast set to
0
, and Contrast Center set to
50
. All of
the color separations are selected.
Gradation tables that you create also appear in the
Gradation Table
list.
When you select a gradation table, the predefined settings are immediately
applied to the processed job that you are working with.
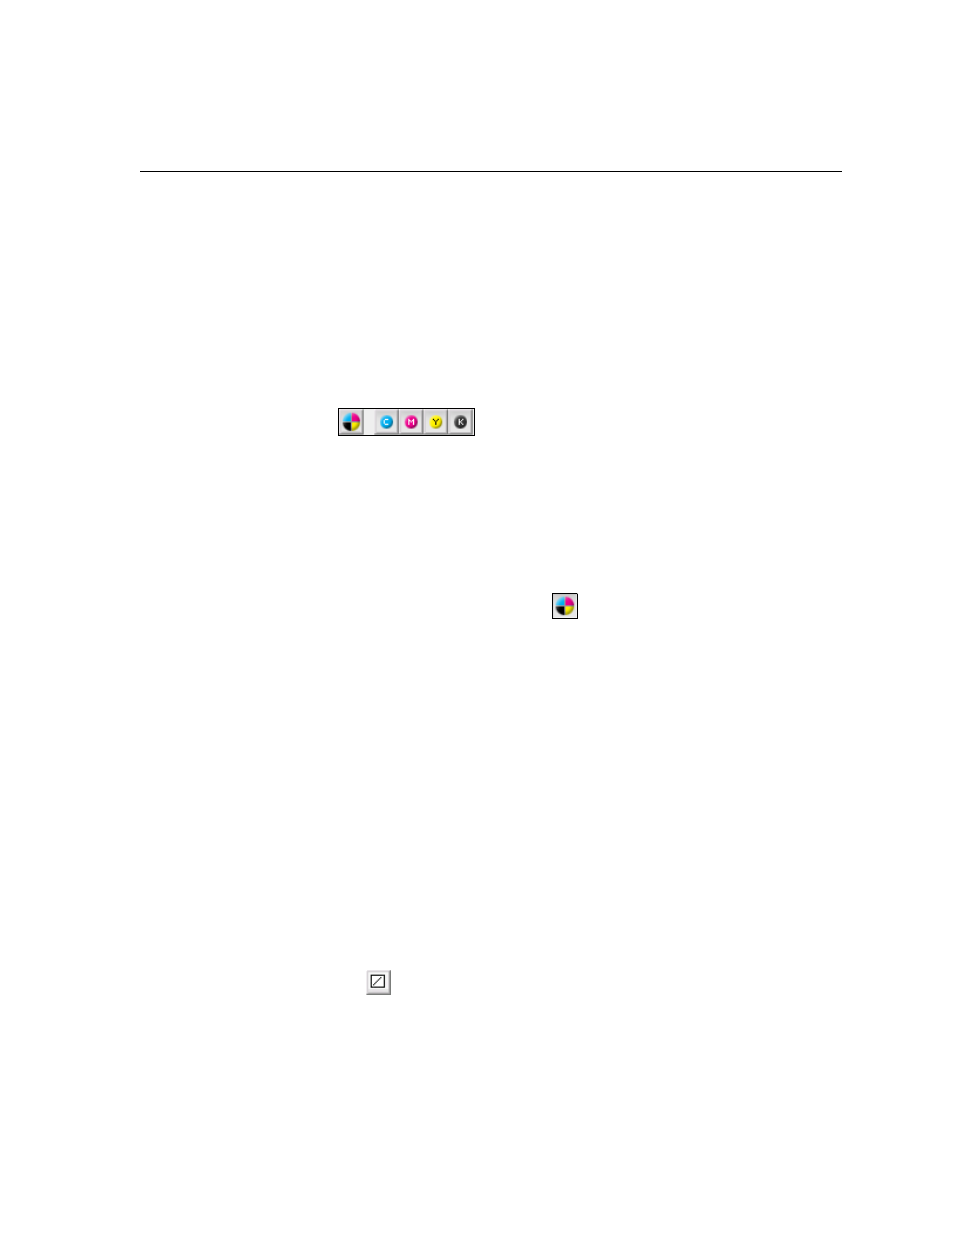
The separations buttons enable you to select one, all, or any combination
of separations to edit for a specific gradation table. Selecting a specific
separation enables you to change the color balance for a specific tonal
range.
When you open the Gradations Tool window, all of the separations are
selected.
1.
Click the
All Colors
button
to edit all the separations
simultaneously.
2.
Click the individual separations you wish to edit—for example, select
the cyan separation only.
3.
Click the curve in the graph to add a point, and then drag the point to
modify the separation. When you select a point, its value appears in
the
Input
or
Output
boxes.
The
Input
axis represents the tone values of the image before gradation
changes. The
Output
axis represents the tone values of the image after
gradation changes.
4.
To view gradation changes in your job, click
Refresh
. Changes are
automatically applied to the displayed image in the
After
view.
5.
To remove a point on the curve, select the point and then click
Remove
.
6.
To reset the gradation curve to a 45° curve, click the
Reset
button
.
7.
To revert to the original gradation settings, click
Revert
.