Changing the iso setting, Date imprinting – Ricoh RDC-7 User Manual
Page 66
64
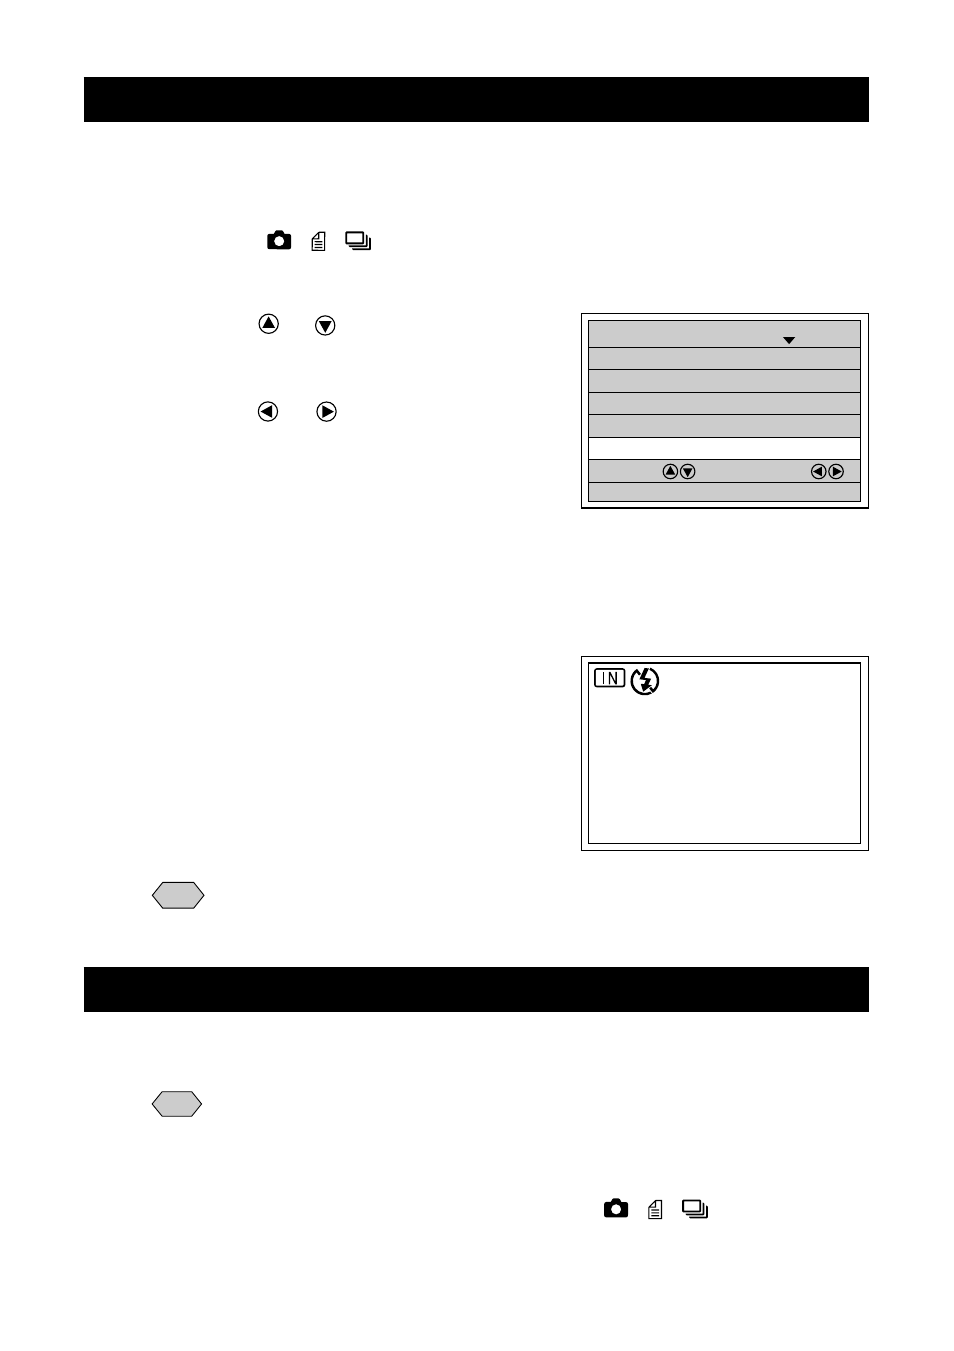
IMAGE WITH SOUND OFF
SHOOTING MODE
1/3
FOCUS AF
REDEYE REDUCTION OFF
ISO SENSITIVITY AUTO
BACK:MENU
SELECT: CHANGE:
SEL.:ENTER
FLASH STRENGTH NORMAL
28
ISO200
Changing the ISO Setting
You can change the ISO sensitivity.
q
Set the mode dial to one of the
following [
•
•
] and press the
MENU button.
w
Press the
or
button to select
[ISO SENSITIVITY].
e
Press the
or
button to select the
desired ISO setting (AUTO • 200 • 400)
and press the ENTER button.
r
Press the MENU button.
The ISO setting will be displayed on the LCD
monitor. There is no display when the setting
is on AUTO.
t
Press the shutter release button to
take the picture.
Note
• Enable the keep settings mode to save the ISO setting. See “Keep
Settings”
→
(p.99).
Date Imprinting
Use this mode to record images imprinted with the date.
Note
• This function is only available if the date has been set in the settings
menu, so set the date first. The date is displayed in the style selected
on the date setting menu. See “Setting the Date and Time”
→
(p.34).
q
Set the mode dial to one of the following [
•
•
] and press
the MENU button.