Shooting (still picture mode) – Ricoh RDC-7 User Manual
Page 48
46
28
Shooting (Still Picture Mode)
Shooting instructions for still picture mode are given below. Hold the camera
correctly to keep it steady.
q
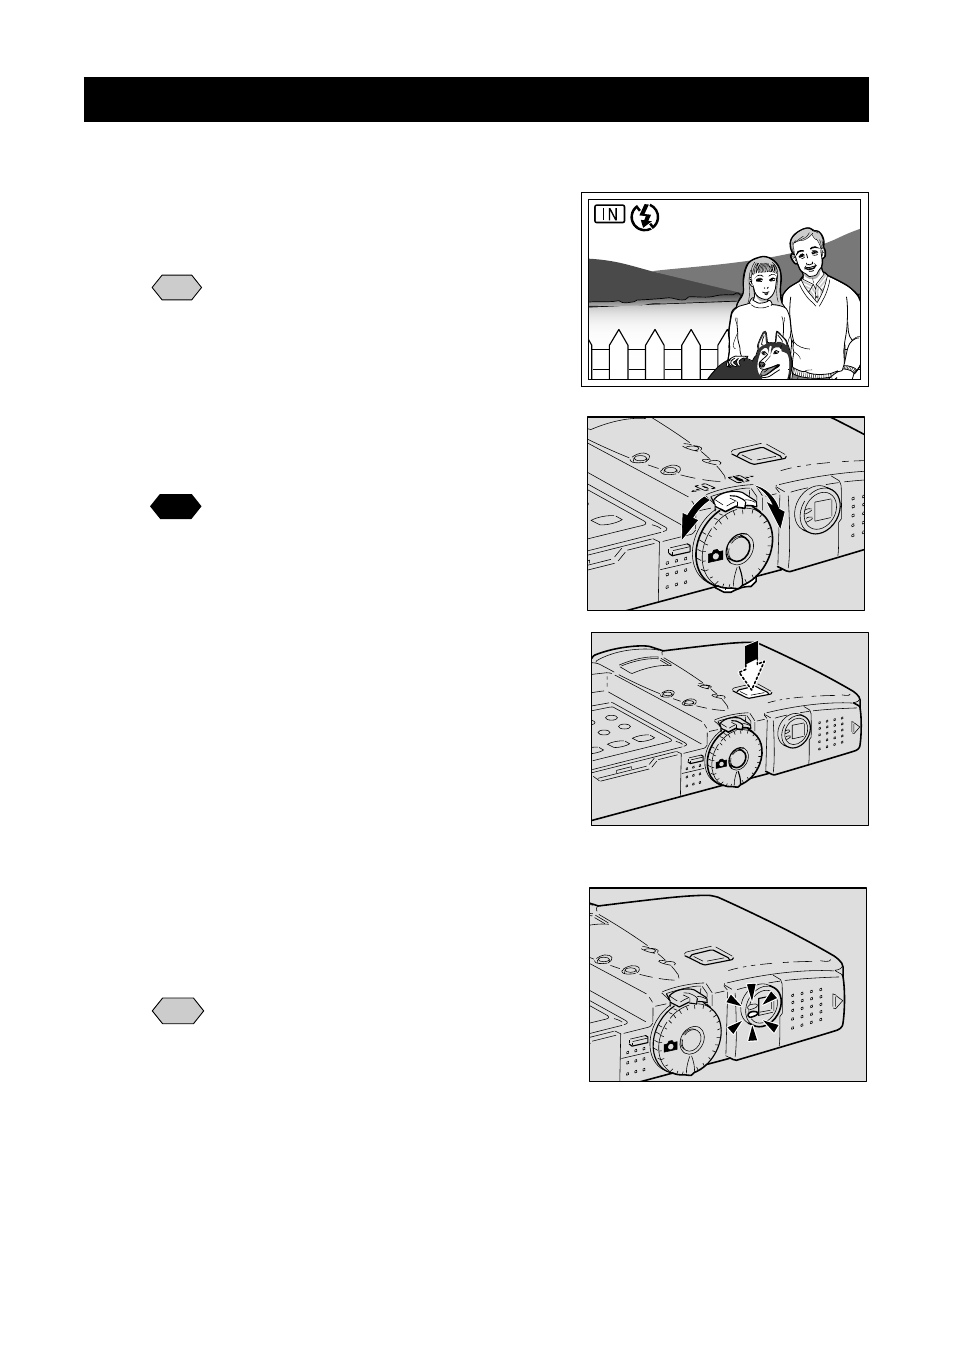
Aim the camera at your subject.
Note
• Use macro mode to shoot subjects
closer than 24cm. See “Close-up
Shooting (Macro Mode)”
→
(p.60)
w
Use the zoom lever to set the size of
the subject.
See
• “Setting the Size of the Subject
(Zoom)” (p.44)
• “Checking the Position of the
Subject” (p.45)
e
Press the shutter release button
lightly with your fingertip.
The shutter button works in a two-step
action. When you press it lightly (halfway),
the autofocus function is triggered to
determine the focal distance. Keep the
camera as steady as possible to prevent
camera shake.
The AF LED (green) will light when the
subject is in focus. The focus, exposure and
white balance settings are set at this point.
Note
• A flashing AF LED indicates that the
subject is out of focus. If this occurs,
use the focus lock function. See
“Focus Lock Shooting”
→
(p.61).
• If the “SLOW SHUTTER” message
appears on the LCD monitor, you
are recommended to shoot with the
flash enabled to avoid camera
shake which tends to occur in this
situation. See “Changing Flash
Modes”
→
(p.53).