Changing flash modes – Ricoh RDC-7 User Manual
Page 55
53
Shooting
2
Note
• The focus, exposure compensation and white balance are locked in
the state in effect when the shutter button was pressed.
• Sound recording starts after shooting in
(still picture) mode when
the image quality mode is set on non-compressed (NC) or PRO (PRO,
PRO-L, PRO-H), or in
(text) mode. In this case, make sure that the
mark blinks on the LCD panel during recording.
Changing Flash Modes
The camera offers four flash modes. Select the flash mode best suited to your
photographic needs.
•
(Flash Off)
: The flash is disabled even in dark conditions. Use this mode
for shooting where use of the flash is prohibited or where
adequate room illumination is available.
•
(Auto)
: The flash fires automatically when it detects low ambient
light or backlighting.
•
lit
: When you take a picture against the light or under strong
light, the subject’s face may appear in the shade in the
resultant shot. Use forced flash to reduce this effect. In this
mode, the flash will fire regardless of the ambient light level.
•
blinking
: Slows down the shutter release speed when the flash is
activated so that the subject is illuminated and the
background is captured too. If you use this mode when you
want to take a clear picture of your subject and capture the
background atmosphere, such as at a party, it reduces the
effect of only the background being darkened when the flash
fires.
* The factory default setting is flash off mode
(Flash Off).
Effective Range of the Flash
When you shoot with the flash activated, the flash has an effective range of
about 0.6 – 2.5m (23.7 – 98.5 inches) for the telephoto setting. The subject
will appear dark in the picture if the light from the flash fails to reach it.
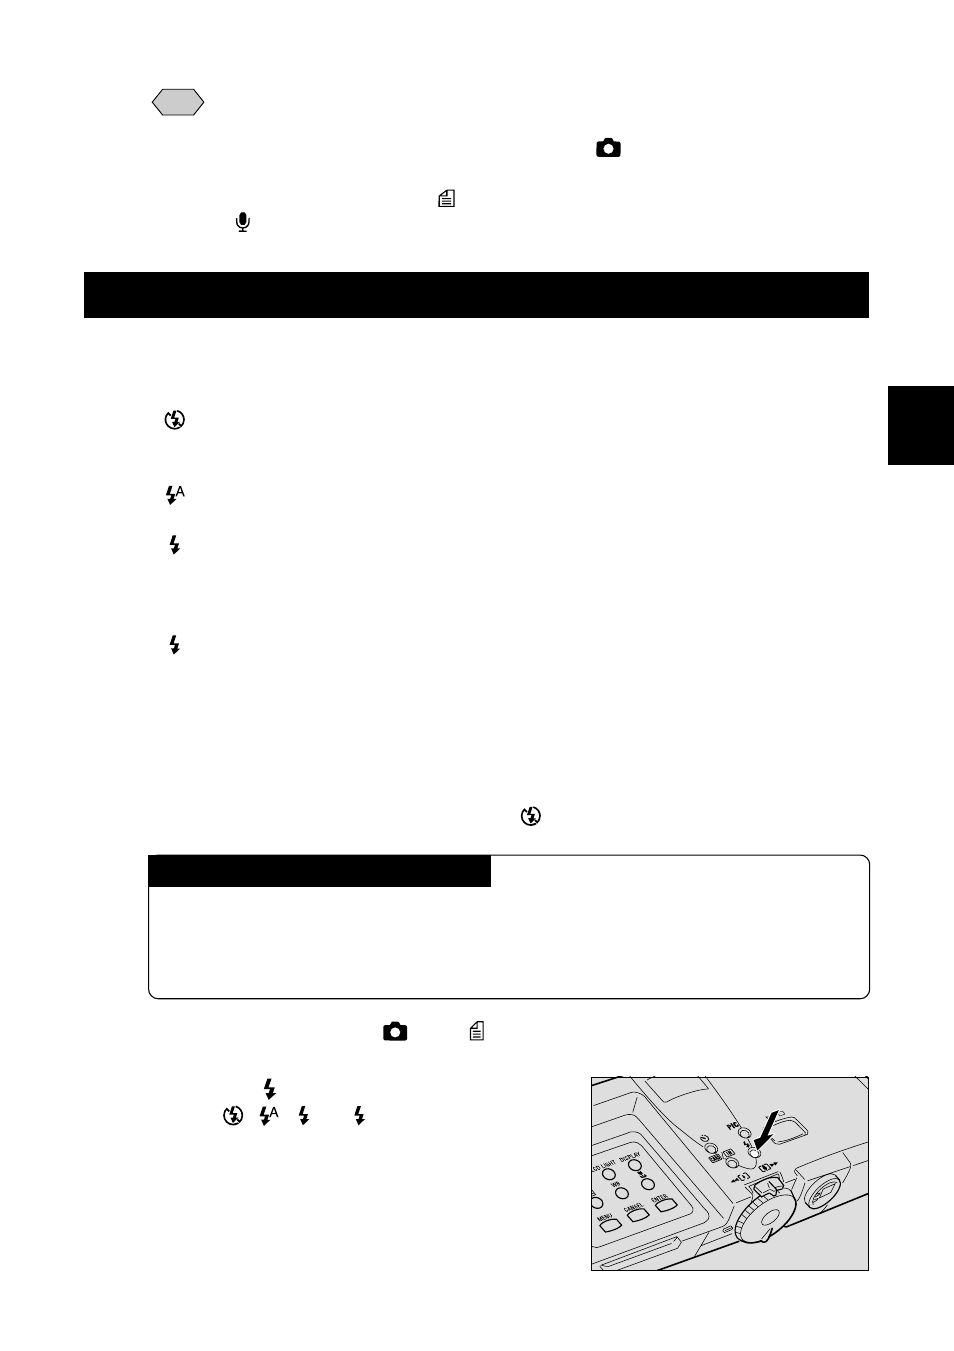
q
Set the mode dial to [
] or [
].
w
Press the
button to select the flash
mode (
,
,
lit,
blinking).
The flash mode switches each time you
press the button.
(Forced Flash)
(Slow Synchro)