Shooting, P.41-48) – Ricoh RDC-7 User Manual
Page 14
12
Shooting
q
Turn the power switch on and set the
mode dial to [SET].
w
Press the or button to select [DATE
SETTING].
e
Press the DISPLAY button to select the
display method.
r
Press the ENTER button.
t
Press the or button to change the
flashing digit.
y
Press the or button to select the
digit you wish to change.
Repeat steps
t
and
y
above to complete
the settings.
* Each time you press the or button,
the flashing digit changes, from year to
month, day, hour and minute.
u
After you have set the date and time,
press the ENTER button.
Setting the Date and Time
→
(p.34-35)
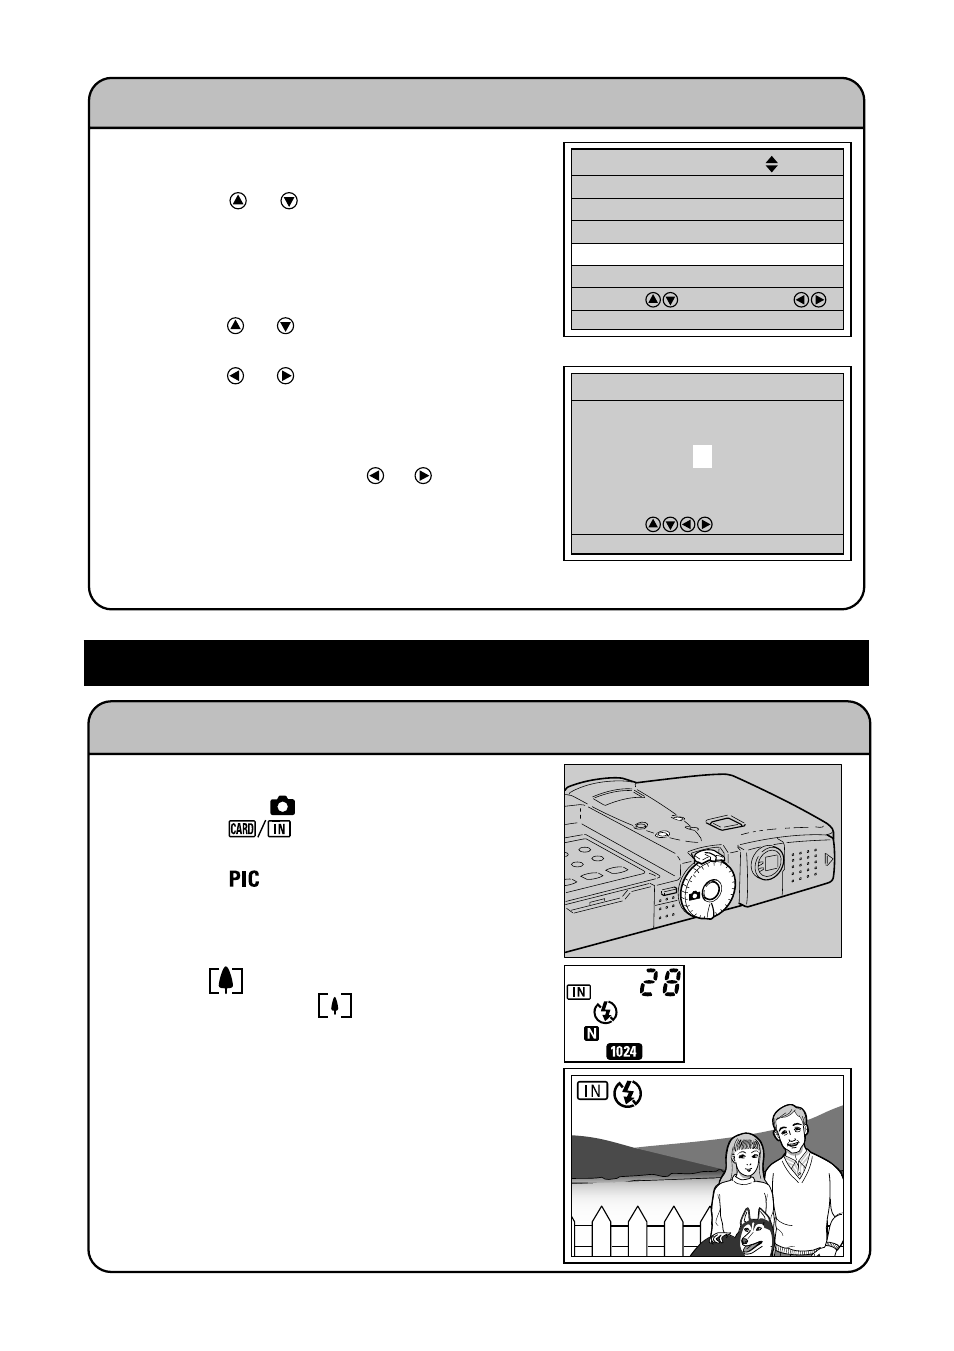
Basic Shooting Procedure (Still Picture Mode)
→
(p.41-48)
q
Turn the power switch on and set the
mode dial to [
].
w
Press the
button to select the
recording destination.
e
Press the
button to select an image
quality mode.
r
Move the zoom lever to select the
desired size of the subject.
Move to
to increase the size of the
subject and move to
to decrease the
size of the subject.
* Check the position of the subject by
looking through the viewfinder or at the
LCD monitor.
t
Press the shutter release button to
record the image.
BEEP SOUND ON
SET
2/3
POWER SAVE MODE OFF
DATE SETTING 2000/ 6/15
VIDEO OUT MODE NTSC
SELECT: CHANGE:
SEL.:ENTER
SEQUENTIAL NO. OFF
2000/ 6/ 1
SELECT:
BACK:CANCEL
SEL.:ENTER
DATE SETTING
28