Installing the projector – Smart Technologies SMART BOARD 4000I User Manual
Page 25
Setting Up the 4000i
15
Installing the Projector
To install the projector, attach the mounting bracket to the cabinet, attach the projector to the
mounting bracket, connect the cable extensions, and finally angle the projector towards the
large mirror inside the cabinet.
1. If you haven’t already done so, remove the projector mounting bracket from its
shipping location and the box. To do this, cut the straps that secure the projector for
shipment.
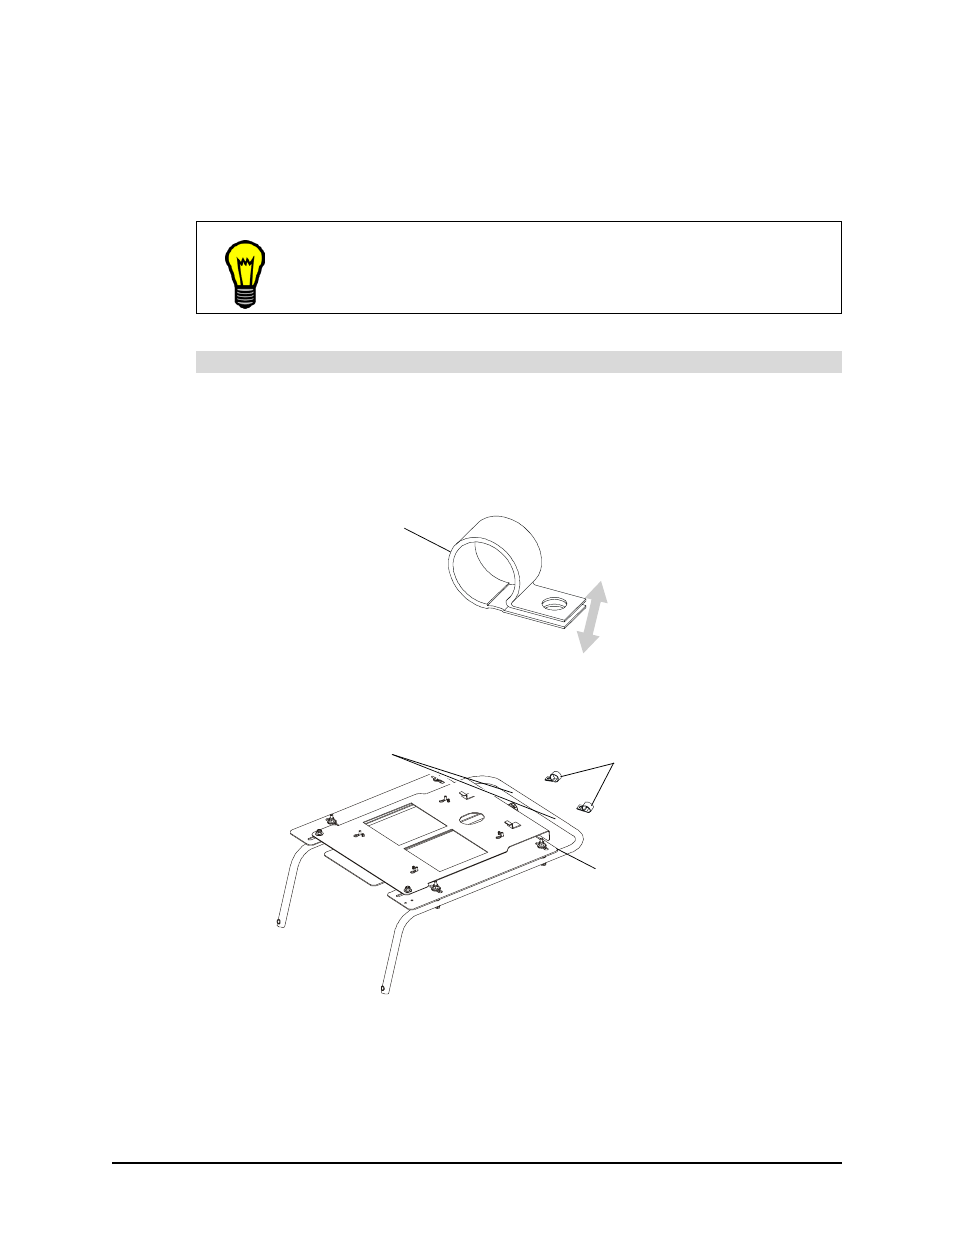
2. Pull apart the loop in each of the two rubberized clamps from the projector accessory
kit until each clamp fits around the mounting bracket.
3. Slip the two clamps around the tube of the mounting bracket so that the flange on the
clamp is aimed towards the mounting bracket.
TIP
When you unpack your projector, you should keep the box and packing
material in case you ever need to transport the projector.
To install the projector
Loop
Clamps
Mounting Bracket
Position the clamps
approximately here