Record button, Edit key, Auto punch mode on/off key – Fostex D2424 User Manual
Page 16
Model D2424 Reference Manual (Names and Functions)
16
29. Record button
[RECORD]
Pressing only this button places the readied tracks
into input monitoring status. Pressing this button
again will reset the tracks to playback monitoring.
(The RECORD LED will blink when the readied tracks
are in input monitoring status.)
Pressing the [PLAY] button while holding down this
button will place the readied tracks into recording.
At this time, the PLAY LED and RECORD LED will
light, and the readied track indication will be light
steadily (instead of blinking).
* Refer to page “
28
” of the “Before Starting” section for
more information about input monitoring and
reproduce monitoring.
* Refer to page “
24
” of the “Before Starting” section
for more information about ABS 0 and ABS END.
* Refer to page “
42
” for more information about Punch
In/Out recording using the foot switch.
* Refer to page "
67
" on details for "Clip board play."
* Refer to page "
54
" on details for "LOCATE 0" and
"LOCATE REC END."
28. Edit key
[EDIT/TC READY]
Pressing this key enters the recorder to the menu
select mode for editing tracks. Press this key
repeatedly or turn the [JOG] dial to select menu.
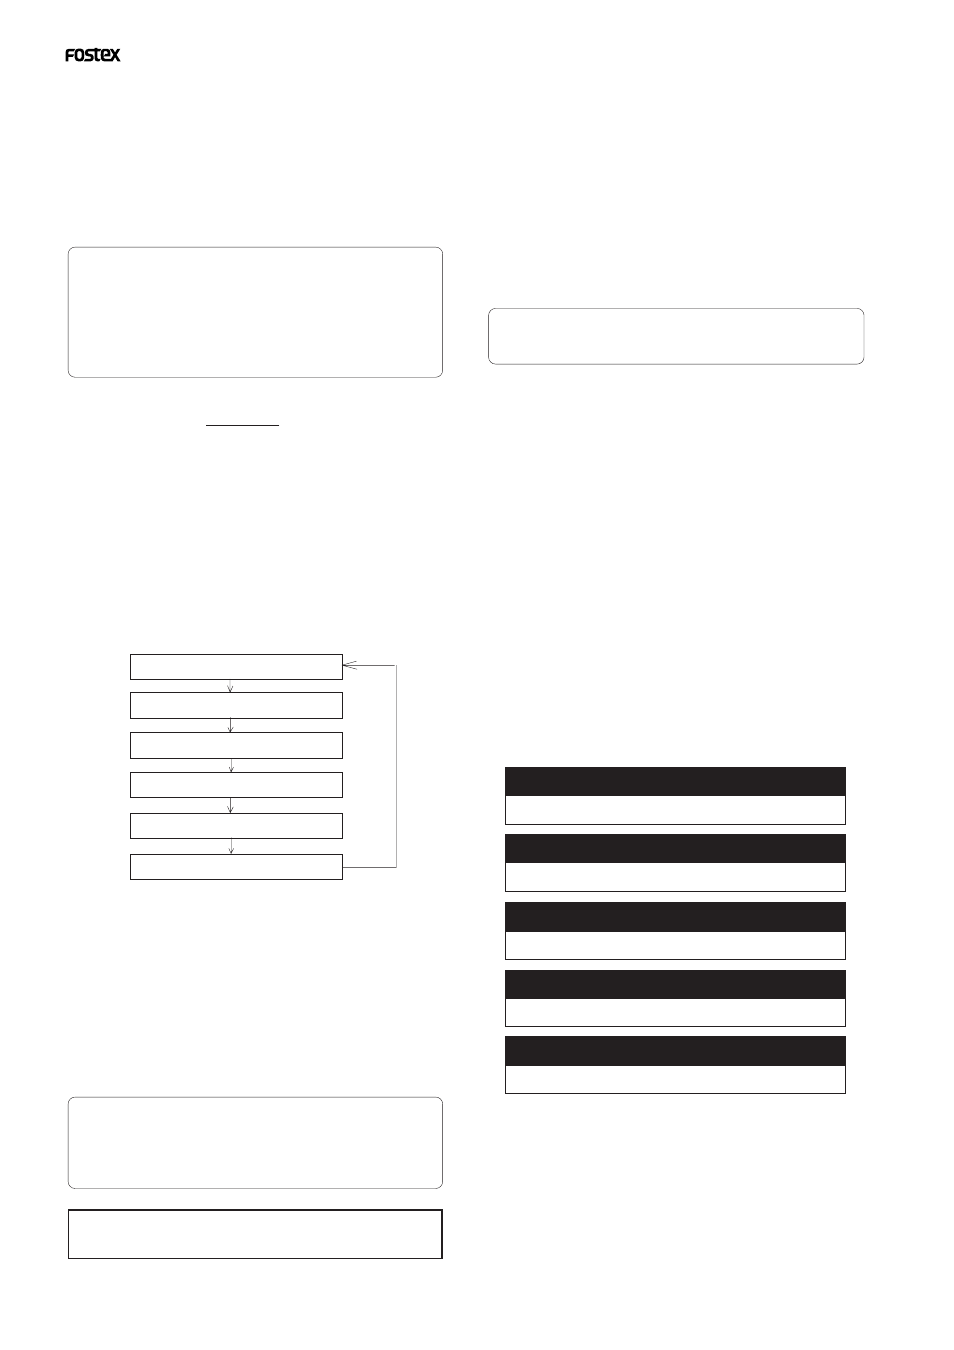
Edit menus appear in the following order. To execute
a desired menu, select the menu, then press the
[EXECUTE/YES] key. To exit the selection mode, press
the [EXIT/NO] key.
If the optional Model 8345 TC/SYNC card is installed,
you can enter the TC READY mode for recording
time code by pressing this key while pressing on the
[SHIFT] key.
* Refer to page “
66
” for more information about “Copy
Clip,” “Move Clip,” “Copy Paste,” “Erase,” and “Track
Exchange.”
* Refer to page “
36
” for more information about
program duplicate function.
This key is enabled only when the recorder is stopped.
30. Auto Punch Mode On/Off key
[AUTO PUNCH]
Switch this key ON for auto punch in/out.
When you press this key while a correct value is
stored to the [AUTO PUNCH IN] key and the [AUTO
PUNCH OUT] key, both the REHEARSAL LED and
TAKE LED will blink, indicating that Auto Punch
mode is on. (If a correct value is not stored, pressing
the [AUTO PUNCH] key will not turn the parameter
ON, and the message “Void Out Point!” will appear.)
Pressing the [PLAY] button under this condition will
put the recorder into “Rehearsal mode” for Auto
Punch In/Out recording. Pressing the [PLAY] button
and [RECORD] button simultaneously will put the
recorder into “Take mode.”
There are five combinations of the REHEARSAL LED
and TAKE LED that indicate the status of the recorder
regarding auto punch recording:
*2 Locate ABS 0:
The recorder will locate the top of the selected Program
(ABS TIME: 00m: 00s: 00f).
*3 Locate REC END:
The recorder will locate the end of the recorded data on
the Program (ABS REC END).
These operations can be executed only on real tracks.
Auto Punch mode OFF
Both REHEARSAL LED and TALE LED are off.
Auto Punch mode ON
Both REHEARSAL LED and TALE LED are blinking.
Auto Punch TAKE mode
Only the TAKE LED (red) is lit.
Auto Punch REHEARSAL mode
Only the REHEARSAL LED (green) is lit.
Rehearsal mode entered by means of MMC or foot switch
Only the REHEARSAL LED (green) is blinking.
Copy Clip?
Move Clip?
Copy Paste? (Move Paste?(*1))
Erase?
Track Exchange?
PGM Duplicate?(*2)
(*1): After you execute copy clip, “Copy Paste”
appears. After you execute move clip, “Move
Paste” appears.
(*2): The program duplicate display will appear only
if the current drive was set to ON for the
"Multiple Undo Function" when formatting.
If the current drive is set to OFF, the program
duplicate display will not appear even if the
[EDIT] key is pressed.