4 board installation – Epson EM07ZS1647F User Manual
Page 56
2. Installation
2.8.4 Board Installation
WARNING
Make sure that the power is turned OFF before installing/removing any boards
or connecting/disconnecting any cables. Installing/removing any boards or
connecting/disconnecting any cables with the power ON is extremely hazardous
and may result in electric shock and/or malfunction of equipment.
(1) Configure the board address jumper (JP1) on each board. The board number must
start with 1 consecutively. Refer to the following table for JP1 configuration.
Short Socket
Board No.
C0 C1 C2
1
0: Short
0: Short
0: Short
2
1: Short
0: Short
0: Short
3
0: Short
1: Short
0: Short
4
1: Short
1: Short
0: Short
5
0: Short
0: Short
1: Short
6
1: Short
0: Short
1: Short
7
0: Short
1: Short
1: Short
8
1: Short
1: Short
1: Short
(2) Install the board(s) in any available PCI slot in the controller.
(3) Connect the board(s) to the Fieldbus.
(4) Start the controller.
(5) The Windows Hardware Wizard will display a message that the applicomIO board
was found and prompt you to restart the computer.
The applicomIO console application will automatically start for this first start after
installation. Close this application for now and restart the controller.
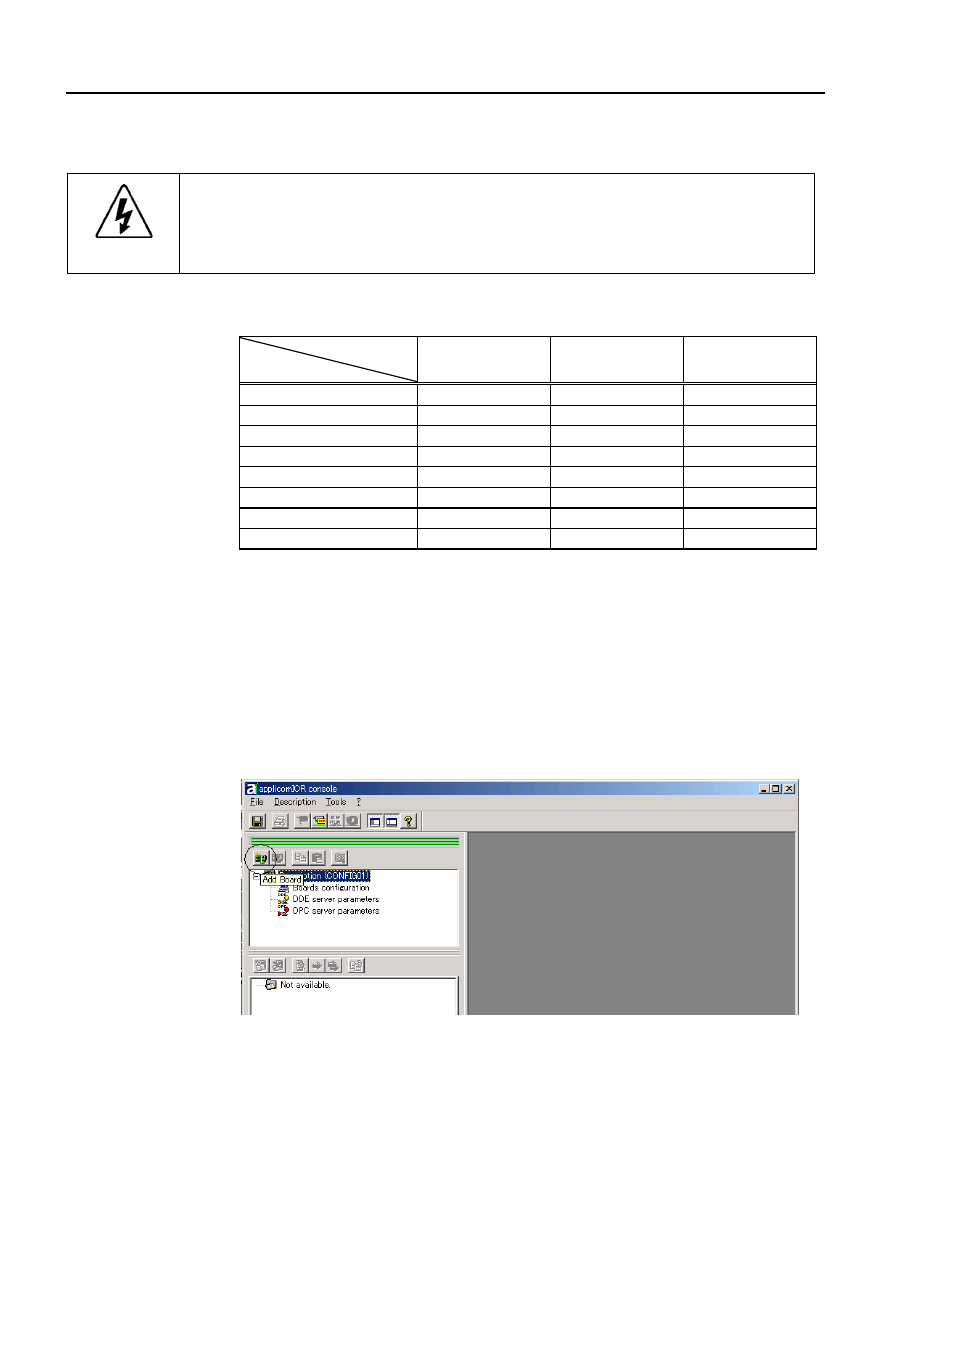
(6) Start the applicomIO console application.
(7) Click the Add Board button on the upper left of the console window to add a board.
44
Fieldbus I/O Rev.6