Job page, Active job list – Epson AcuLaser CX37DNF User Manual
Page 119
Item
Description
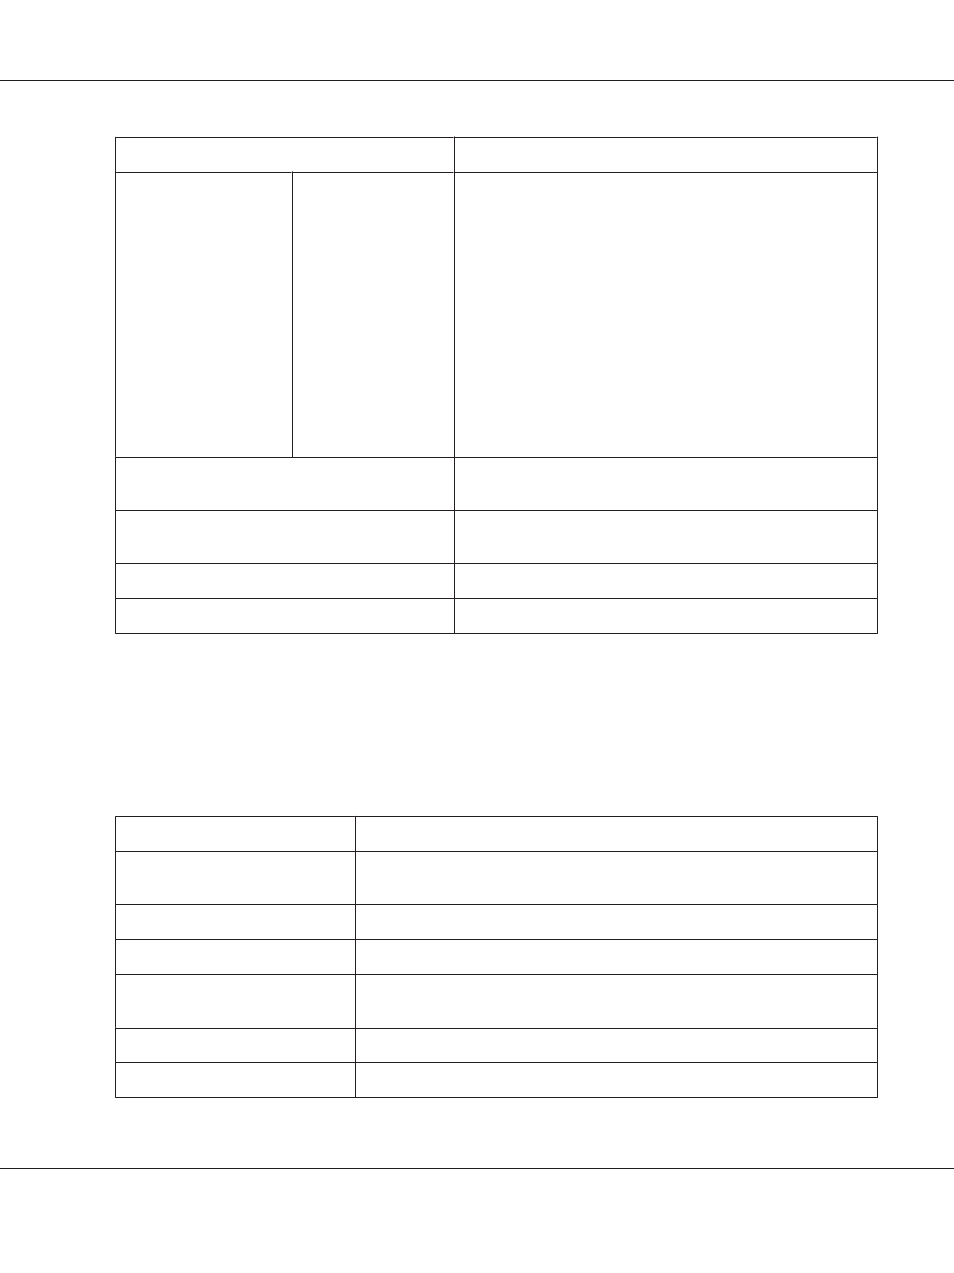
Schedule Setting
Schedule 1/Schedule
2
Specify settings for the notification schedules. Schedules 1 and 2
can be registered with different settings.
Daily: Select this setting to send notifications at an interval in
days. Specify the interval (in days) when notifications are to be
sent.
Weekly: Select this setting to send notifications at a weekly
interval. Specify the interval (in weeks) for sending notifications.
In addition, select the day of the week when notifications are to
be sent.
Monthly: Select this setting to send notifications at a monthly
interval. Specify the interval (in months) for sending
notifications. In addition, select the day of the month when
notifications are to be sent.
Register Notification Address
Type in the destination e-mail address. In addition, select a
notification schedule.
Send Now button
Sends the e-mail message to the specified destination e-mail
address.
Apply button
Applies the configuration settings for this window.
Clear button
Resets all configuration settings to previous values.
Job Page
This page allows you to view the status of the current print jobs.
Active Job List
Item
Description
Job Number
Displays the print job identification number. Each print job that the printer
receives is assigned a unique identification number.
User Name
If known, displays the owner of the print job.
File Name
Displays the name of the print file.
Job Status
Displays the current status of the print job (Parsing, Printing, Cancel, Pending, or
Abort).
Create Time
Displays the time that the job was queued.
Delete button
Deletes the print job(s) that are applies to the checked box.
Epson AcuLaser CX37 Series Reference Guide
Using Web-Based EpsonNet Config 119