HEIDENHAIN IK 5294 User Manual
Page 244
224
QC5200 Series User’s Guide
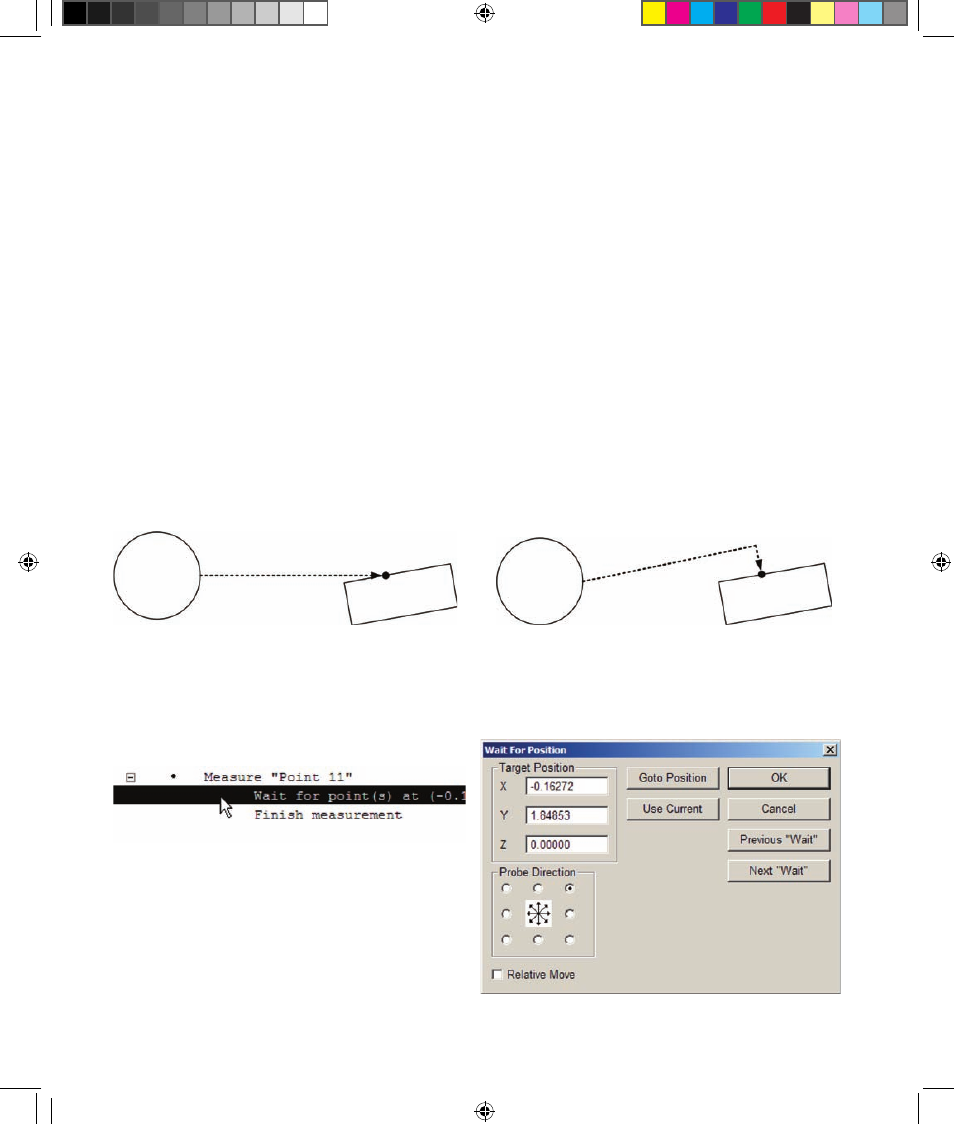
2 Use the joystick to drive the stage to the new desired target position, and then click the Use Current
button. The new position coordinates will be shown in the Target Position X, Y and Z fields.
The target positions of the previous and next Wait for Point steps can be displayed by clicking the Previous
Wait or Next Wait buttons. The stage can be driven to the current target position by clicking the Goto
Position button.
Changing the probing direction for points
Point features are typically probed on a feature such as a line or the circumference of a circle. The optimum
probing approach direction is at or near 90 degrees to the feature. When points are auto programmed from
a drawing file, the probing approach directions are not specified, and might not be optimum. Additionally,
when point probing is recorded as a program, it’s possible that the operator’s probing technique was not
optimum.
While the QC5200 optimizes probing directions for two-dimensional features, often insufficient informa-
tion exists for the system to optimize probing for points. Fortunately, probing directions for points can be
optimized by editing the Wait for Point step.
To change the probing direction for points:
1 Double-click the Wait for Point step to display
the Wait for Position dialog box.
2 Click the desired Probe Direction radio button
to select one of the eight probing directions.
The target positions of the previous and next Wait
for Point steps can be displayed by clicking the
Previous Wait or Next Wait buttons. The stage can be driven to the current target position by clicking the
Goto Position button.
A marginal point probing approach direction...
can be optimized by editing the Wait for Position step
8 Programming OE.indd 34
5/9/2005 9:56:13 AM