How to launch a virtual panel, Installation – Grass Valley NV9601 v.2.0 User Manual
Page 36
26
Rev 2.0 • 29 Mar 09
4. Installation
Setting Up the Control Panel for Use
Figure 4-4. Pre-Installation Summary Screen
7 The installation process begins. Installation takes a few seconds. When complete the ‘Installa-
tion Complete’ screen appears. Click
Done
. The virtual control panel launches.
Part Two
—
Initial Setup
1 Launch the virtual control panel (see
2 Right-click anywhere in the black background area of the virtual control panel to display a pop-
up menu.
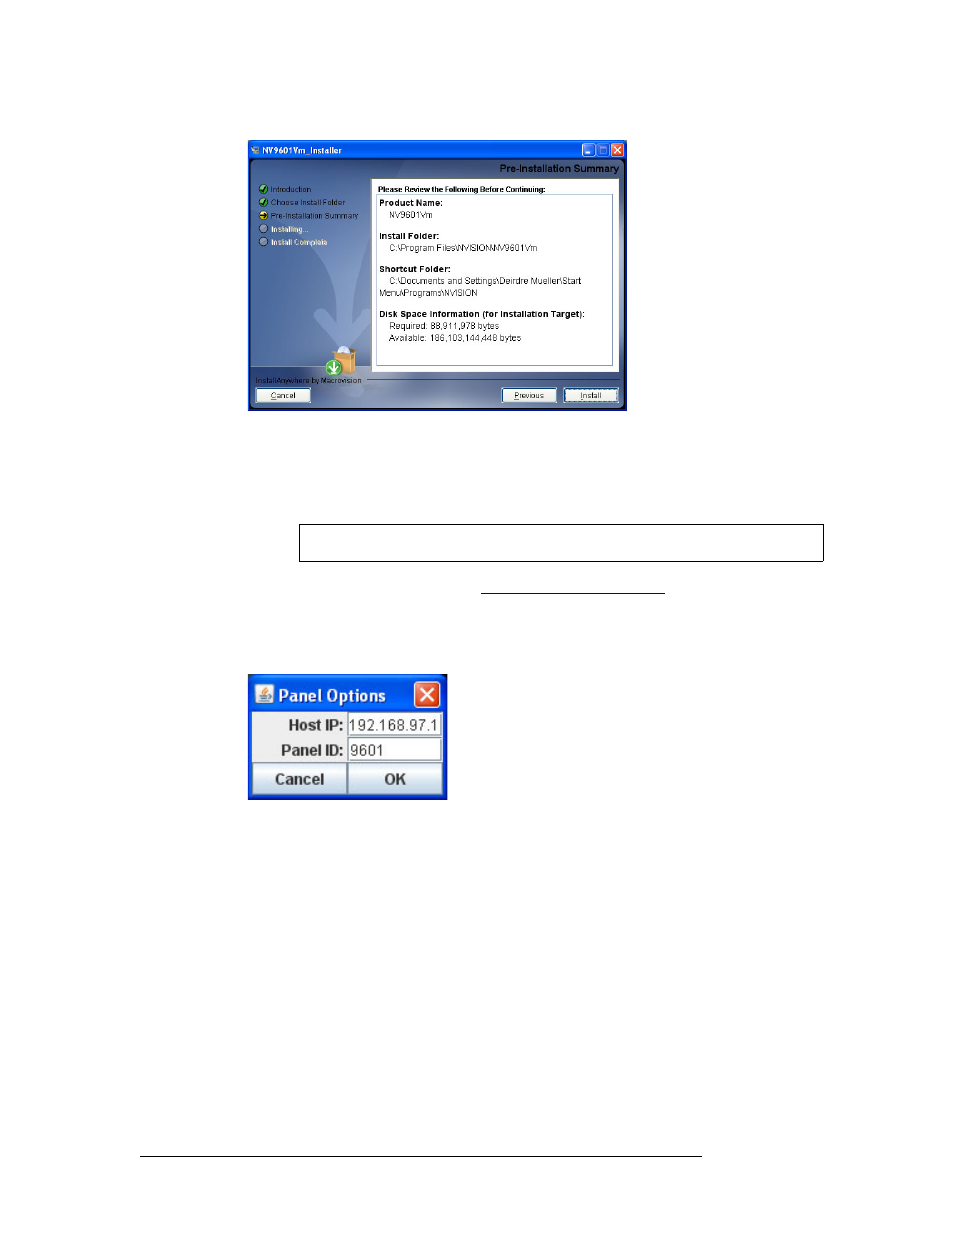
3 Select ‘Set Parameters’. The ‘Panel Options’ dialog box appears:
Figure 4-5. Panel Options Dialog Box
4 Enter the ‘Host IP’ address of the primary system controller or the virtual IP used by the redun-
dant pair (if configured). Enter the ‘Panel ID’ of the panel configuration you want to upload to
the virtual panel (see NV9000-SE Utilities User’s Guide or contact your system administrator).
5 Open the pop-up menu again and select ‘Connect’. If the IP address and Panel ID are valid, the
panel buttons and display area show the correct information and the control panel is connected
to the router control system. You cannot change the IP address or Panel ID once the panel is
connected. To change it, you must disconnect first.
Launching, Disconnecting and Exiting a Virtual Panel
How to launch a virtual panel
Either double-click on the control panel icon on the desktop or select the control panel from the
menu of software running on the computer.
Note
The computer must be connected to your router control system to complete setup.