Crash recording – Grass Valley Aurora Ingest v.6.3 User Manual
Page 71
September 2007
Aurora Ingest System Guide
71
Crash Recording
Crash Recording
You can crash record when you want to record an event immediately.
To crash record:
1. Select the channel where you want to record the event. If you do not select a
channel, Scheduler will automatically assign a channel.
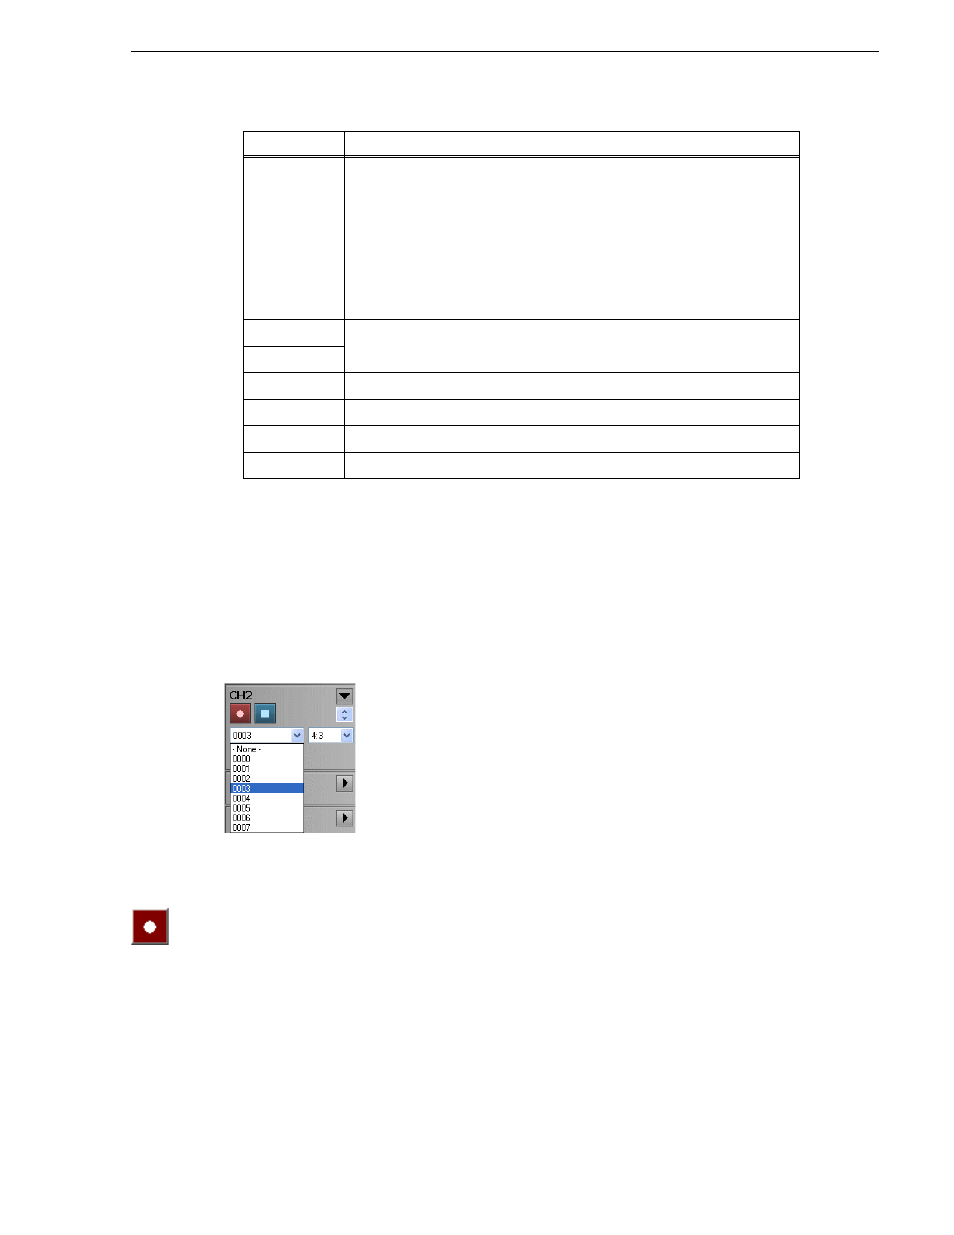
2. Select the router source for the recording by selecting from the router source
dropdown list.
3. If the feature to switch aspect ratio is enabled within your Aurora Ingest - Server
and the feature is supported on your media server, select the aspect ratio that you
need from the dropdown list.
4. Click
Record
. The clip cues, and after a short time the clip begins recording.
5. Aurora Ingest application will automatically name each clip using the prefix you
set when you configured each channel. Refer to
6. You can rename the clip by right-click on the event and select
Rename Event
or
press the
F2
key to bring up the Rename window.
7. While the clip is recording, the record button flashes and the clip is displayed as
Status
The current status of the event:
Ready
= The event is ready to record.
Cueing
= The event is preparing to record.
Recording
= The event is currently recording to the server.
Done
= The event has finished recording.
Failed
= The event could not record. Check the Error Message field for more
information.
Elapsed
= The time for the event to record has passed. The status color is gray
as the elapsed time is passing, and turns to black when the time has passed.
Start time
The beginning and ending time for the event.
End time
Location
The name of the folder where the clip resides in the database.
Channel
The channel that had been selected for the event
Owner
The user who created the clip.
Error Message
Any error message describing why the event was not recorded to the server.
Column
Description