Exhaust motor/blower/plenum replacement – Labconco Type C1 Biosafety Cabinet Models 30468 User Manual
Page 105
Product Service 1-800-522-7658
105
8.
To replace the motor/blower assembly, reverse the above procedure.
Note: During reinstallation of the blower assembly, push the blower into
position, and loosely install the two blower mounting bolts. Press the
sealing plate against the side of the blower to ensure it is properly sealed
against the back of the blower mount. Tighten the two sealing plate
screws while continuing to press the plate against the blower. This will
ensure a tight seal. Now tighten the two blower mounting bolts.
9.
Continue the reassembly. Plug in the cabinet and recertify it before use.
Exhaust Motor/Blower/Plenum Replacement
Caution: The cabinet must be properly decontaminated before servicing the
assembly.
The cabinet blower motor's bearings are sealed and require no lubrication.
DO NOT attempt to lubricate them.
To replace the Motor/Blower/Plenum:
1.
Unplug the cabinet.
2.
Remove the front dress panel as shown in Figure 6-1.
3.
Loosen all of the Phillips screws on the exhaust chamber cover. Remove all of
the screws except two screws on the top center of the panel. This will support
the panel.
4.
Remove the last two screws. Gently pull off the cover.
NOTE: During disassembly, the exhaust chamber cover can rest on the two support
posts near the bottom of the panel, to allow for repositioning of the panel or your grip
on it.
5.
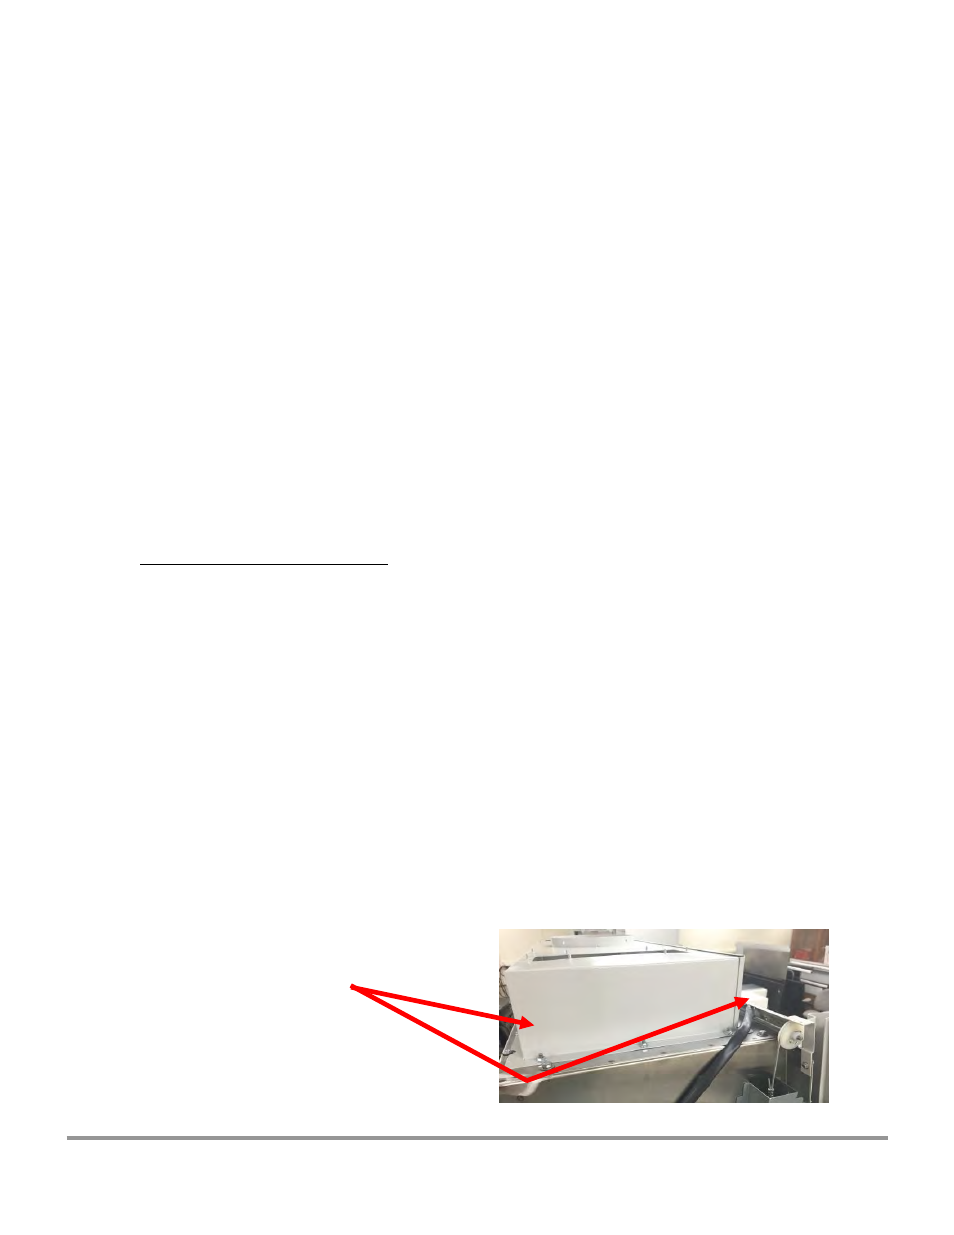
Using a 1/2-inch wrench or socket, loosen the four sealed filter clamp bolts, as
shown in Figure 6-16.
Figure 6-16
Exhaust filter clamp bolts
(two in each side of the
exhaust connection)
6.
Carefully remove the Exhaust HEPA