Echelon Enterprise Services 2.0 User Manual
Page 50
40 Using
the
i.LON AdminServer
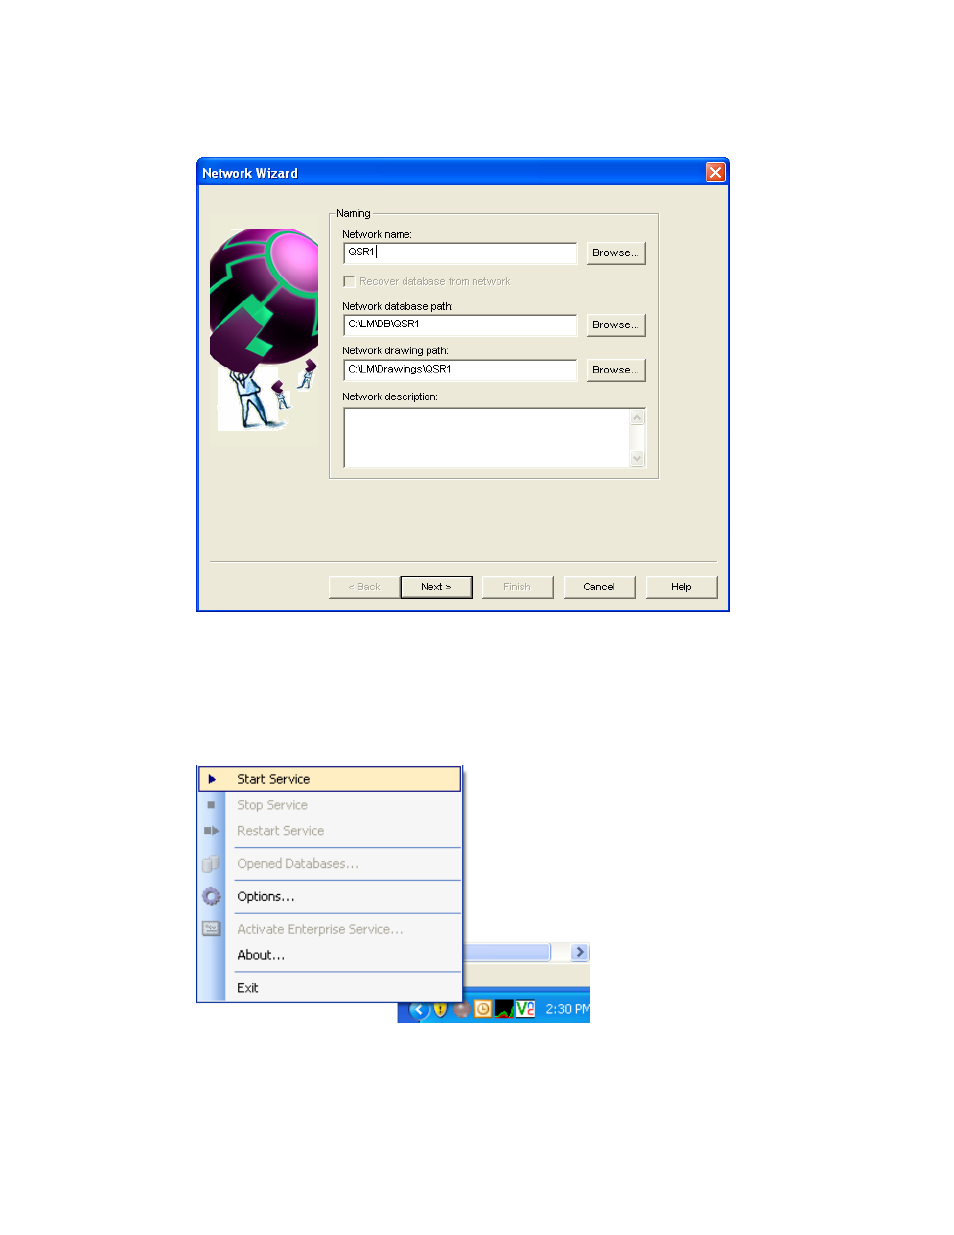
7. The Network Wizard opens. In the Network Name property, enter the name of the deployed LNS
network database. In this example, you would enter QSR1.
8. Click Next in the subsequent pages in the Network Wizard to accept the default settings and then
click Finish in the Domain Definition window.
9. After the LonMaker drawing for the target LNS network database has been created, close it.
10. Repeat steps 3–9 for each SmartServer to which you are deploying the i.LON template.
11. Restart the LNS Proxy Web service. To do this, right-click the EES tray icon in the notification
area, and then click Start Service on the shortcut menu.
12. In the i.LON AdminServer Web interface, click Close. Note that you can ignore the HTTP error
message resulting from the intentional stopping of the LNS Proxy Web service.