Echelon Enterprise Services 2.0 User Manual
Page 33
Echelon Enterprise Services 2.0 User’s Guide
23
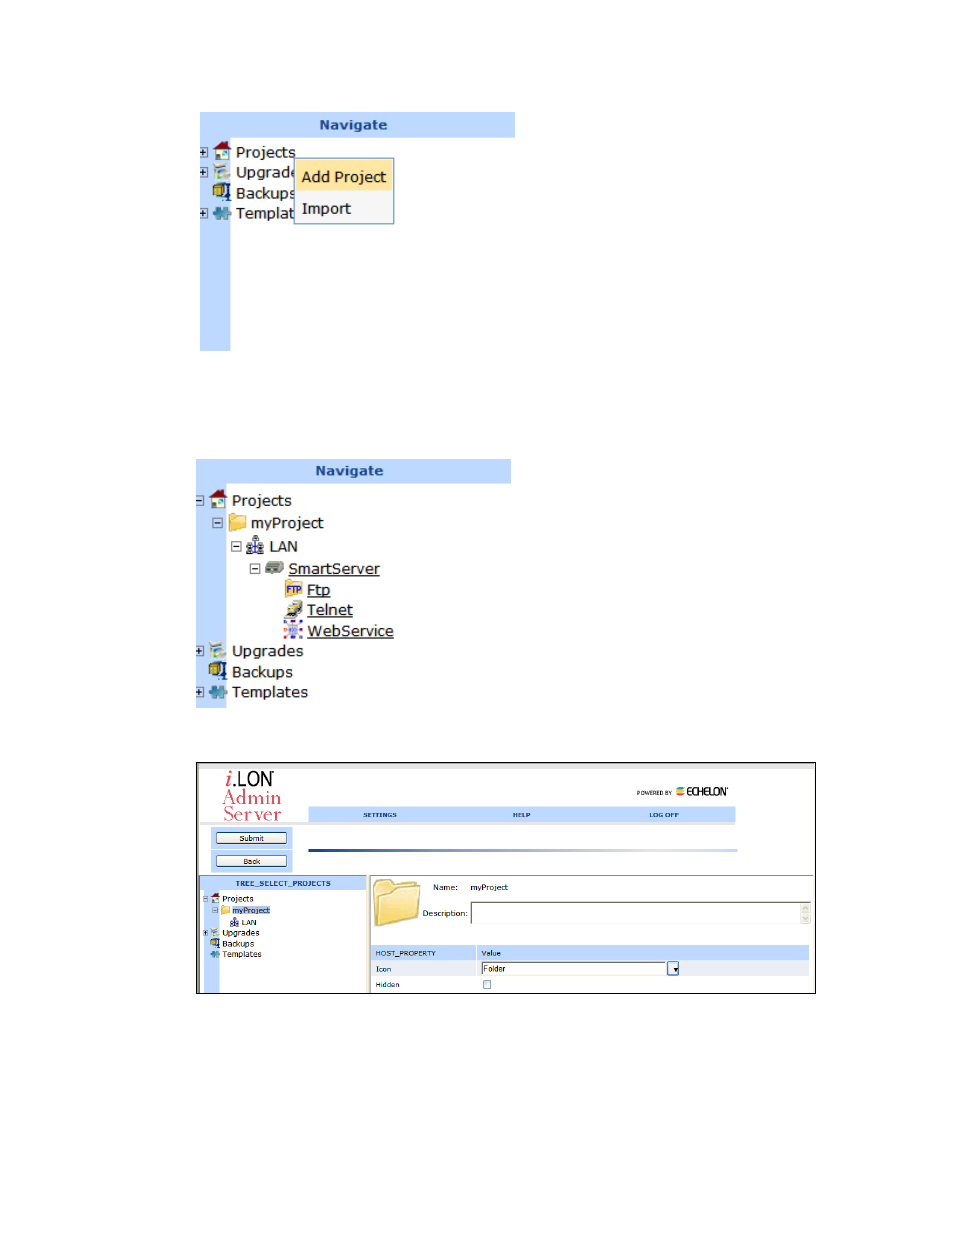
2. The Add Project dialog opens. Enter the name for your project. A project name can include up
to 256 alphanumeric characters. It may not contain the *, ‘, “, /, <, or > characters. Click OK.
3. Click Submit.
4. Expand the Projects folder to display your new project.
5. Optionally, you can click your project to open the Project Web page. You can use this Web page
to add a description for the project and change its icon in the navigation pane.
6. The new project is associated with the default IP channel, which is named LAN. To rename the IP
channel, right-click the channel and select Rename. To change the description for the IP channel,
right-click the IP channel and select Edit.
7. Add one or more SmartServers to an IP channel. To do this, follow these steps:
a. Right-click the LAN icon, and then select Add i.LON on the shortcut menu.