Sears 385. 19601 User Manual
Page 39
Attention! The text in this document has been recognized automatically. To view the original document, you can use the "Original mode".
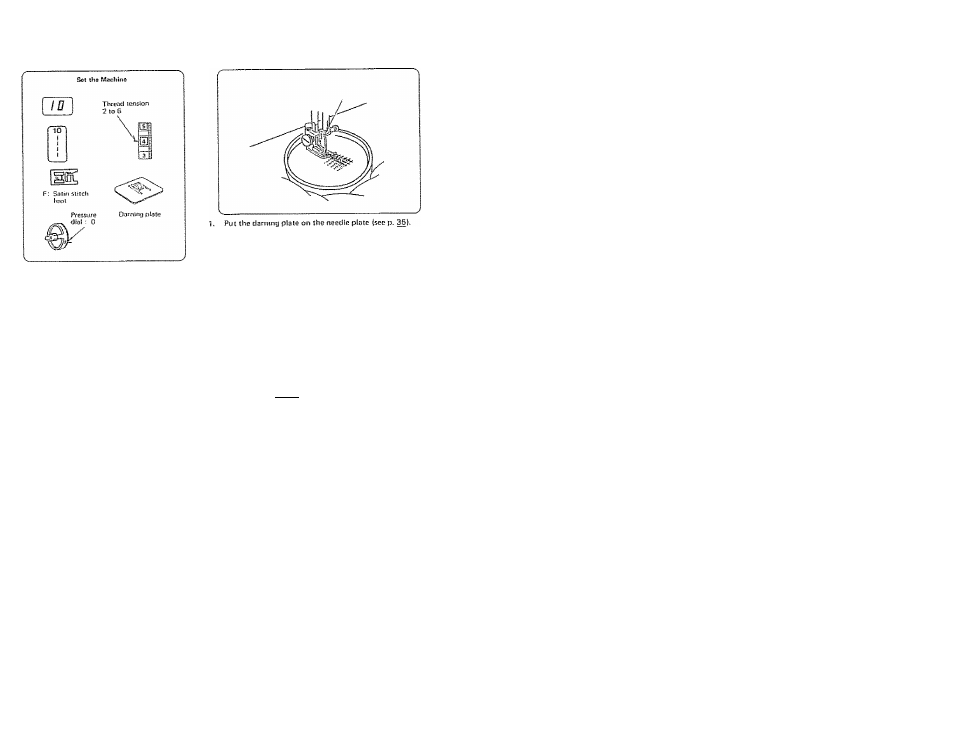
Darning
SECTION 4. PRACTICE COMiVlON STITCHING SKILLS
Stretch the fabric with the hole in the center between
embroidery hoops, as shown.
Lower the presser bar and sew at a slow speed.
Move the fabric back and forth slowly until you have
covered the darning area.
Turn the tabne 1/4 turn and sew another layer of stitching
over the first layer.
NOTE: If your fabric is thin or badly damaged, use a separate
piece of fabric under the hole to reinforce it.
6
. When you finish darning, return the pressure dial to 3 and
remove the darning plate.
NOTE: See the p. 67 ^ 68. automatic darning for a quick, easy
way to mend rips 8f holes.
How to darn correctly
Make the tummg pomis of each row blunt
or the stitching will draw little holes at the
ends. Beginners may prefer the L or M
movement.
Take care not to get circles.
The quick mastering of this work depends
on regular guiding.
Therefore:
-----Hold the hoop correctly.
-----Always work from left to right.
— Move work lengthways (not sideways!.
37