YSI BODAnalyst User Manual
Page 45
Reports
Section 8
YSI Incorporated
BOD Analyst for Windows Software
41
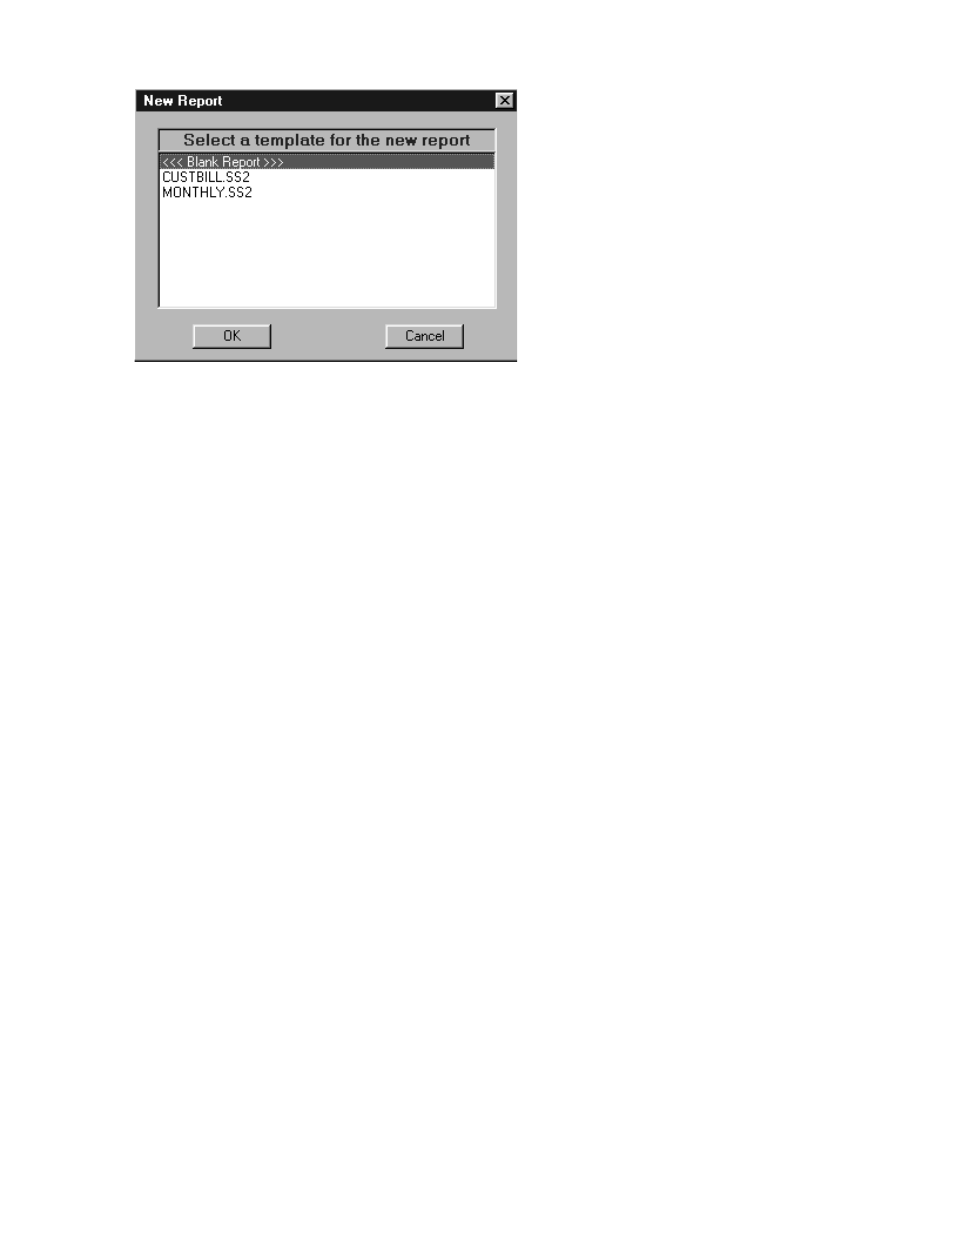
The ‘<<< Blank Report >>> selection loads a completely blank file. The other selections load a
spreadsheet file to start your new document with. For example, choosing Custbill.ss2 will load a
file with all the text, borders, and statistics setup for creating a bill for a customer. Use Locate,
Sample to place your data in the report and the report is complete.
To add a template to the list, simply copy the “SS2" file from your data directory to the BOD
Analyst software directory. For example, if you have a spreadsheet you want to add as a
template, simply find it’s filename (i.e. “4.SS2") and copy it to the BOD ANALYST
SOFTWARE directory. That spreadsheet will then appear on the template list.
File, Open closes the current spreadsheet and opens an existing spreadsheet. When Open is
selected the user is presented with a list of previously created reports. This list displays the report
titles, not a list of the file names. Select the title of the report you want to open with a single
click, then click OK. Double clicking on a report title will also open the report.
Save the open report document by selecting File, Save. If the report is currently Untitled the user
will be prompted to enter a report title of up to 50 characters.
Save As . . . saves the open report document but preserves the document originally opened.
When Save As is selected the user is automatically prompted for a new report title. Save As can
be used to copy an existing report. Simply open the report to be copied then select Save As to
rename it with a new title. The Original report file is closed thus preserving it from any
modifications made to the new report.
To delete an existing report select File, Delete . The user is presented with a list of existing
report titles. Highlight the title of the report to be deleted and click OK. Double clicking on a
report title will also delete the report.
The Report Dates item on the File menu changes the report date range while designing the
report.
Select Print from the File menu to print the open report. Selecting Print will open the print
options dialog where the user selects what to print and can enter new start and end dates for the
report. The report will automatically re-calculate immediately prior to printing.
Click Exit on the File menu to close the open report document and exit report design. If an open
document has been modified the user will be asked if changes are to be saved prior to exiting.