YSI BODAnalyst User Manual
Page 21
Batches
Section 5
YSI Incorporated
BOD Analyst for Windows Software
17
5.4
WORKING WITH BATCHES
5.4.1 STEPS TO BUILDING A BATCH
Add the samples for the batch by:
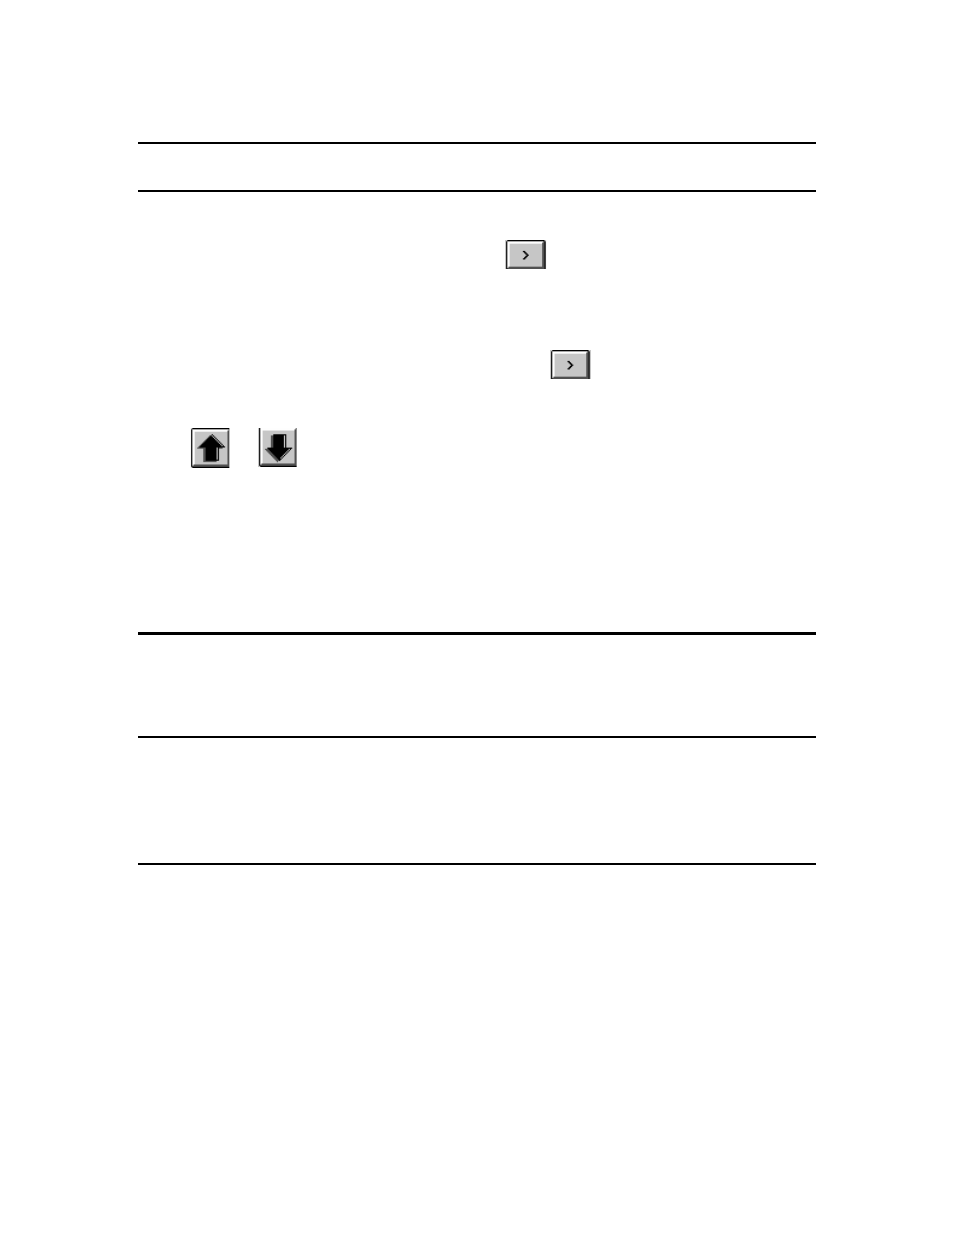
1. Click on a group in Choose Groups and then
click to add all the samples for the
group to the batch. You can also drag and drop the group onto the batch to add the samples to the
batch.
OR
Click on a sample in the Choose Samples and then click
to add that sample to the
batch. You can also drag and drop the sample onto the batch.
2.
Use to change the order of the samples. Simply click on a row and then
use the arrow buttons to move that sample up or down in the batch.
3. Edit the dilutions and Seed information as necessary.
4. Click the OK button. The batch will be loaded into the bench sheet and will be ready for initial
DOs to be read.
5.4.2 REMOVING A SAMPLE
To remove a sample from the build batch table, move the cursor anywhere on the sample row in
the table and click the Remove Sample button.
5.4.3 CLEARING THE BATCH
To remove all samples from the batch, click the Clear Batch button. This will give you a clean
slate from which you can build your batch. Alternatively, use the Delete button on the open
batch form.
5.4.4 ADDING MORE THAN 5 DILUTIONS
In some cases, a sample will require more than five (5) dilutions. From the build batch screen
there is no way to enter more than 5 dilutions. To handle this situation, first build the batch with
5 dilutions. Then use the Add Bottle button on the bench sheet to add more bottles (dilutions) to
a sample. BOD Analyst software allows you to run duplicate or triplicate bottles for each
dilution. Use the Number of Bottles per dilution field on the Build Batch screen to run
duplicates. For example, with this field set to 2, for each dilution two (2) bottles will be setup for
the batch.