Top Flite TOPA0110 User Manual
Page 50
The TRIM section contains information on
some non-aluminum colored sections of the
m o d e l . Y o u m a y w i s h t o r e a d i t b e f o r e
proceeding with the Covering section.
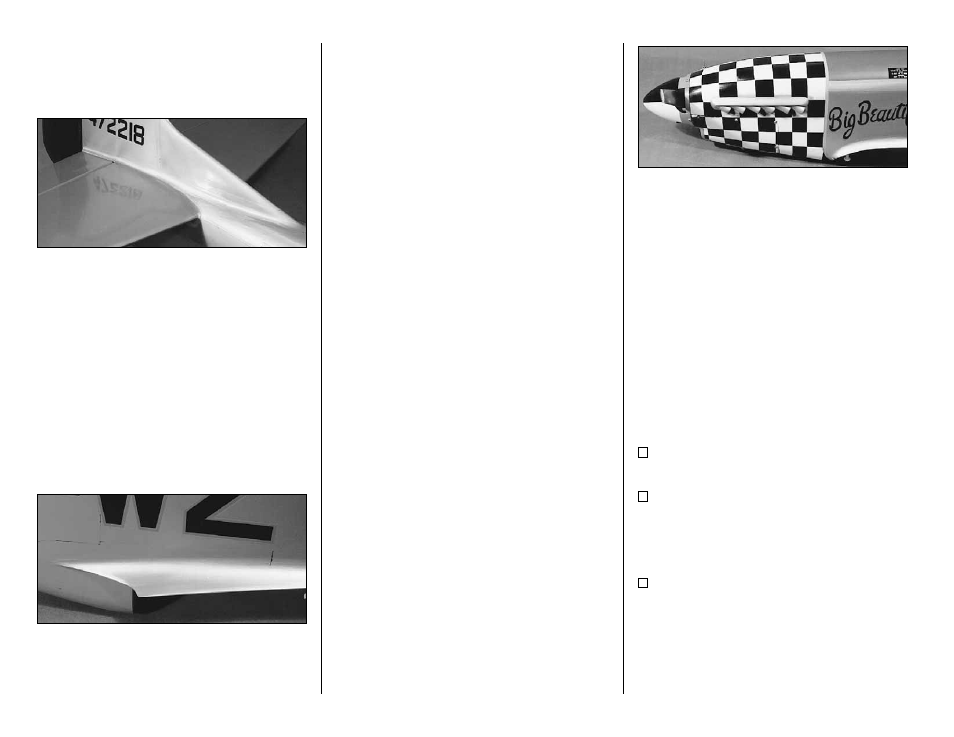
When covering areas that involve fillets and
sharp junctions, like the tail section of the P-51,
cut narrow strips (3/8" to 5/8") and apply them in
the corners before covering the major surfaces.
The larger pieces of Monokote will overlap and
capture these smaller strips. This technique also
bypasses the need to cut the Monokote in these
areas after it has been applied. DO NOT, under
a n y c i r c u m s t a n c e s , a t t e m p t t o c u t t h e
covering material after it has been applied to
the fin and stab, except around the leading
and trailing edges and the tip. Modelers who
do this often cut through the covering and part-
way into the balsa stab skin. This can weaken
the stab to the point where it may fail in flight!
C o v e r t h e w i n g f i l l e t b e f o r e t h e r e s t o f t h e
fuselage.
Recommended Covering Sequence:
1. Tail Fillet Strips as described in above note
2. Rudder left side (black)
3. Rudder right side (black)
4. Bottom of elevators
5. Top of elevators
6. Stab bottom
7. Stab top
8. Wing fillet (on fuselage)*
8. Fuse bottom
9. Fuse sides
10. Fuse top
11. Fin left side
12. Fin right side
13. Ends of ailerons and flaps
14. Bottom of ailerons and flaps
15. Top of ailerons and flaps
16. TE surfaces of wing (at ailerons and flaps)
17. Fuselage fairing (on bottom of wing)
18. Bottom of left wing panel
19. Bottom of right wing panel
20. Top of left wing panel (overlap covering 1/4"
at wing LE)
21. Top of right wing panel (overlap covering 1/4"
at the LE)
*When covering concave surfaces,
follow the iron with a damp cloth,
pressing the covering down.
APPLY TRIM
Cover the area ahead of the canopy with
Olive Drab Monokote. After the model is covered,
but before the canopy is installed, mask and
spray this panel with flat clear (such as Chevron
Perfect).
The nose checkerboard was done with Super
Monokote, with the exception of the plastic
cowling (more on that below.)
The nose checkerboard is not extremely
difficult to do. It is, however, tedious and time
consuming to apply. Sport modelers who do not
w a n t t o s p e n d t h e n e c e s s a r y t i m e o n t h e
checkerboards, but still want to use the supplied
decals etc., may consider applying a solid colored
nose such as red or black instead.
The following is the sequence used on the
prototypes.
The cowling should be painted white before
proceeding with the checkerboards. K&B or
Chevron Perfect paints are recommended.
1. Cover the entire nose section of the model
in the checkerboard region with white Monokote.
2. Bolt the lower cowling to the fuselage. If
your paint is not extremely durable, you will need
to be careful where you put marks on the cowling.
We recommend you use a soft #2 pencil when
marking on the cowling.
3 . D i v i d e t h e f o r e / a f t d i s t a n c e o f t h e
checkerboard region (at the top) into eight
sections. Notice that these are NOT equal
length! The checks toward the front are shorter.
You may use a fine-tip, permanent marker to
mark on the Monokote. Isopropyl alcohol will
remove any exposed marks when you are done.
- 50 -