Finishing – Top Flite TOPA0110 User Manual
Page 49
- 49 -
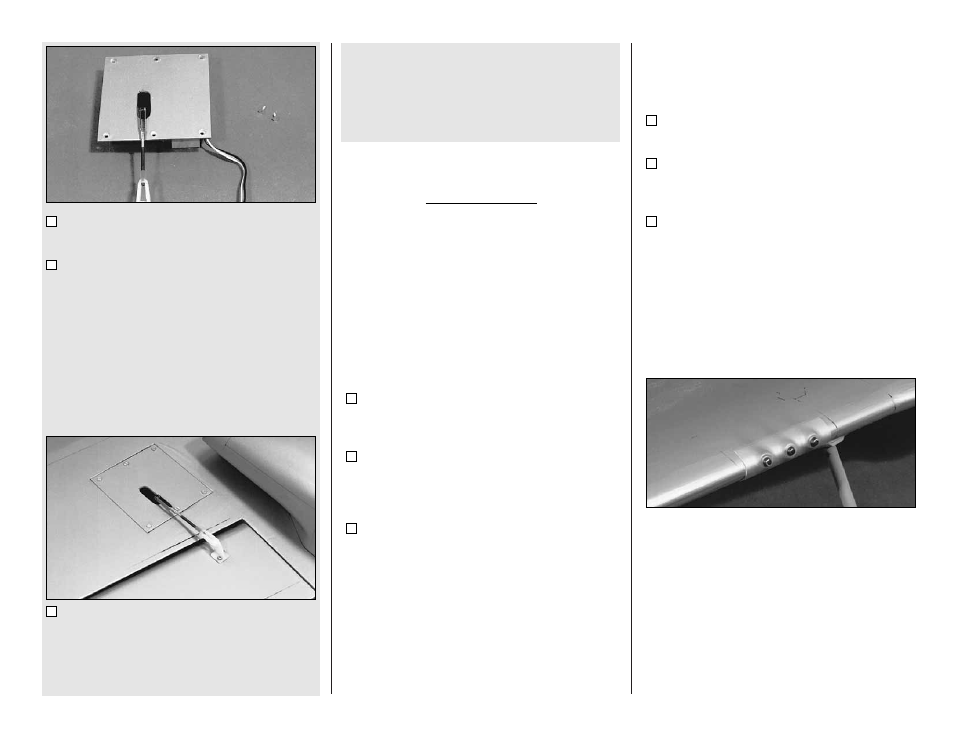
13. Cut a slot in the bay cover to allow the
servo arm to exit and move back and forth.
14. Mount the bay cover to the wing, using
six #2 x 3/8" flat head sheet metal screws
provided. These should be countersunk into the
bay cover.
NOTE: Most of the small control horns
used on this plane may be cut down to
2 or 3 holes. Refer to the plans and
photos to determine the length of the
horns used on the prototypes.
15. Locate the flap control horn straight back
from the servo arm. Since the flap deflects
downward, but does not deflect up at all, the
horns are mounted farther aft than horns on
normal ailerons, etc. See the plans and photos
for the proper fore/aft flap horn location.
NOTE: The hinge points are glued in
after finishing. We recommend
roughening them with 80-grit
sandpaper then gluing them in with
epoxy.
FINISHING
FINAL SANDING
Nea rl y e ve ry im pe r fe c t io n i n y o u r wo o d
structure will show through the covering material;
therefore, before covering, you should make a
final check of the entire structure. Fix any
“dings,” then sand the entire structure smooth
using progressively finer grades of sandpaper.
FUELPROOFING
Fuelproofing may be done after covering.
1. Fuelproof the firewall area and the inside
of the cowl top. Black K&B epoxy paint or
30-minute epoxy is recommended.
2. Fuelproof the inside of the fuselage forward of
F-3 and the wing saddle area. 30-minute epoxy and
a bent epoxy brush was used for this on the
prototypes.
3. Fuelproof any externally exposed wood
(eg: flap pushrod exits). Matching brush-on
Perfect Paint works nicely here.
BALANCE THE AIRPLANE LATERALLY
SPECIAL NOTE: Do not confuse this
procedure with “checking the C.G.” or
“balancing the airplane fore and aft.”
That very important step will be
covered later in the manual.
Now that you have the basic airframe nearly
completed, this is a good time to balance the
airplane laterally (side-to-side). Here is how to
do it:
1. Temporarily attach the wing and engine
(with muffler) to the fuselage.
2. With the wing level, lift the model by the
engine propeller shaft and the fin post (this may
require two people). Do this several times.
3. If one wing always drops when you lift, it
means that side is heavy. Balance the airplane
by gluing weight to the other wing tip.
NOTE: An airplane that has been
laterally balanced will track better in
loops and other maneuvers.
COVERING
NOTE: The vacuum formed Machine
Guns may be “sunk into” the wing,
flush with the LE, or they may be
trimmed and painted separately and
glued on after covering, as on the
prototypes.
Because it is assumed that you have had
some previous model building experience, we
won’t go into detail regarding the covering
procedure. Follow the instructions included
with your covering material.