Top Flite TOPA0110 User Manual
Page 18
- 18 -
35. Make any adjustments necessary to
allow the bent wire main landing gear to slide
properly into place.
DO STEPS 36 - 39 FOR RETRACT GEAR.
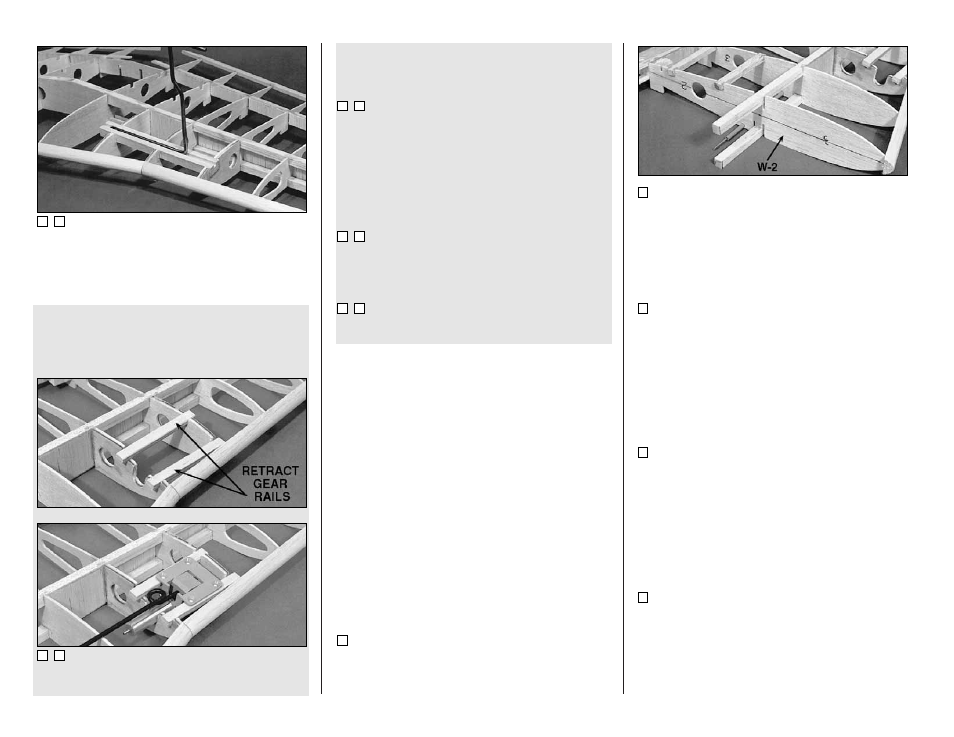
36. Slide the 1/4" x 3/8" x 3-3/4" plywood
Retract Gear Rails into the slots in W-4 and W-5.
Test fit your retracts between the rails. If the rail
spacing is not correct (it should be for most
retracts) adjust the aft slots.
37. Manually extend and retract the gear,
noting the strut angle. Adjust the depth of the
slots if necessary to give a satisfactory angle
when the gear is retracted and extended. It will
be necessary to cut a slot in R-3 for the strut to
pass through.
38. Use generous amounts of 30-minute
epoxy to glue in the rails.
39. Mark and drill the retract mounting
holes in the retract rails.
Repeat steps 7 to 39 to build the other wing
panel.
NOTE: At this point you may remove
the wing panels from the building
board if you have not already done so.
Try to store your panels on a flat
surface with some weights on top of
them until they are joined and sheeted,
to prevent warping.
JOIN THE WING PANELS
1. Trim the ends of the spars, LE’s, and TE’s
of both panels very close to the tip rib W-12.
Excess overhang will affect the dihedral angle.
2. Draw a centerline on both W-2’s as shown
in the photos.
3. Trim all the spars at the root end of the
wing as they were previously marked with the 93
degree tool.
4. When you are totally ready to join the
wings, trim off all the jig tabs except those on
W-2 and W-12. Use a small sanding block to
“clean up” the area around the tabs.
5 . P l a c e t h e t w o 3 / 8 " x 1 - 1 / 2 " x 7 - 1 / 2 "
Dihedral Jig Blocks under the two W-2 ribs.
Place the wing halves together upside-down.
The spars at W-2 and the W-2 jig tabs on both
panels should rest on the Jig Blocks. The tip
ends of the spars and the W-12 jig tabs rest on
the table (see photo on the next page).