3 wall mounting using screws, English 3-3 wall mounting using screws – KEYENCE SL-R11E User Manual
Page 25
Chapter 3 Mounting and Installation
3-3
3
ENGLISH
3-3 Wall Mounting Using Screws
The screw fastening holes in the SL-R11E can be used to directly attach the SL-R11E to the wall.
Dimensional drawing
124
37
2-ø4.2
*
➮ See “1-3 External Dimensions Diagram” (page 1-3) for detailed dimensions.
Attach using M4 screws tightened to a recommended torque of 0.7 N•m.
CAUTION
The SL-R11E cannot be attached to the DIN rail and to the wall by screws at the
same time.
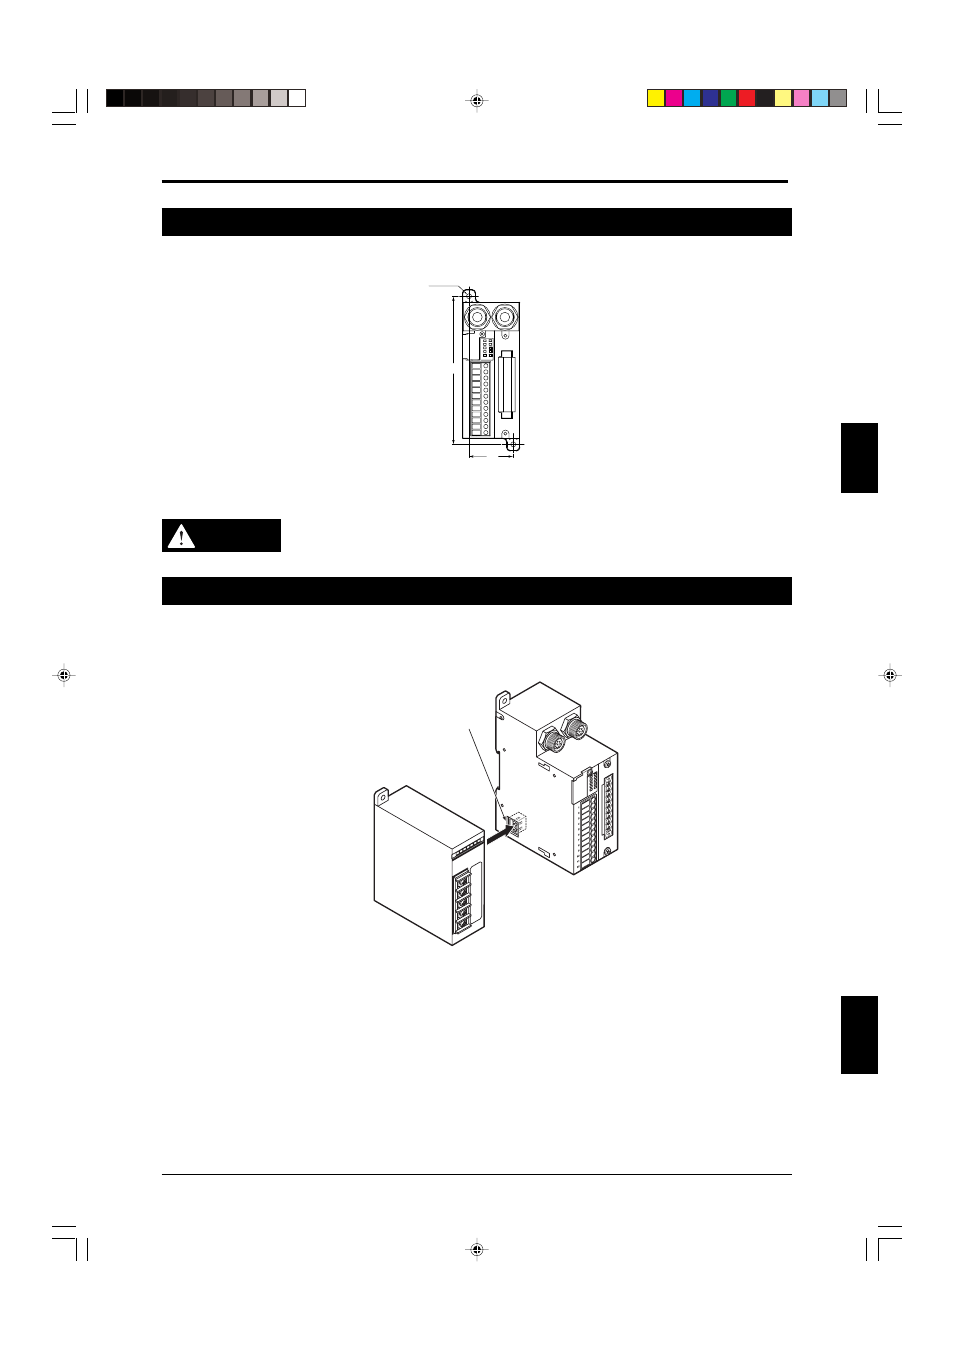
3-4 Connection to the SL-U2 Recommended Dedicated Power Supply
The SL-R11E is supplied with power by connecting to the SL-U2 dedicated power supply via the connector
on the side of the SL-R11E.
The connector is covered with a seal to protect it, so remove the seal before making the connection.
* Install while being careful
of the connectors
The connection methods are as follows.
[1] When mounting on a DIN rail
1. Refer to the figure above, and peel off the power supply connector seal.
2. Mount both the SL-R11E and SL-U2 to the DIN rail.
3. Slide one of the units to connect them both together.
4. Slide the SL-U2 connection hooks to fasten the units together.