Checkline TI-MVX User Manual
Page 4
2.2
Probe Zero & Calibration
The next step is to calibrate the TI-MVX to the material and transducer being
used. If a sound velocity is not known, the TI-MVX can be calibrated to a known
thickness sample. This demo will briefly explain both of these techniques.
In either case, the transducer MUST be zeroed on the probe zero disk (battery
cover located on the top of the unit as follows:
1) Apply a drop of couplant on the transducer
and place the transducer in steady contact
with the probe zero disk, and obtain a steady
reading.
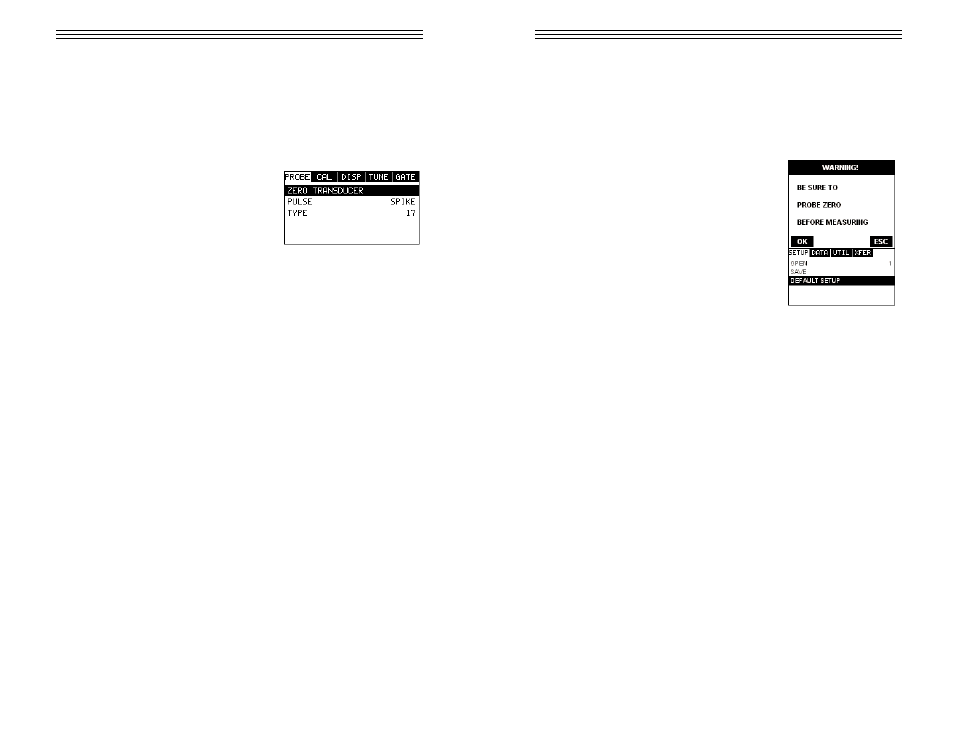
2) Assuming the probe menu is still displayed
from the previous type selection, use the UP
and DOWN arrow keys to scroll through the
sub menu items until ZERO TRANSDUCER is
highlighted.
3) Press the ENTER key to display the confirmation screen.
-4-
13) Press the OK key to save the Setup, or ESC to cancel saving the Setup.
14) Finally, press the MEAS key to return to the measurement screen.
Note: The Name and Comments of the Setup can be edited at any time by sim-
ply repeating the Save Setup routine described above. Therefore, the Save
Setup function can also be considered an Edit Function.
11.4 Using the Default Setup
The default setup feature was added to the
TI-MVX to use, as a last resort, if there are no
setups stored in the gauge –factory or otherwise.
The only time this might possibly occur is if the
setup file in the TI-MVX was somehow corrupted,
and the user does not have access to a computer
to re-load the factory setups back into the TI-MVX.
This gives the user the ability to load and modify a
basic setup as follows:
1) Press the MENU key once to activate the menu
items tab. Press the MENU key multiple times to
tab right and the ESC key multiple times to tab left
until the SETUP menu is highlighted and displaying the submenu items.
2) Use the UP and DOWN arrow keys to scroll through the sub menu items until
DEFAULT SETUP is highlighted.
3) Press the ENTER key to load the Default Setup and display the Warning
Message Box.
Important Note: Remember to perform a probe zero function prior to measur-
ing. The default setup clears the probe zero value.
4) Press the OK key to return to the measurement screen.
-77-