Acccssones – Garmin GPSCOM 190 User Manual
Page 89
Attention! The text in this document has been recognized automatically. To view the original document, you can use the "Original mode".
APPENDIX A
Acccssones
&
Instaììaiion
To secure the GPSCOM 190 using the bracket holder:
Note: The unit is most easily inserted and removed
from the top of the bracket holder.
1.
Slightly spread the sides of the bracket holder and insert
the unit, mating the four notches on the sides of the unit
with the four tabs on the bracket holder. Lock the unit in
place by pushing in and turning the lock/uniock knob
located on the side of the bracket holder to the lock
position. Note: when removing the unit, push in and turn
the knob to the unlock position and lift the unit out.
2.
If desired, slide the headseVmicrophone adapter case
over the bracket extension until the case is securely
held in place.
3.
If it is necessary to change the angle of the bracket for
proper viewing angle, loosen the upper bracket knob
and rotate the GPSCOM 190 up or down, then re-tighten
the orientation knob.
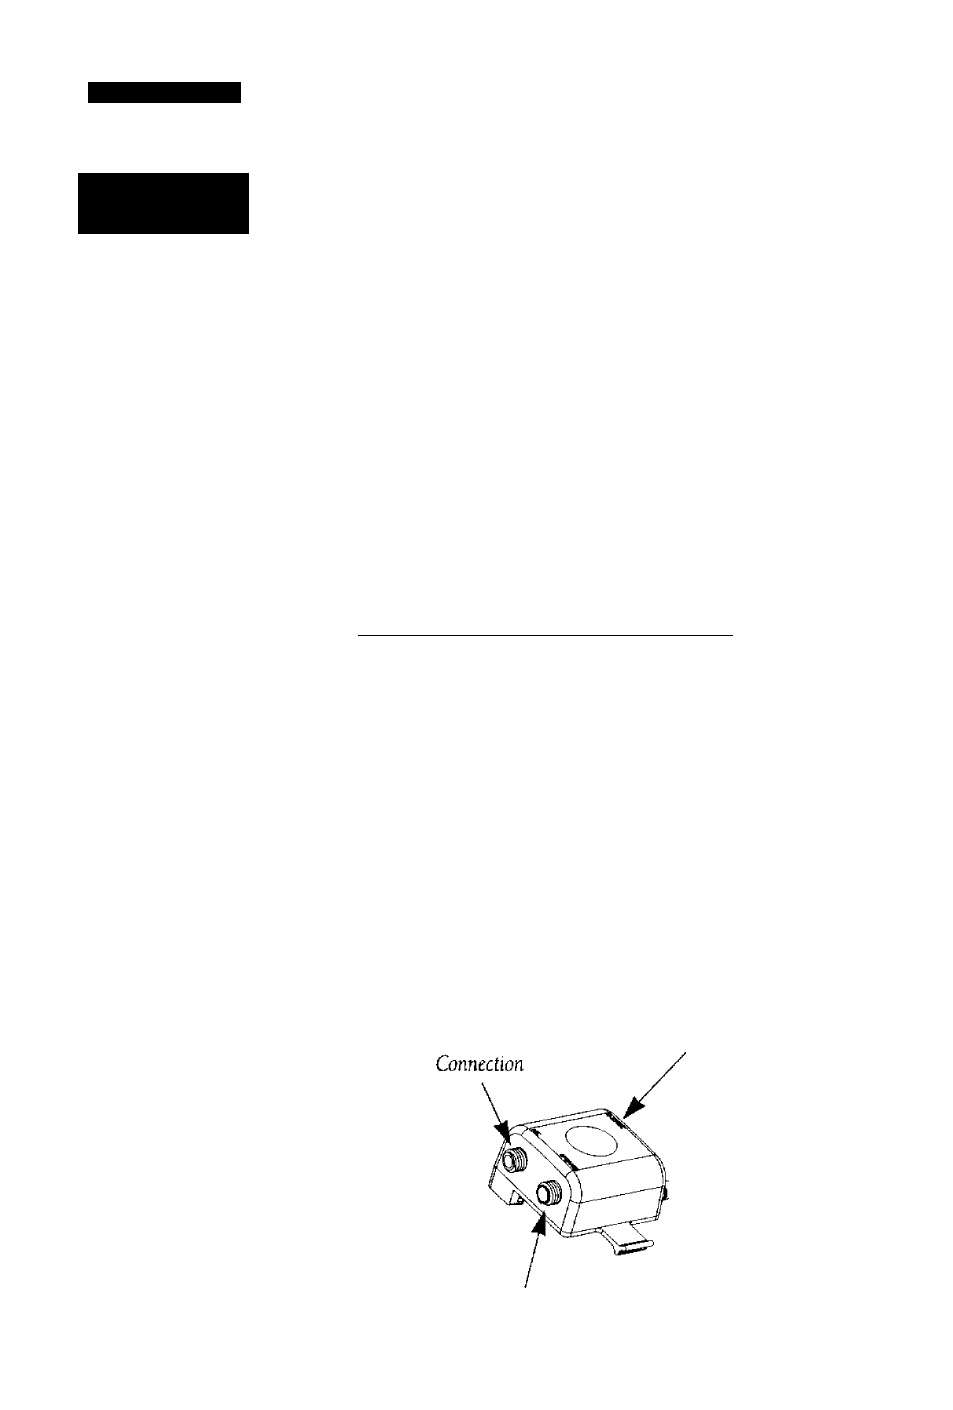
Headset/Microphone/DC Power Adapter
A combination headset/microphone may be plugged
into the speaker/microphone jacks located on the speak-
er/microphone/power adapter which is supplied with the
GPSCOM 190. The adapter also provides a convenient
means of connecting the 12-24 VDC aircraft or automo
bile adapter that plugs into a cigarette lighter and allows
you to run the GPSCOM 190 from aircraft or automobile
power.
NOTE; The cigarette lighter adapter cannot be used
to charge the Ni-Cad battery pack when the unit is on.
Microphone
Speaker
Connection
Cigarette lighter
Adapter Connection
02-24
VDC)