Removing the heat sink assembly, Removing the chassis intrusion switch, Replacing the chassis intrusion switch – Dell OptiPlex 755 User Manual
Page 35: Resetting the chassis intrusion detector
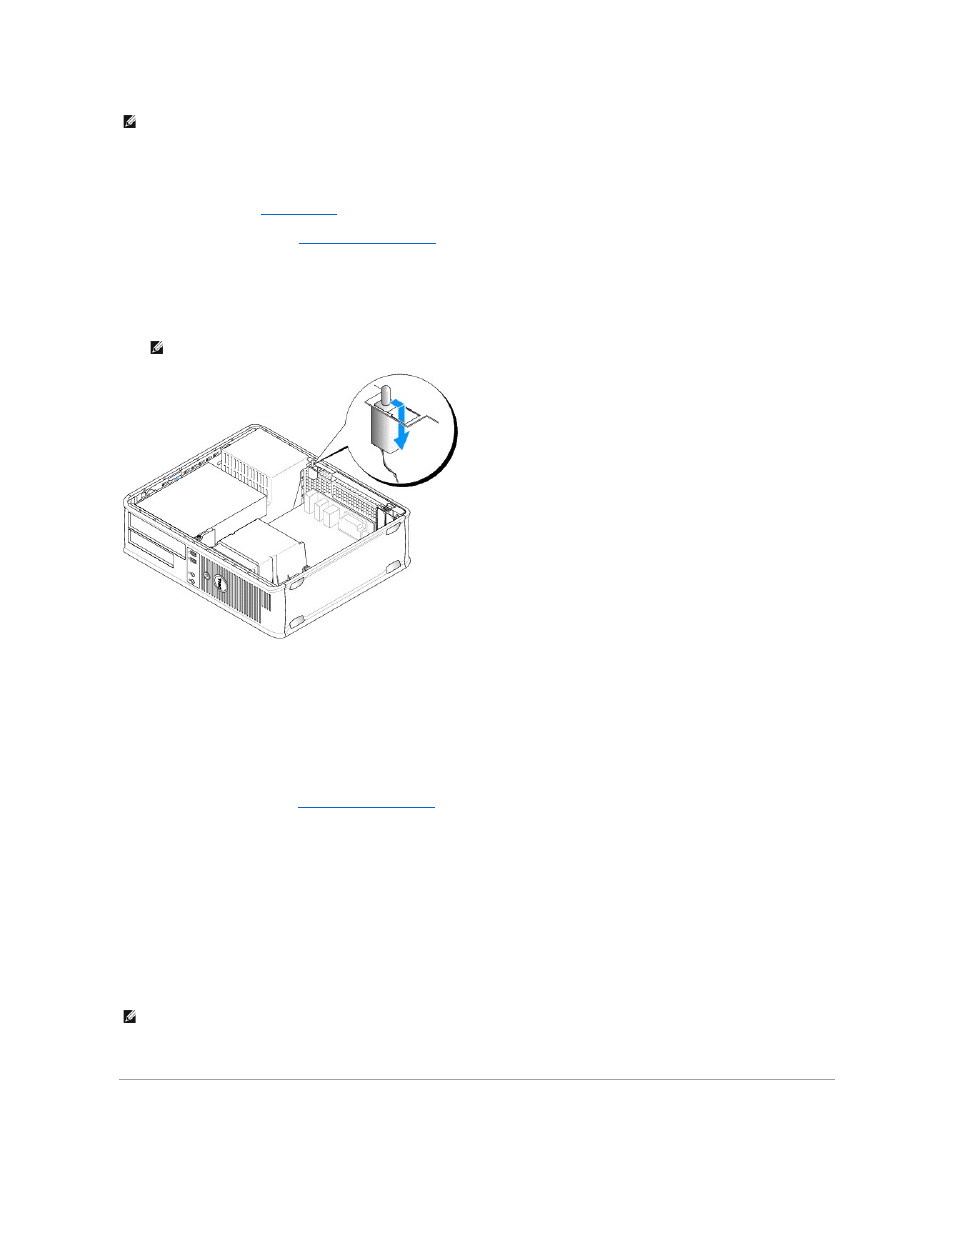
Removing the Chassis Intrusion Switch
1.
Follow the procedures in
Before You Begin
.
2.
Remove the computer cover (see
).
3.
Disconnect the chassis intrusion switch cable from the system board by using two fingers to squeeze the release mechanism on one side of the
connector as you pull to disconnect the cable connector.
4.
Slide the chassis intrusion switch out of its slot in the metal bracket, and then push it down through the square hole in the bracket to remove the switch
and its attached cable from the computer.
Replacing the Chassis Intrusion Switch
1.
Gently insert the switch from underneath the metal bracket into the square hole in the bracket, and then slide the chassis intrusion switch into its slot
until it snaps securely into place.
2.
Reconnect the cable to the system board.
3.
Replace the computer cover (see
Replacing the Computer Cover
).
Resetting the Chassis Intrusion Detector
1.
Turn on (or restart) your computer.
2.
When the blue DELL™ logo appears, press
If you wait too long and the operating system logo appears, continue to wait until you see the Microsoft® Windows® desktop. Then shut down your
computer and try again.
3.
Select the Chassis Intrusion option and then press the left- or right-arrow key to select Reset. Change the setting to On, On-Silent, or Disabled.
4.
Save your BIOS settings and exit system setup.
Removing the Heat Sink Assembly
NOTE:
The chassis intrusion switch is standard on the ultra small form factor computer but is optional on mini tower, desktop, and small form factor
computers; it may not be present on your computer.
NOTE:
You may feel a slight resistance as you slide the switch out of the slot.
NOTE:
The default setting is On-Silent.